Five Quick & Easy Kitchen Updates Under A Small Budget
 By Lisa Ben
·
October 20, 2026
·
9 min read
A tired kitchen usually is not a broken kitchen. The cabinets open, the oven works, the layout is fine. It just looks like nobody has made a decision in it for ten years. A full refit fixes that at renovation money. These five updates fix the feeling of it for small change, and none of them needs a tradesperson, a skip or a week off work.
One ground rule before the list. I am not quoting prices, because they swing too much between shops and countries to mean anything here. Read the costs the way I think about them: most of this list is small change or the price of a takeaway. The one item that costs real money is the paint, and even that is a tester pot or a single tin, not a decorator's bill. The other rule is what makes five cheap things look like one plan instead of five accidents: pick one metal finish and one colour, then repeat them in every update. That repetition is the whole trick.
1. Swap the cabinet handles
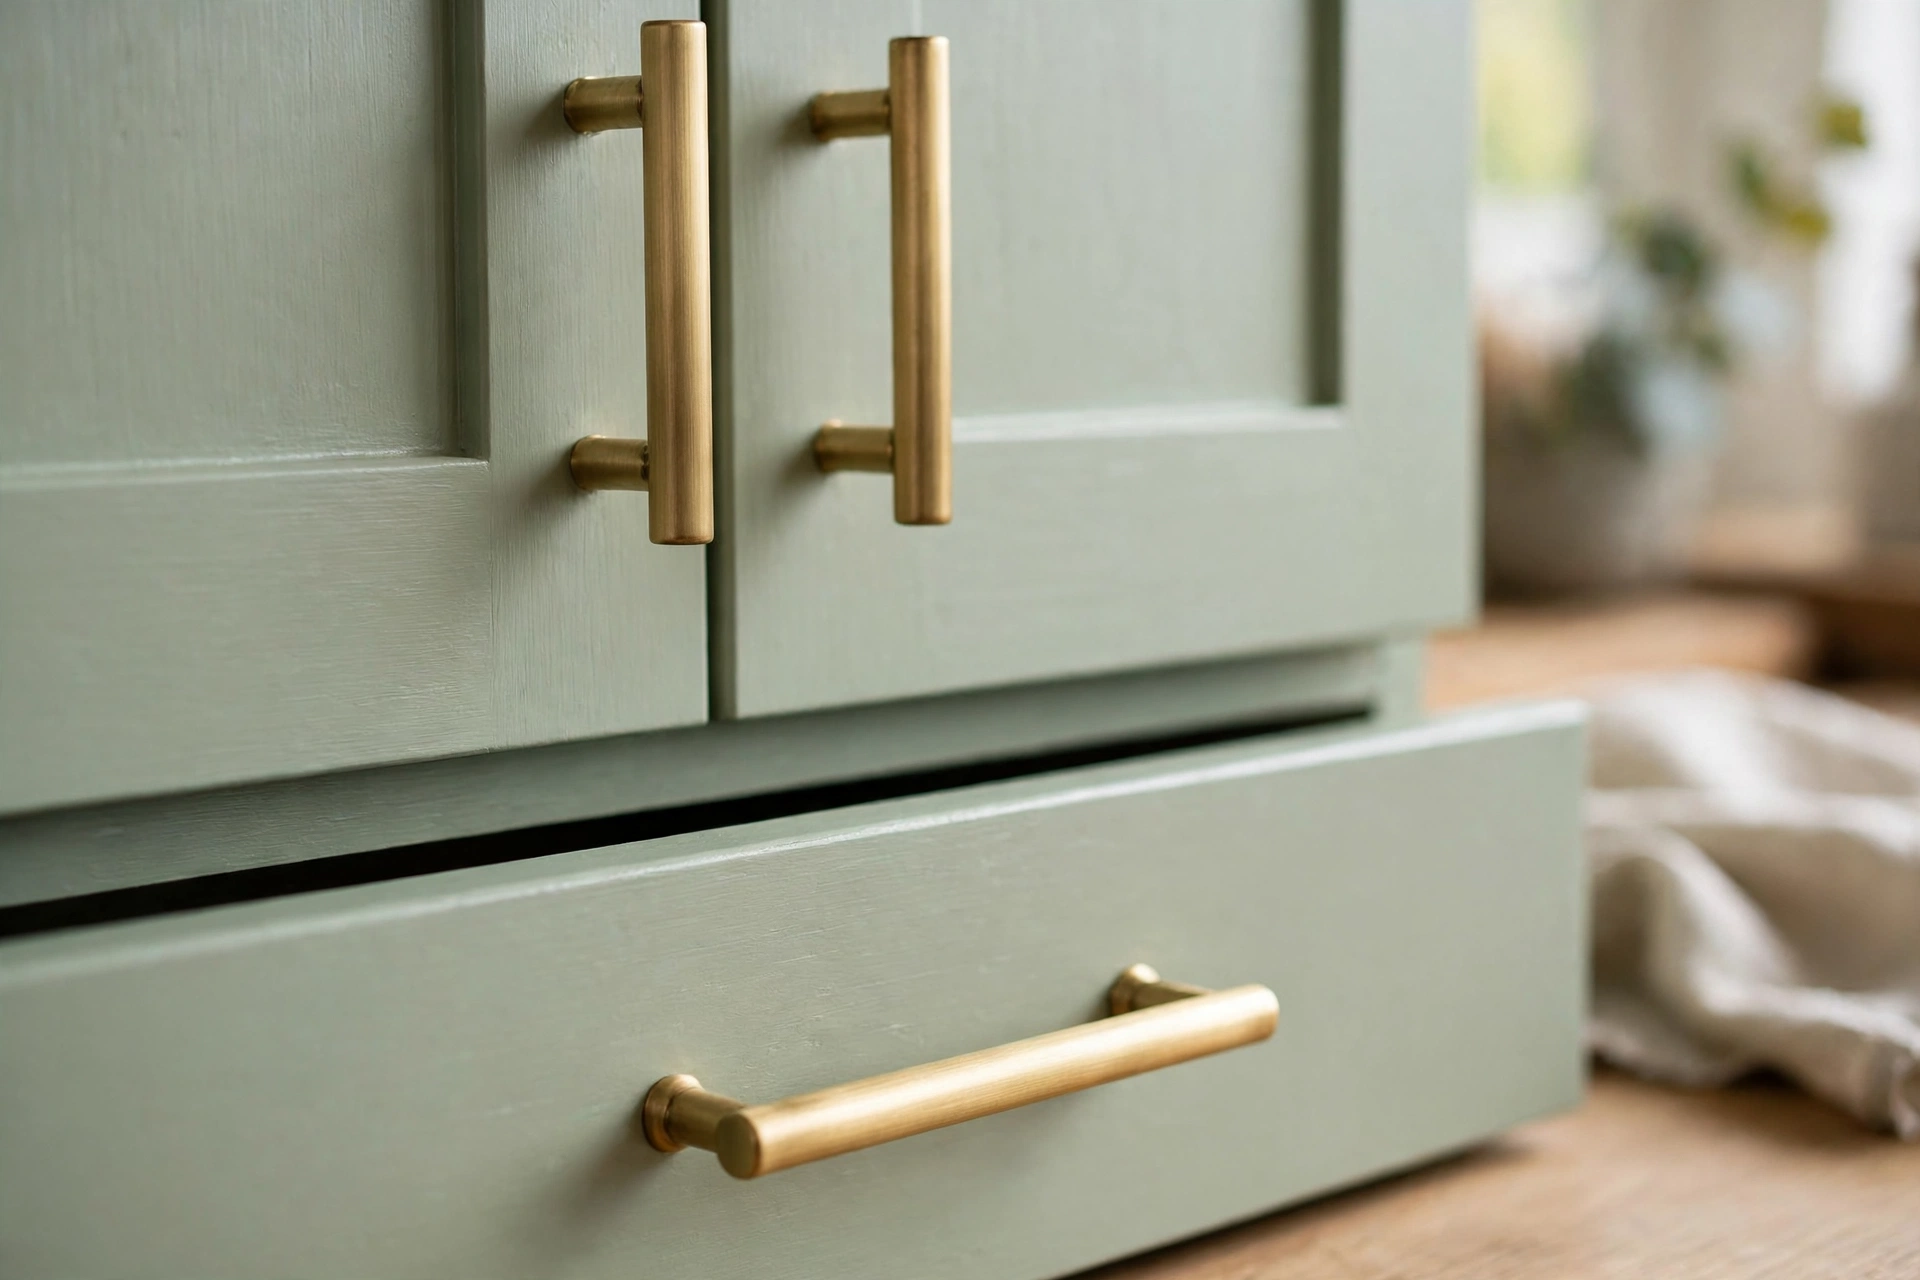
Handles are the only part of a kitchen you touch twenty times a day, and they are what your eye reads first without you noticing. A row of matching handles makes dated cabinets look chosen. A mix of three styles, which is what most kitchens drift into after years of one-off replacements, makes even good cabinets look scruffy.
Before you buy anything, measure. Handles are fixed by two screws, and what matters is the distance between the centres of those screws. Measure it on your existing handles, write the number down, and take one old handle to the shop or keep it next to you while you order. Most modern kitchens share one or two standard spacings, but older kitchens can have odd ones, and a beautiful handle that is 5mm out is a handle you cannot fit. This is the lesson I repeat on this site because it is the one that saves the return trip.
Fitting them is a screwdriver job, one handle at a time, and an hour does a whole kitchen. Knobs on doors and pulls on drawers is a classic split and it works, as long as the finish matches across both. Then the part people skip: put the old handles in a bag, label the bag, and keep it. If you rent, that bag is your deposit. If you own, it is your spare set the day a screw strips.
The honest catch: handles polish what is there. If the cabinet colour itself is what you hate, handles will not save it, and that is what update three is for.
2. Put light under the wall cabinets
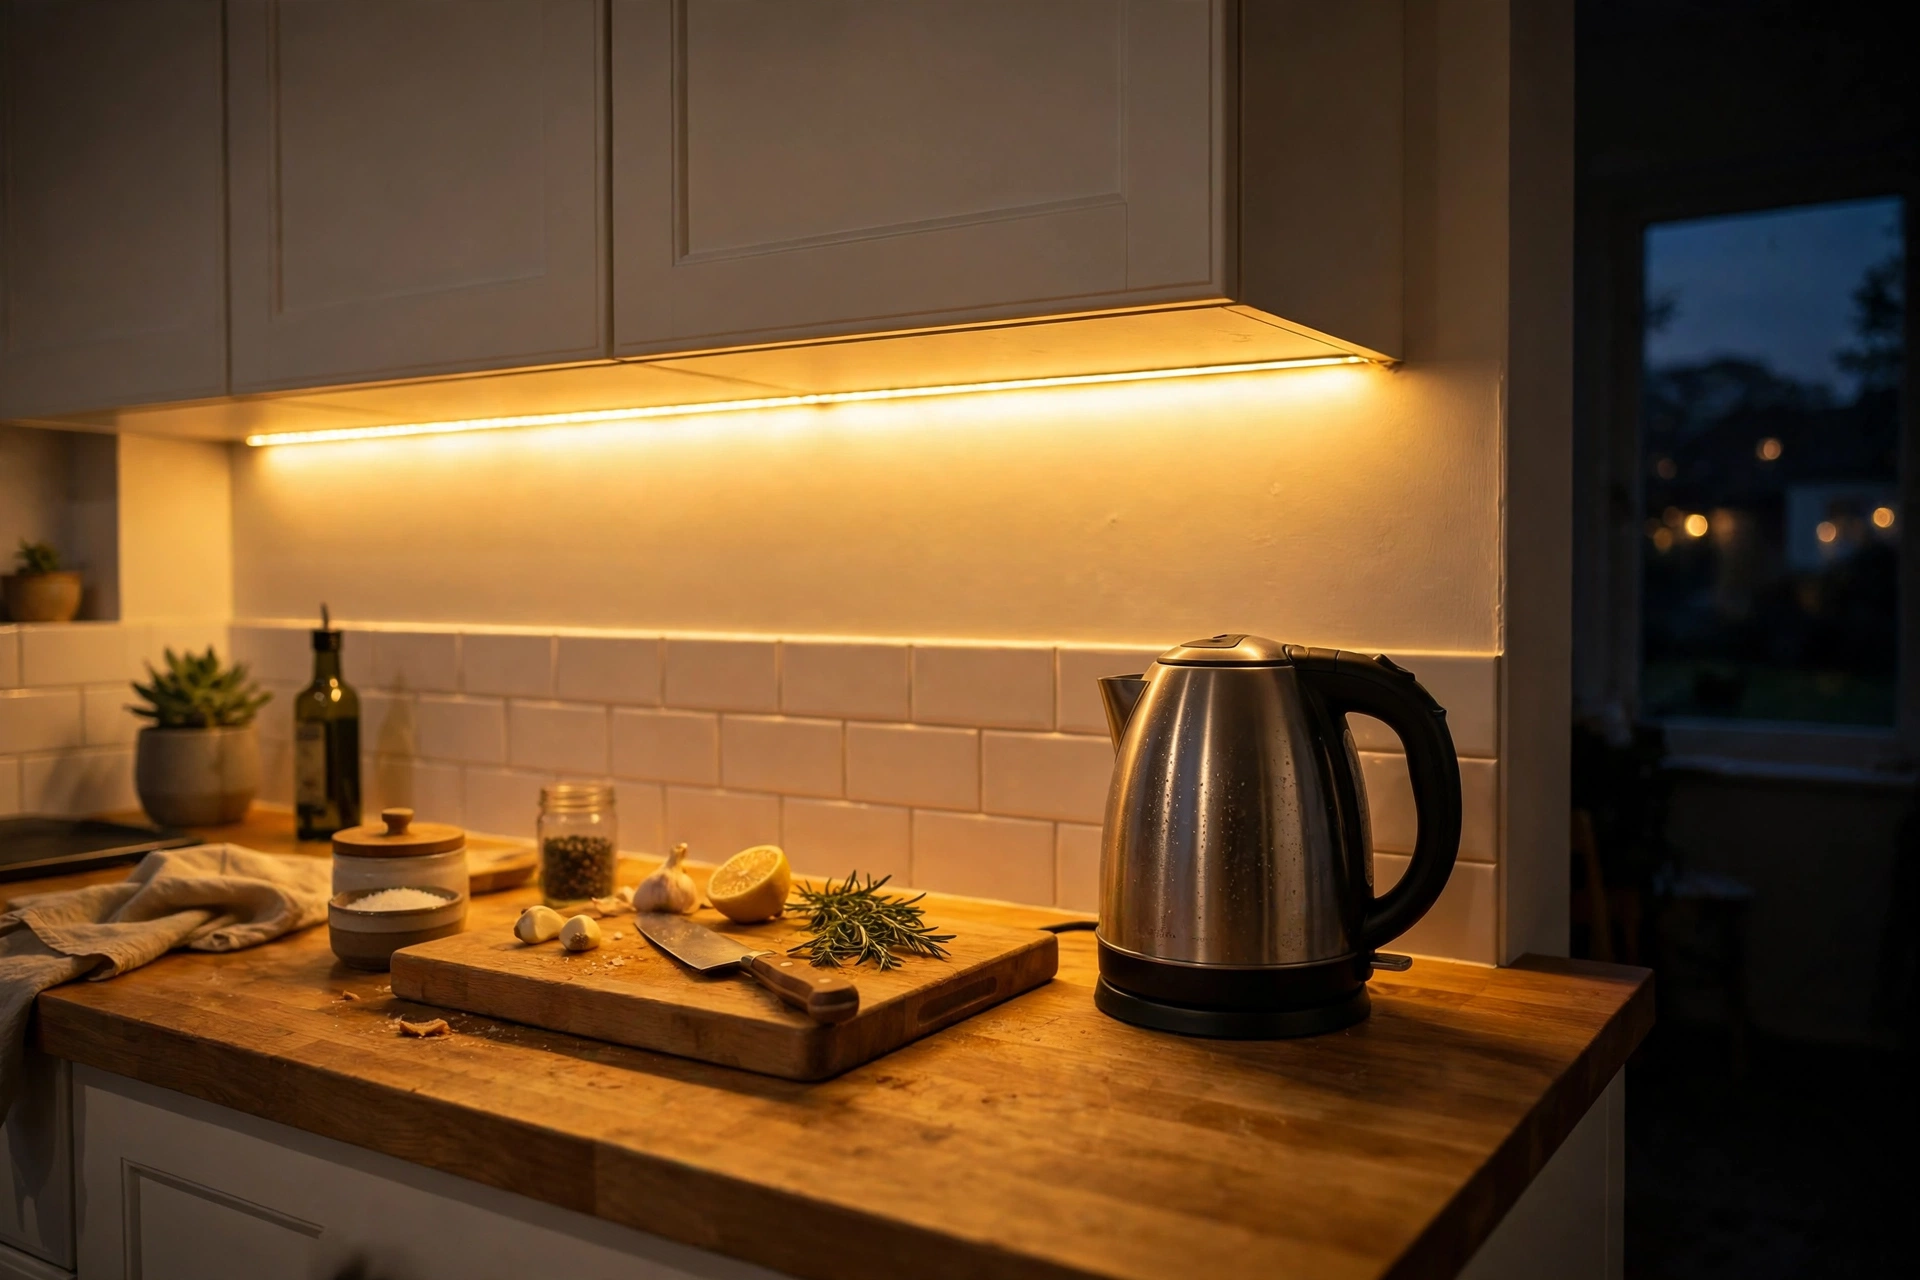
Stand at your worktop in the evening and look down. Your chopping board sits in your own shadow, lit by a ceiling light behind you. Nearly every kitchen has this problem and nearly nobody names it. Light that lands on the worktop itself is, in my experience, the single biggest change you can make to how a kitchen feels. It is the update guests comment on, and it is a strip of LEDs.
You have two routes. Battery bars need no socket and stick up in minutes, but they are dimmer and you will be recharging or feeding them batteries. Plug-in strips are brighter and stay put, with a thin lead to tuck along the cabinet edge to the nearest socket. Renters: both come in versions that fix with removable adhesive strips, so the whole update can come down without a mark.
Whatever you buy, check the colour of the light on the box. You want warm white, roughly 2700K to 3000K, to match normal household bulbs. A strip sold as daylight, up around 4000K and beyond, will turn your warm kitchen into a dentists' surgery and clash with every other bulb in the room. Also worth knowing: new light shows every splash and crumb on the splashback. Give the wall a proper wipe before you fit the strip, not after.
The catch is small but real. The very cheapest strips can show as a row of separate dots and some have a cold blue edge no matter what the box says. One with a frosted cover costs a little more and looks twice the price.
3. Paint one thing, not everything
One painted element in a strong colour reads as a design decision. A whole kitchen repainted on the cheap reads as a compromise, because every wobble and thin patch shows somewhere. So pick one thing: the lower cabinets only, which gives you that two-tone look with half the work. Or the kitchen door, inside face, which is one flat surface and a tester pot can cover it. Or a single wall, the one behind the table or the shelves.
Whichever you choose, borrow the colour from something already in the room. The runner you are about to buy, the towels, a plant pot you love. A colour that repeats an existing one always looks intentional. If you are painting the cabinets rather than a wall, do the prep properly or do not start: the full method, degreasing and priming included, is in my guide to painting kitchen cabinets so the finish lasts.
The honest catch is time, not money. Paint needs a clear day and it needs to dry between coats, and a door taken off its hinges is a door you cannot close that night. Plan it last of the five, on a day when nothing else in the kitchen needs to happen.
4. Dress the shelf and the window, with things you use
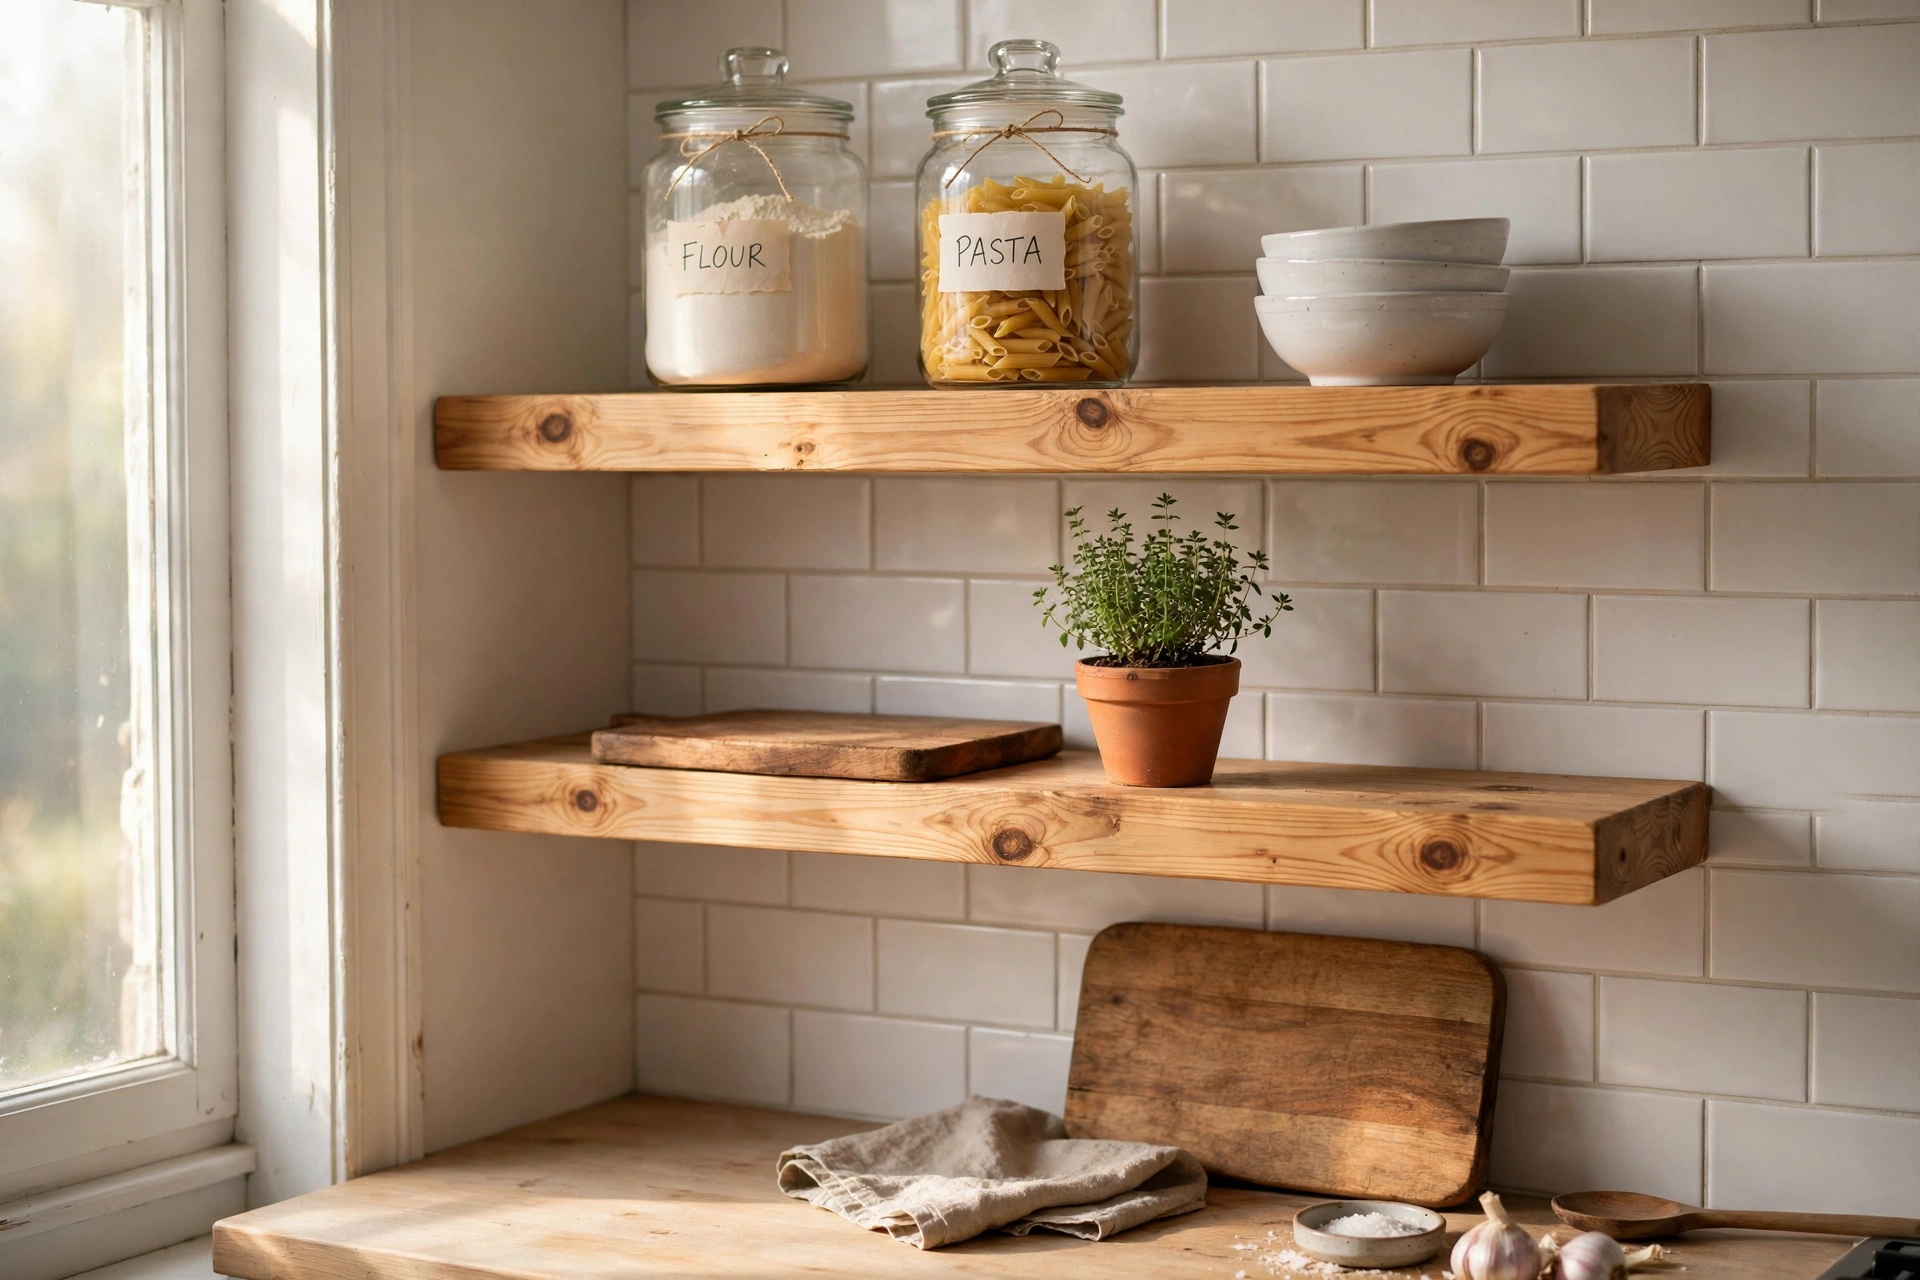
This update costs nothing if you shop your own cupboards, and it is the one that takes the most honesty. An open shelf or a window zone looks good when everything on it earns its place by being used. Flour, rice and pasta decanted into jars you already own, with a strip of tape on the back noting the date. A herb plant on the sill, because it is pretty and it gets eaten. A short rail of the tools you reach for daily, which frees a drawer into the bargain.
The rule is simple: if it has not been touched in a week, it does not get shelf space. Ornaments, gift mugs and the juicer from 2019 go in a cupboard or go entirely. What is left looks styled precisely because it is a working shelf, not a display you have to dust around.
One catch, and it matters. Open shelves near a hob collect a film of cooking grease, and no styling survives that. Keep the shelf away from the splash zone of the cooker, or accept a weekly wipe as the price of the look.
5. Reset the textiles and put down a runner
Soft things are what people actually register in a kitchen, in photos and in person, far more than hardware. A set of tea towels in one colour family, with the grey and stained ones demoted to cleaning duty, tidies the whole room in a way that is hard to explain until you see it. A clean blind, or the old one washed and rehung, does the same at the window.
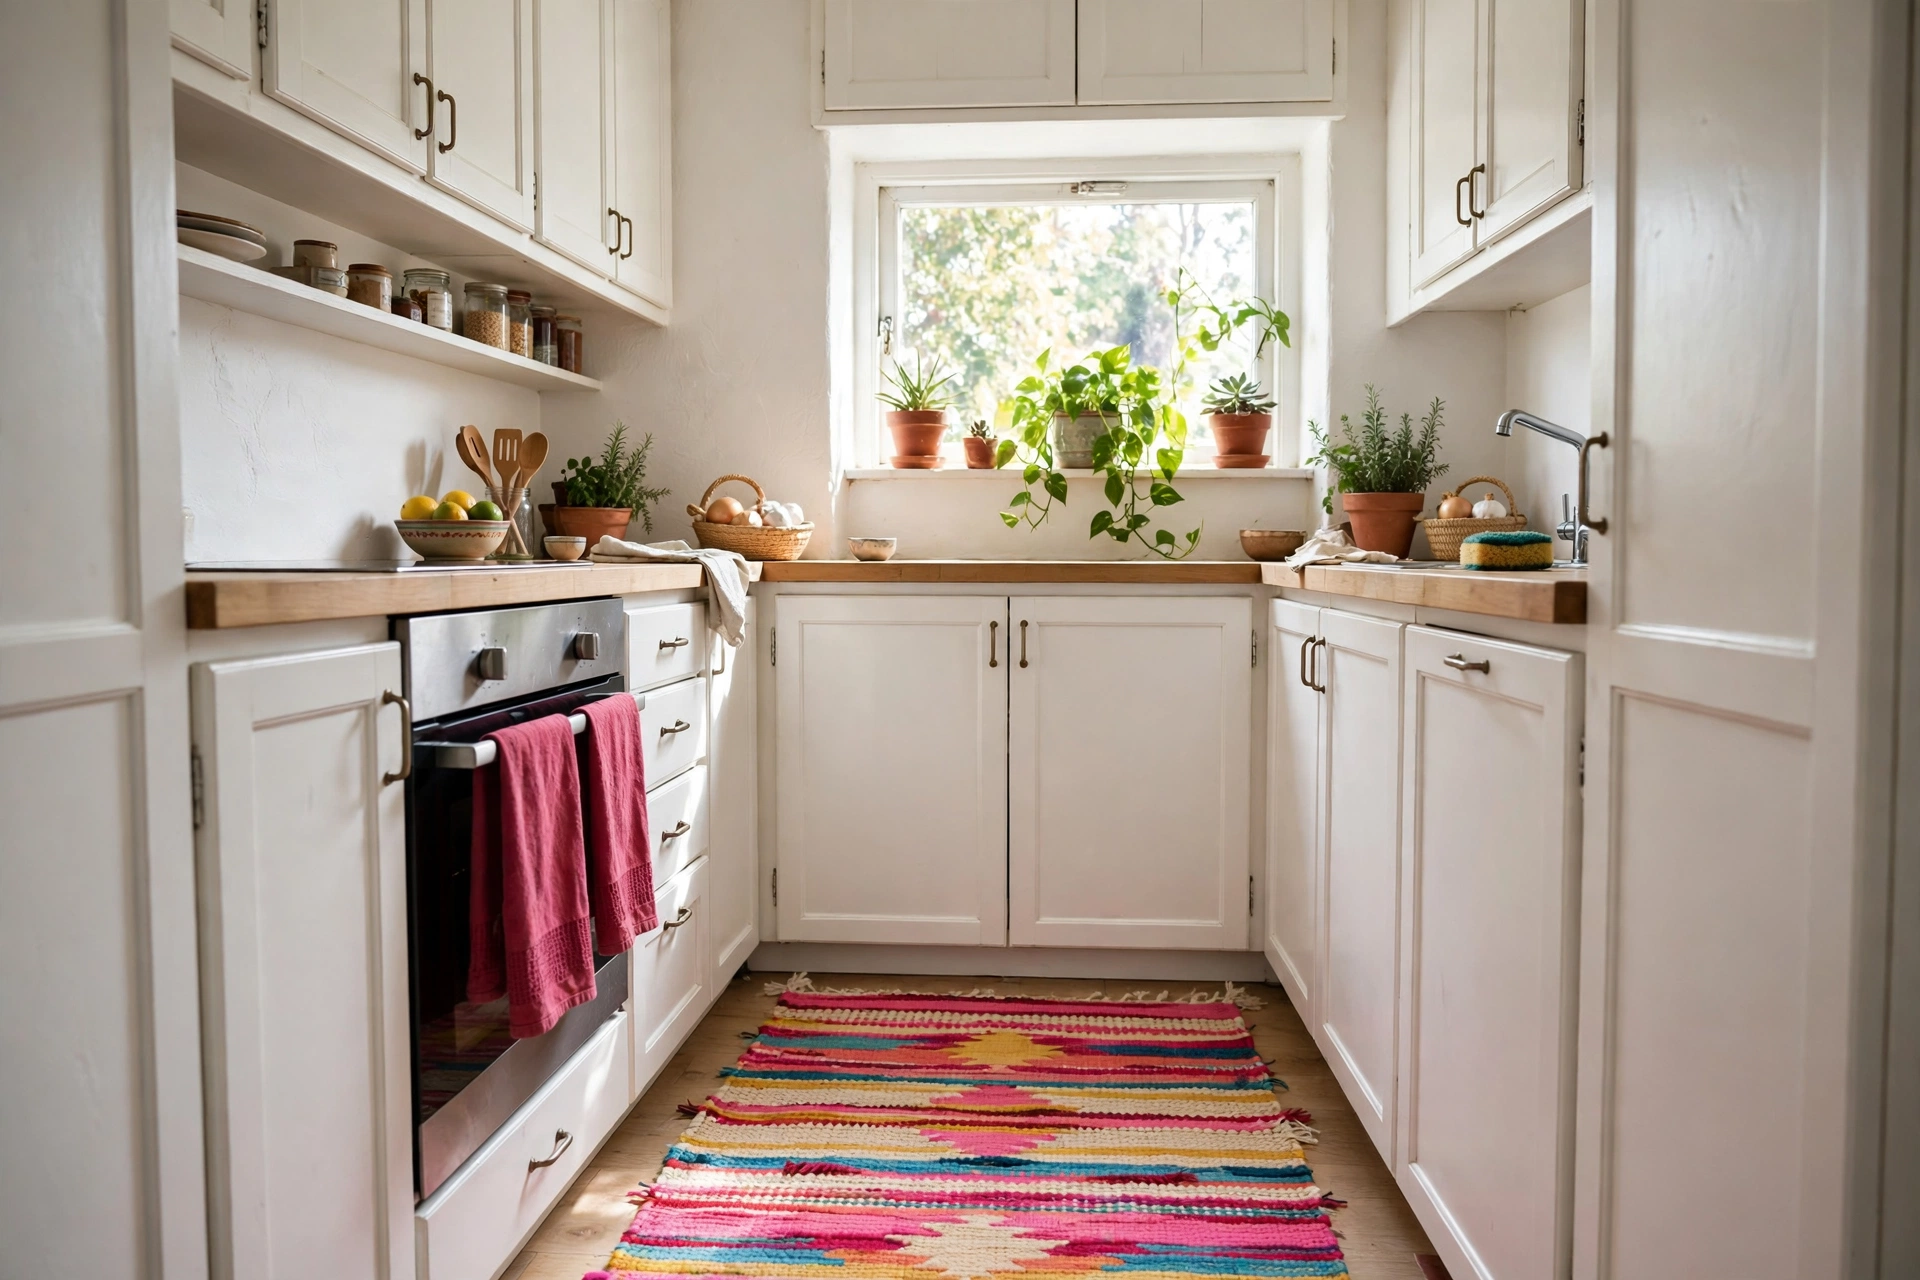
The runner is the bigger move. Most tired kitchen floors have one worst patch, usually in front of the sink, and a washable runner covers exactly that patch while giving you something soft to stand on. Two checks before you buy: it must be genuinely machine washable, not sponge-clean-only, and it must be low enough in pile that the kitchen door swings over it and nobody catches a toe on the edge. Measure the run and the door swing first. Buying before measuring is how runners end up folded in a cupboard.
The order I do them in: handles and light first, while the screwdriver is already out, and both are done inside an hour. Shelf styling next, because it costs nothing and shows you which colour the room wants. Textiles after that, in the colour you just chose. Paint last, on its own clear day.
What did not make the list, and why
Three popular "quick kitchen updates" are missing here on purpose. Sticky-back contact paper on worktops bubbles at the seams, lifts at the edges and marks with the first hot pan or knife slip. It photographs well for a few months and then it peels, and peeling it off is a miserable job. It is a photo fix, not an update.
Stick-on splashback tiles have the same glue problem in the worst place: behind a hob, heat softens the adhesive and the tiles creep. Behind a sink, away from heat, they are fine. Next to gas burners, they are not.
And new taps. A tap is the one change that genuinely lifts a sink area, but it is rarely a small-budget job. Older plumbing, stiff isolation valves and one seized fitting turn a Saturday swap into a plumber's callout, which is a different budget entirely. Save for it properly rather than pretending it belongs on this list.
The mistakes that undo all five
- Five updates, five clashing styles. Brass handles, chrome light fitting, farmhouse towels, a neon runner. Each is fine alone and chaos together. One metal finish, one colour, repeated. That is the plan.
- Buying before measuring. Handle centres, strip length, runner length and door swing. Four numbers, ten minutes, and nothing has to go back.
- The marathon day. All five in one exhausting Saturday ends with paint on the new towels and a deep hatred of the room. Spread across a weekend or two, every one of these is a pleasant job.
- Decorating around a broken workflow. If the bin is in the wrong place and the knives live across the room from the board, fix that first, for free. Updates make a working kitchen prettier. They cannot make a badly arranged one work.
Questions I get asked about cheap kitchen updates
I rent my home. Which of these can I actually do?
Four of the five, with care. Handles, as long as you keep the old set labelled and refit them when you leave. Under-cabinet light, in the battery or removable-strip versions. Shelf styling and textiles, completely. Painting is the only one that needs your landlord's agreement, and get it in writing rather than assuming a small wall will not be noticed.
If I can only do one, which one?
The under-cabinet light. You will use it every single evening, it makes cooking easier as well as prettier, and it changes the feel of the room more than any object you can buy for the same small money. Handles come a close second if yours are truly dreadful.
How do I choose the colour for the painted bit?
Steal it. Pick a colour already living in the room, in the runner, the towels, a favourite pot, and repeat it bigger. Then test it on a board at least the size of a tea towel and look at it in morning and evening light before you commit, because kitchen light changes more across a day than any other room's.
How long do all five take, honestly?
About an hour for the handles, half an hour for the light, an afternoon of sorting and styling, and a full day for the paint once drying is counted. That is a weekend with the paint day left to itself, or two easy weekends. Anyone who tells you it is one day is not counting the drying.
Small kitchens and small budgets are not the problem they are made out to be. A few repeated decisions, made in the right order, and the room looks like somebody loves it. Tell me in the comments which of the five your kitchen needs most, and I will help you argue with the colour chart.
Lisa Ben
Lisa paints, builds, thrifts and rearranges her way through one very patient house, then writes down everything she learns here on Wazala. Small budgets are her favourite puzzle. New projects land every Tuesday, Thursday and Saturday, and the Sunday Letter rounds them up once a week.
You might also like
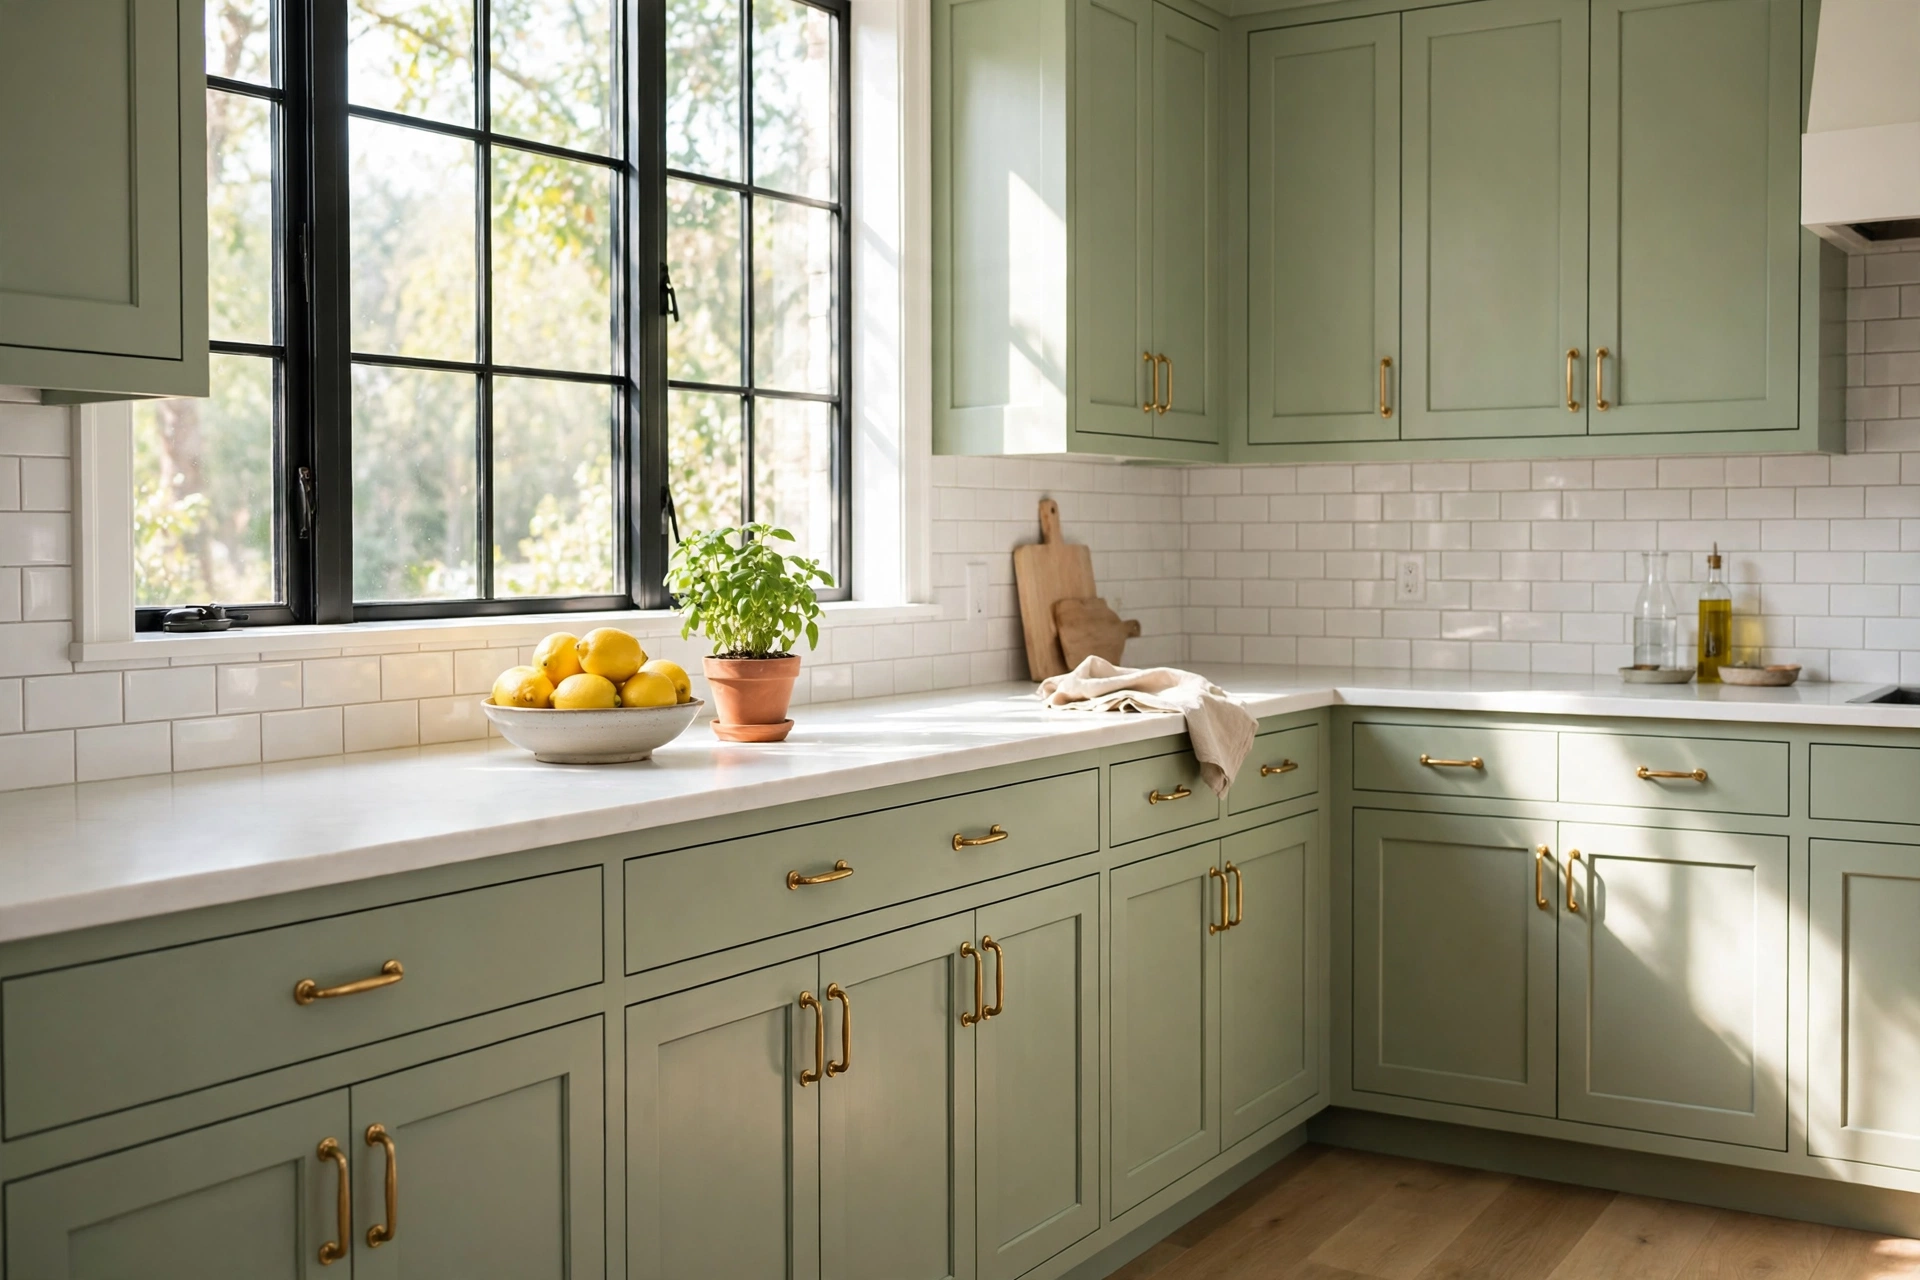
9 Small Kitchen Ideas That Add Real Storage
Small kitchens do not need more cabinets, they need the awkward gaps put to work. Nine storage ideas, from the gap beside the fridge to the inside of cupboard doors.
Read more →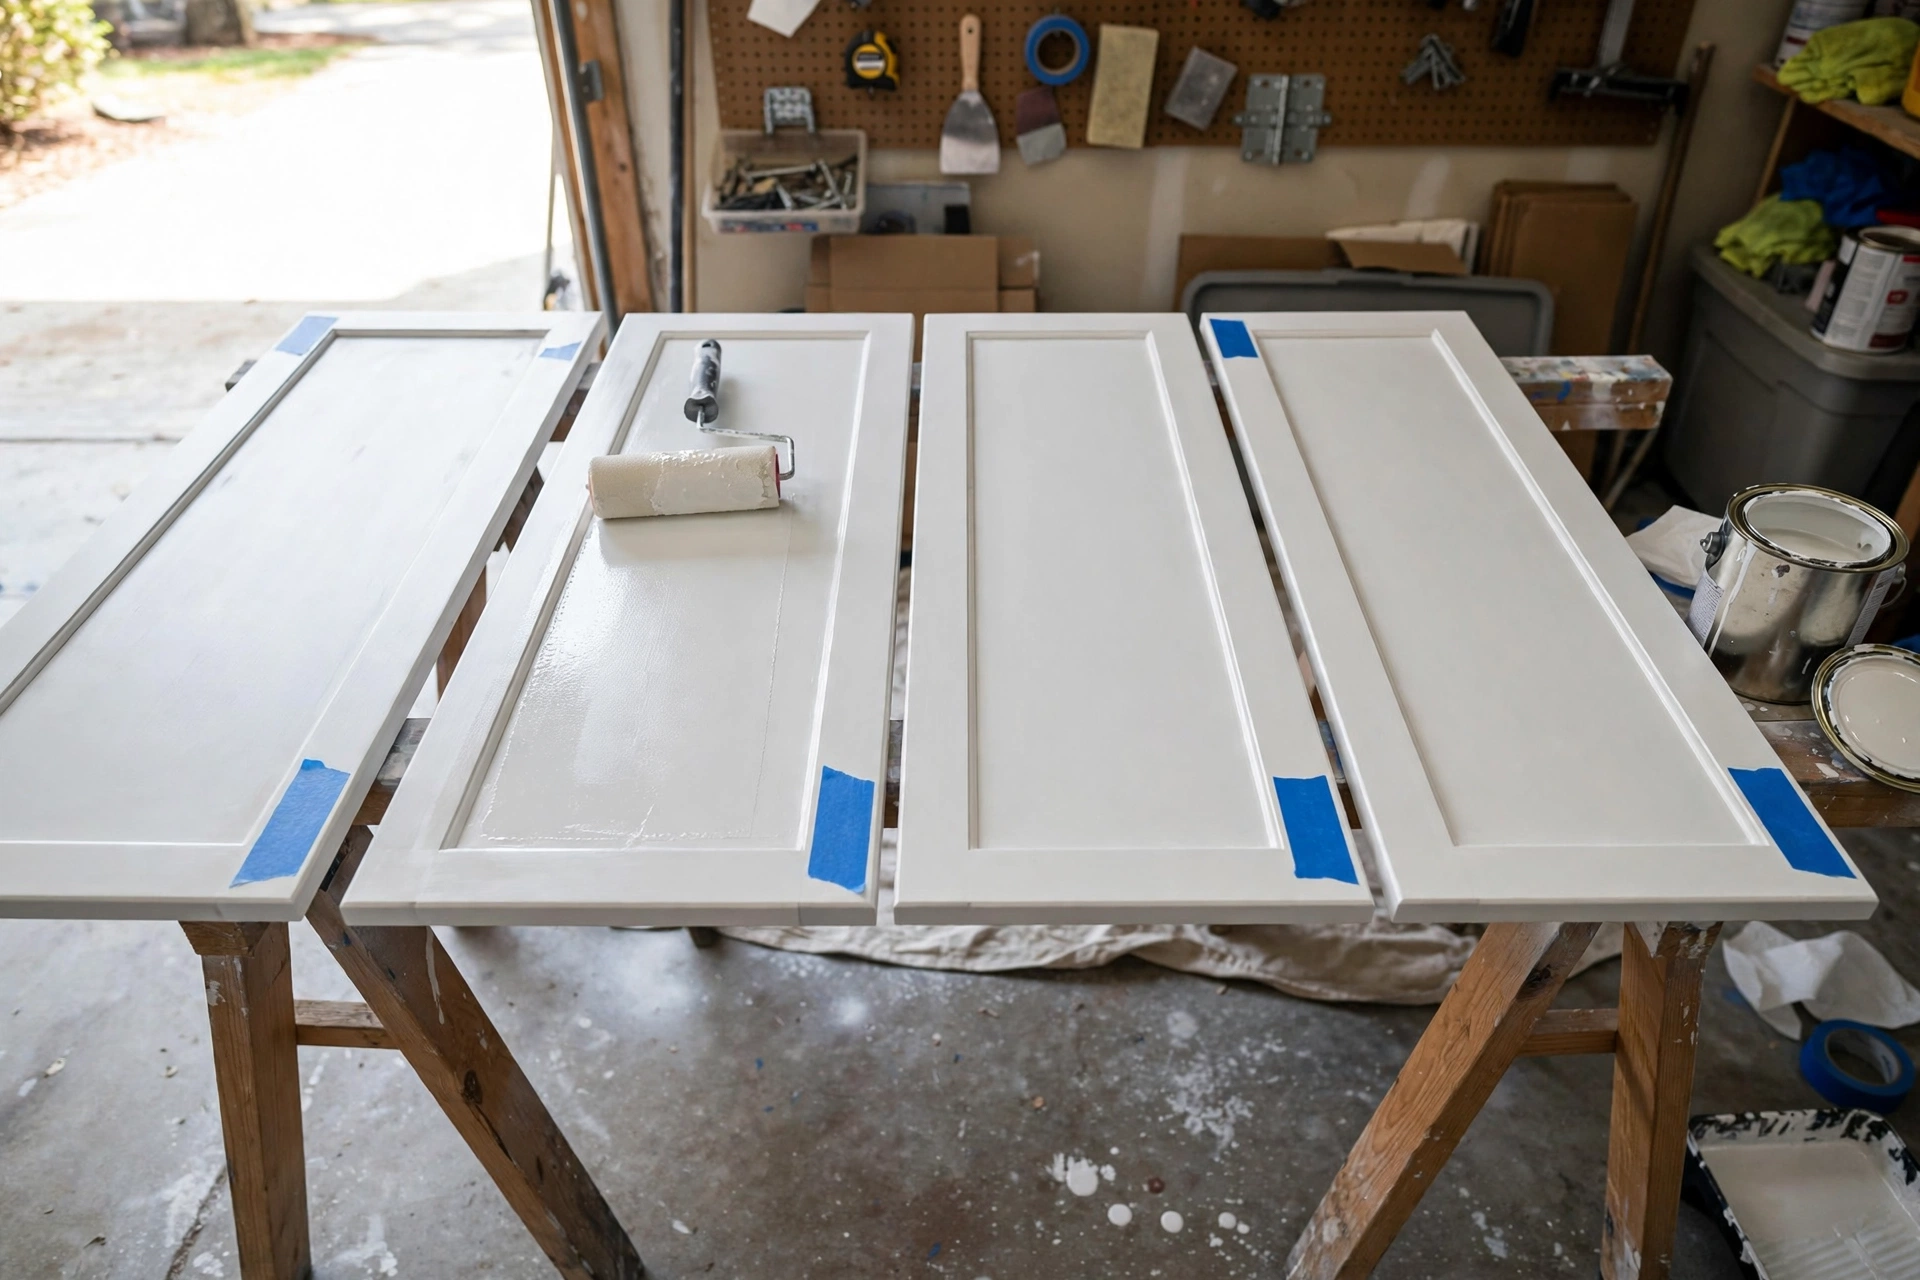
How To Paint Kitchen Cabinets And Have The Finish Last
The full cabinet process: degreasing, priming, and the drying times nobody tells you.
Read more →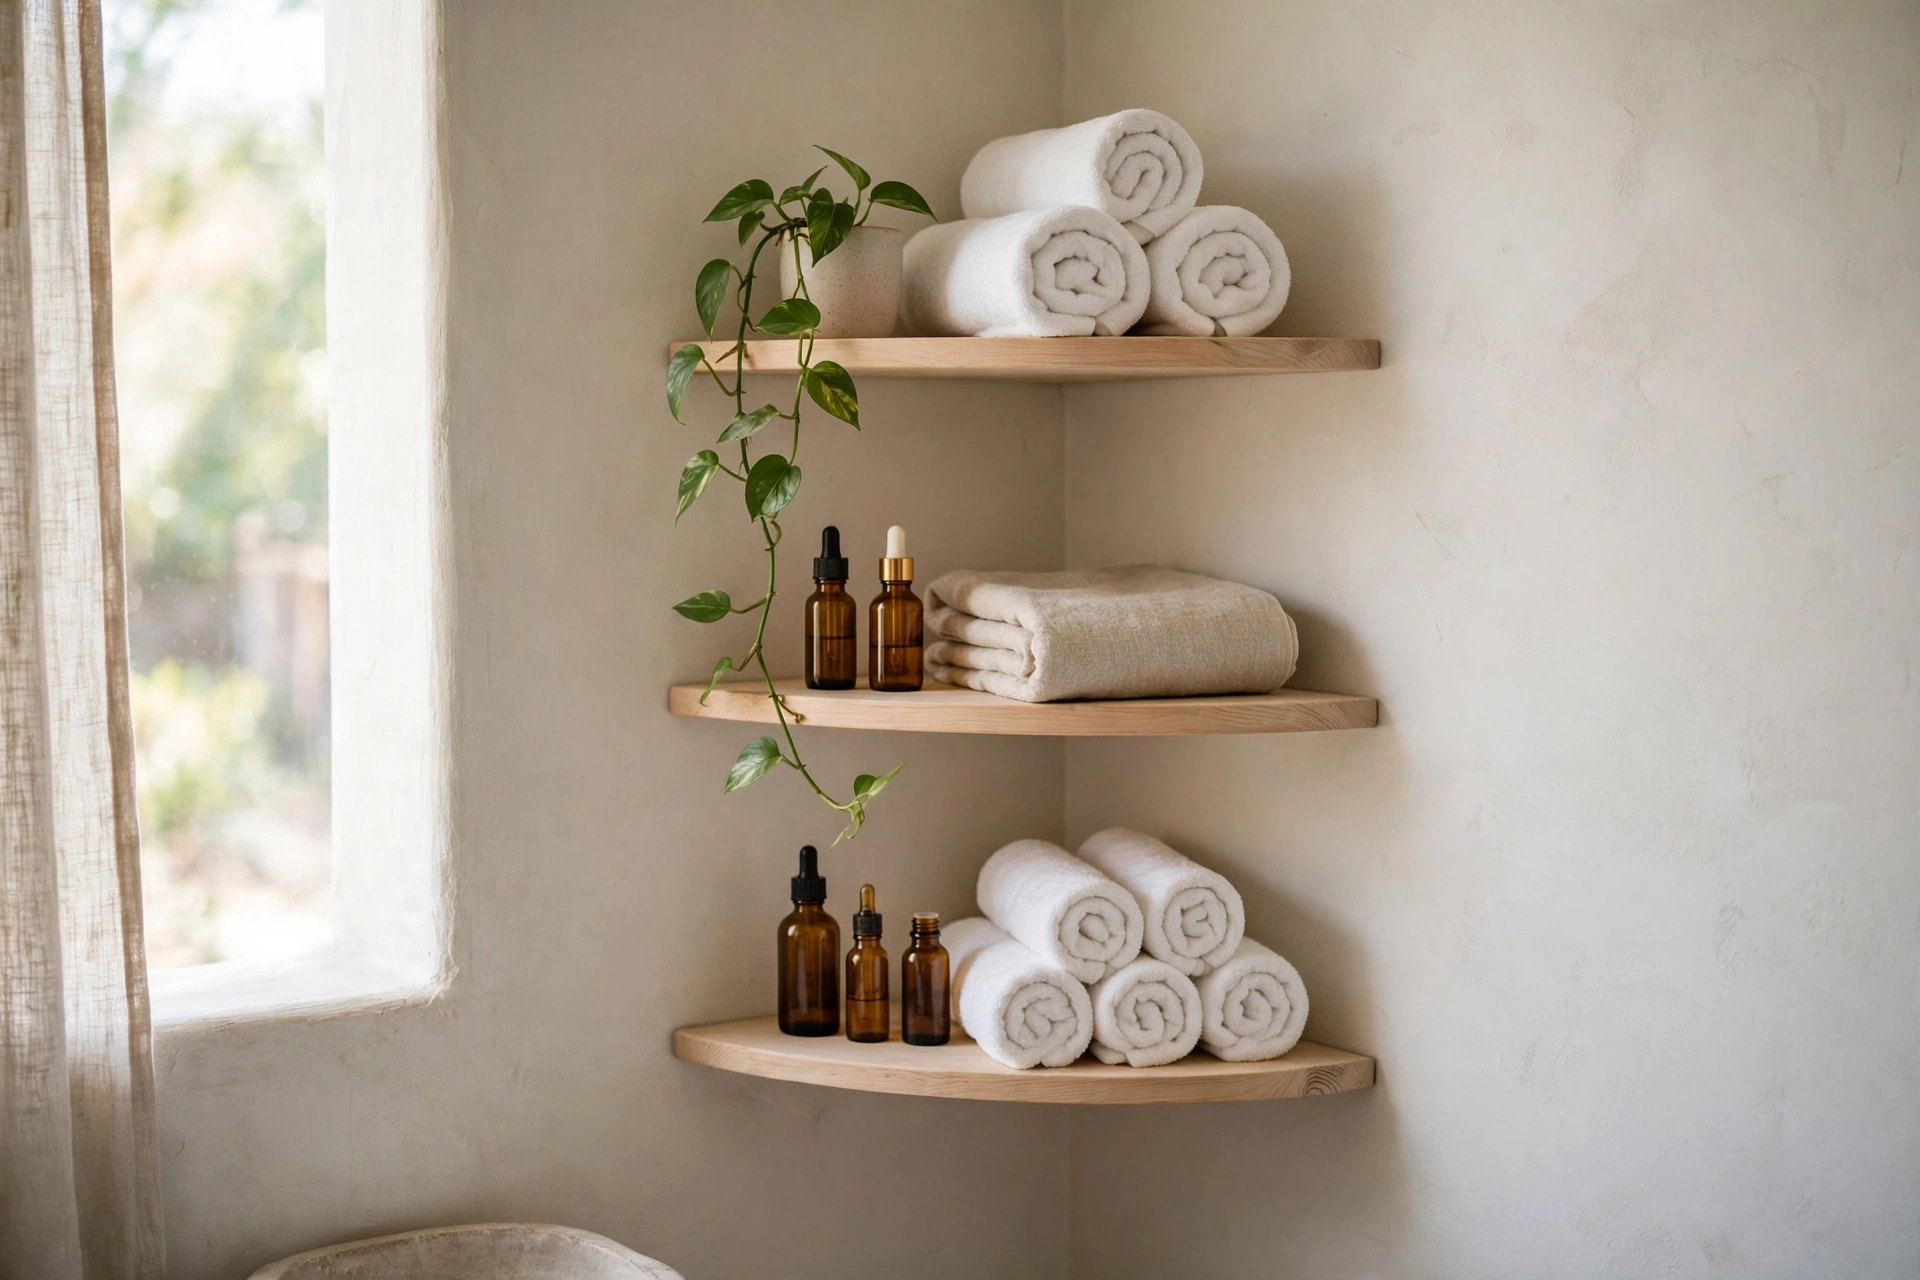
Quick Bathroom Makeover With No Demolition
No tiles came off and no plumber was called. Paint, a new mirror, swapped handles and better light gave this small bathroom a new face.
Read more →