Propagate Pothos: Turn One Plant Into Twelve
 By Lisa Ben
·
October 30, 2026
·
10 min read
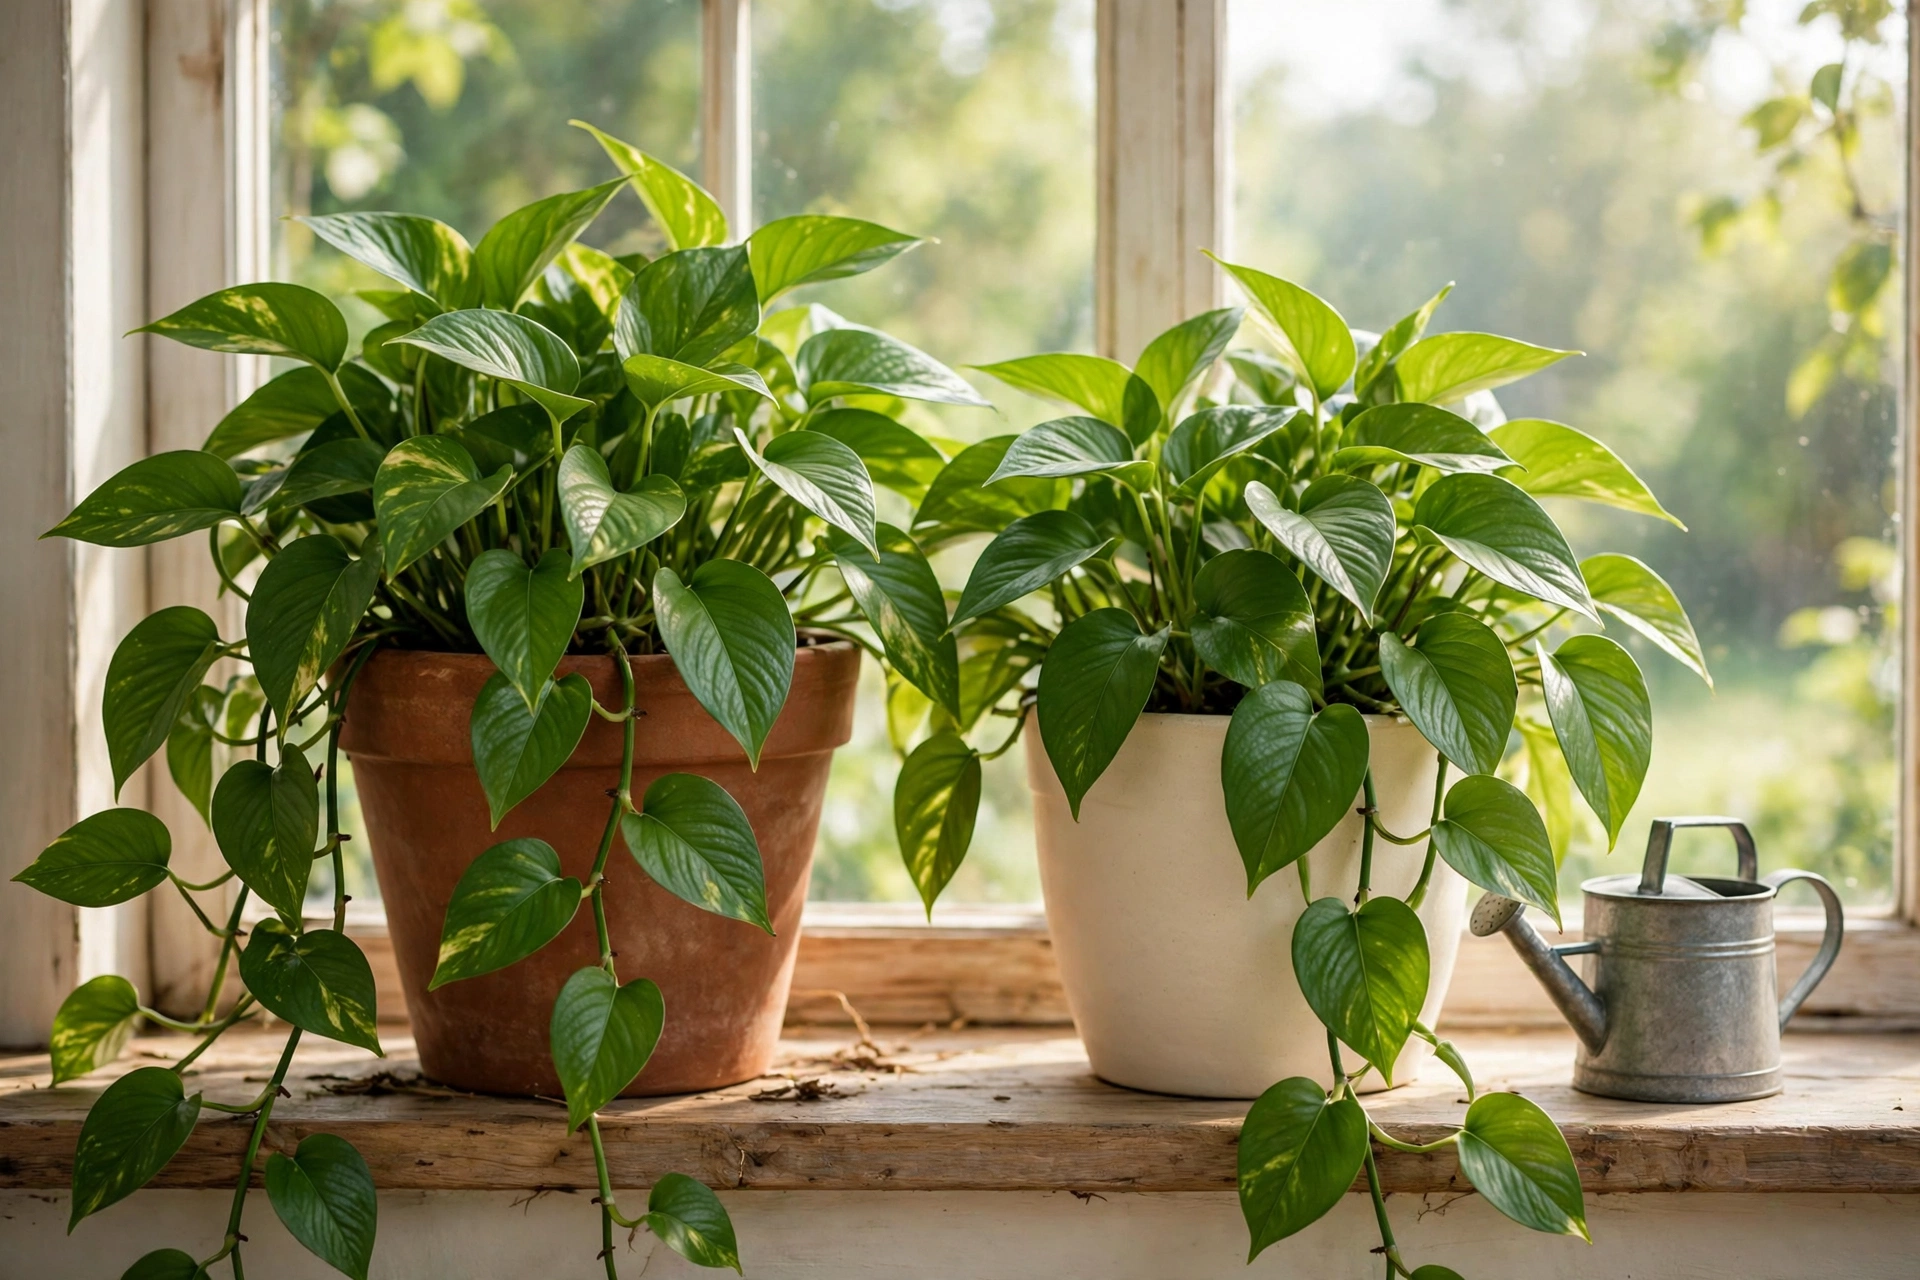
Every pothos in my house started as a cutting from somebody else's plant. The first one came home in a jam jar from a friend's kitchen, one long vine with five leaves, and I was so sure I would kill it that I took a photo of it alive, just to have proof it once looked nice. Three years on, that vine has filled a bookshelf, colonised the top of the bathroom cabinet, and provided cuttings for half my street.
If you have never propagated a plant before, start here. Pothos is the training-wheels plant for this job. It roots in plain water, where you can watch every stage happen. It forgives slow beginners, cold windowsills and being forgotten for a week. And it asks for nothing you do not already own. By the end of this post you will know how to take one trailing vine and turn it into a dozen new plants, and what to do when a cutting refuses to cooperate.
The one thing that makes it work: the node
Here is the whole secret, and it is worth learning before you cut anything. Pothos roots do not grow from just anywhere on the stem. They grow from a node, the slightly swollen bump where a leaf joins the stem. Think of it as a knuckle on a finger. Every leaf has one, and hiding in that bump is everything the plant needs to start again.
Run a vine slowly through your fingers and look at each leaf joint. On a lot of nodes you will spot a small brown, knobbly nub. That is an aerial root, the plant's own spare root, waiting for something wet to grab onto. A cutting with a node will root. A piece of plain stem, or a leaf on its own, will sit in water looking hopeful for weeks and quietly rot. Nine out of ten failed cuttings I get told about turn out to be pieces with no node on them. Find the bumps first, then pick up the scissors.
What you need
Short list, nothing fancy:
- Sharp scissors or pruners. Clean ones. A wipe with hot soapy water or a dab of rubbing alcohol keeps rot away, and clean cuts heal faster than crushed ones.
- Clean glass jars or bottles. Jam jars are perfect. Glass is better than plastic here because you can watch the roots, which is half the fun.
- Fresh water. Ordinary tap water is fine.
- Small pots with drainage holes, around 9 to 11 cm across, for potting up later.
- Free-draining potting mix. A standard houseplant mix works. If yours feels heavy, stir in a handful of perlite.
The water method, step by step
Step 1: Pick a healthy vine
Choose a long vine with firm green leaves and a stem that feels springy, not soft. A leggy vine that has outgrown its shelf is ideal, because cutting it does two jobs at once: you get cuttings, and the mother plant usually answers by pushing out fresh growth near the cuts. Skip any stem that is yellow or mushy at the base. That one has problems scissors will not fix.
Step 2: Cut just below a node
Work along the vine and cut about half a centimetre below a node. Each cutting wants one or two nodes and one or two leaves. A long vine gives you a whole row of these, like snipping beads off a string. Keep going until the vine is used up or you run out of windowsill, whichever comes first.
Step 3: Strip the lowest leaf
Look at each cutting and take off any leaf that would sit below the water line. Leaves under water turn to mush, and mush is an open invitation to rot. The leaf at the very node you are rooting usually has to go. It feels ruthless. It is the step that saves the most cuttings.
Step 4: Into the jar
Set the cuttings in the jar so the node is under water by a couple of centimetres and every leaf is up in the air. A few cuttings per jar is fine; a crowd of fifteen in one small jar is not, because they compete for the same water and light. Spread them out if you have taken a lot.
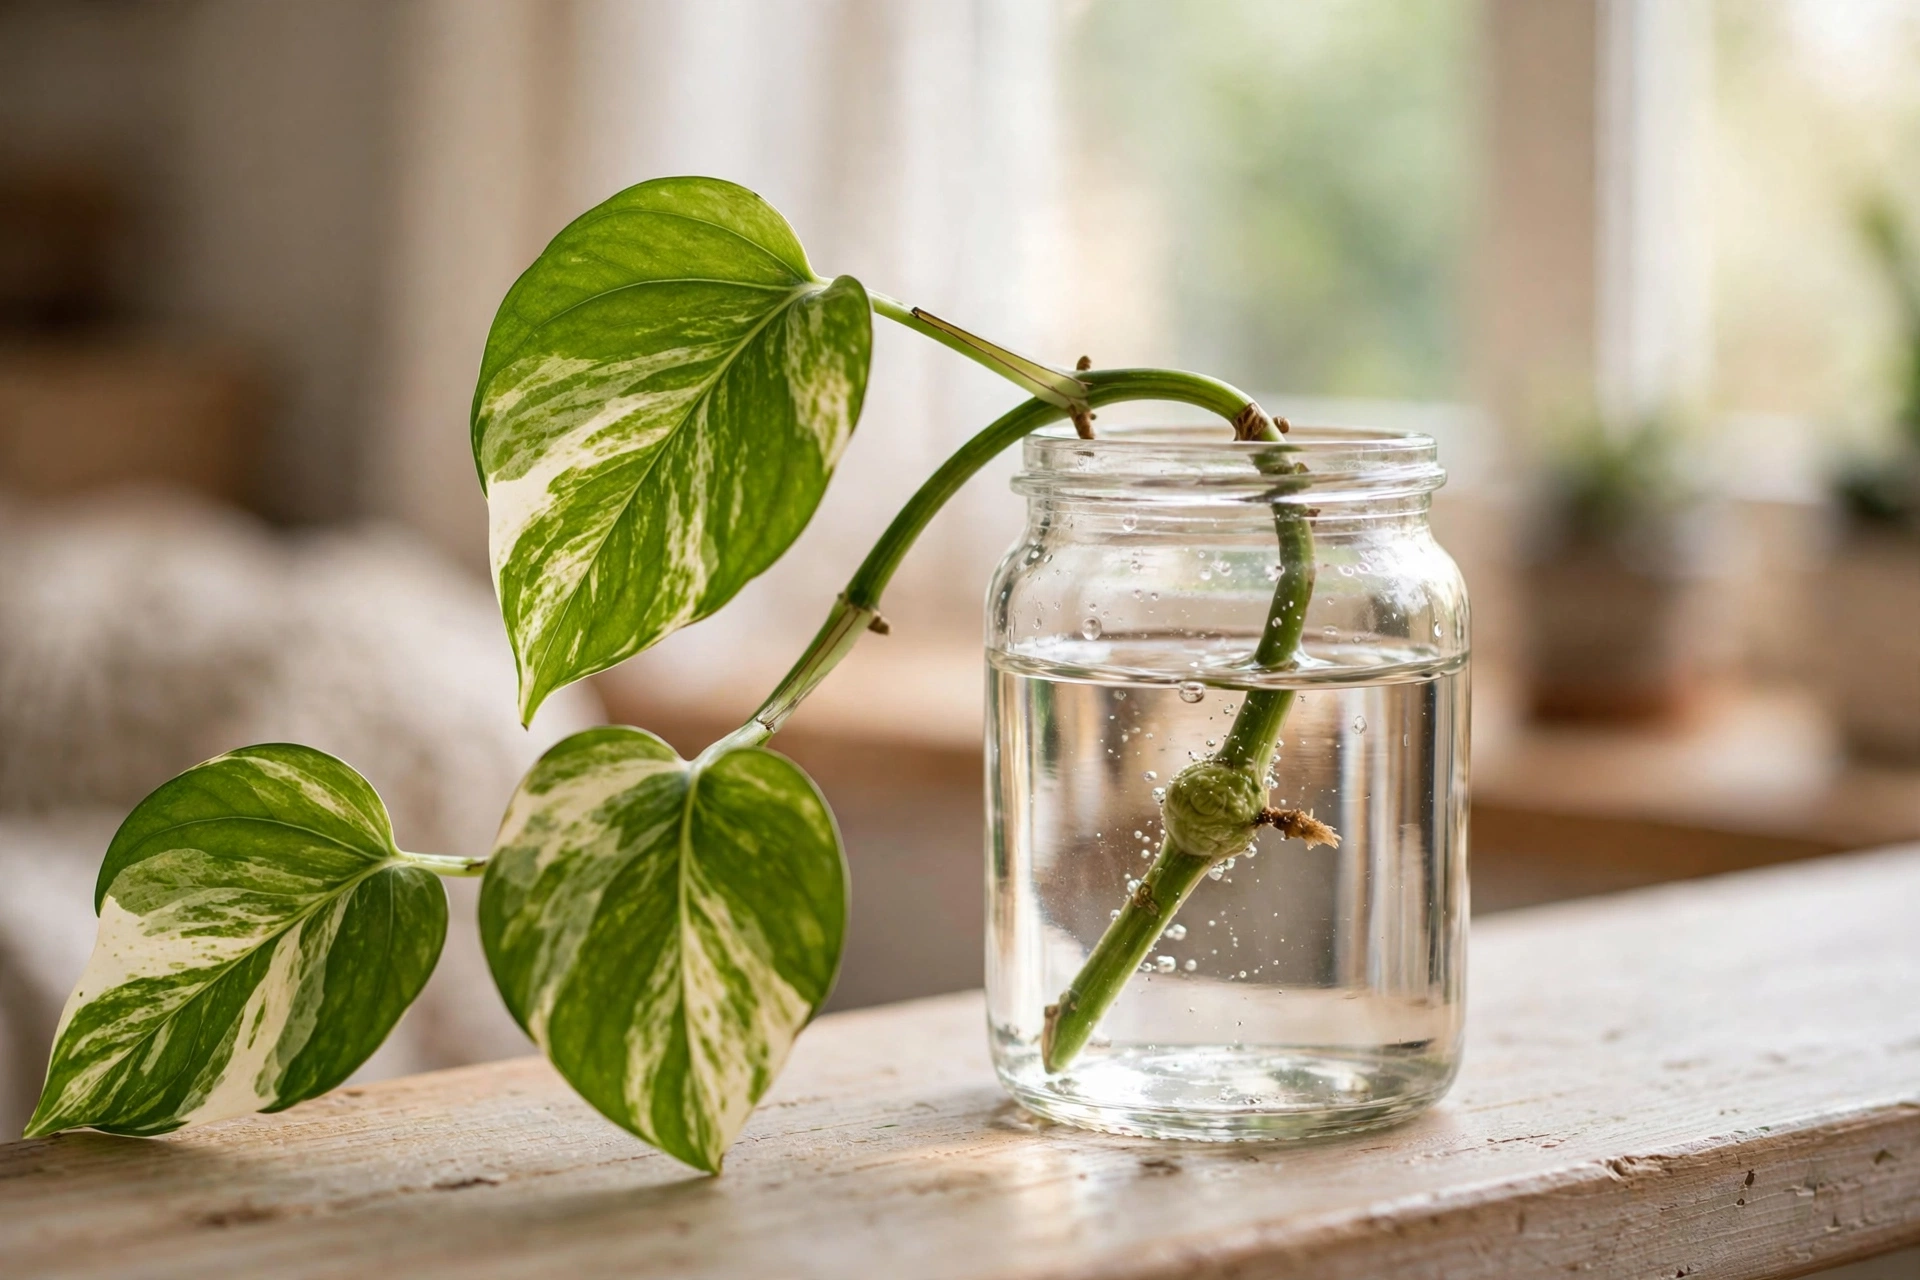
Step 5: Light, and the weekly water change
Put the jar somewhere with bright, indirect light. A windowsill that gets gentle morning sun is lovely; a sill that bakes at midday can cook a jar like a tiny greenhouse, so pull it back a little if yours runs hot. Then the only real chore: change the water once a week. Out with the old, in with fresh. Fresh water carries oxygen the roots use, and stops the jar going cloudy and stale. If a stem feels slimy when you lift it out, rinse it gently under the tap before it goes back in.
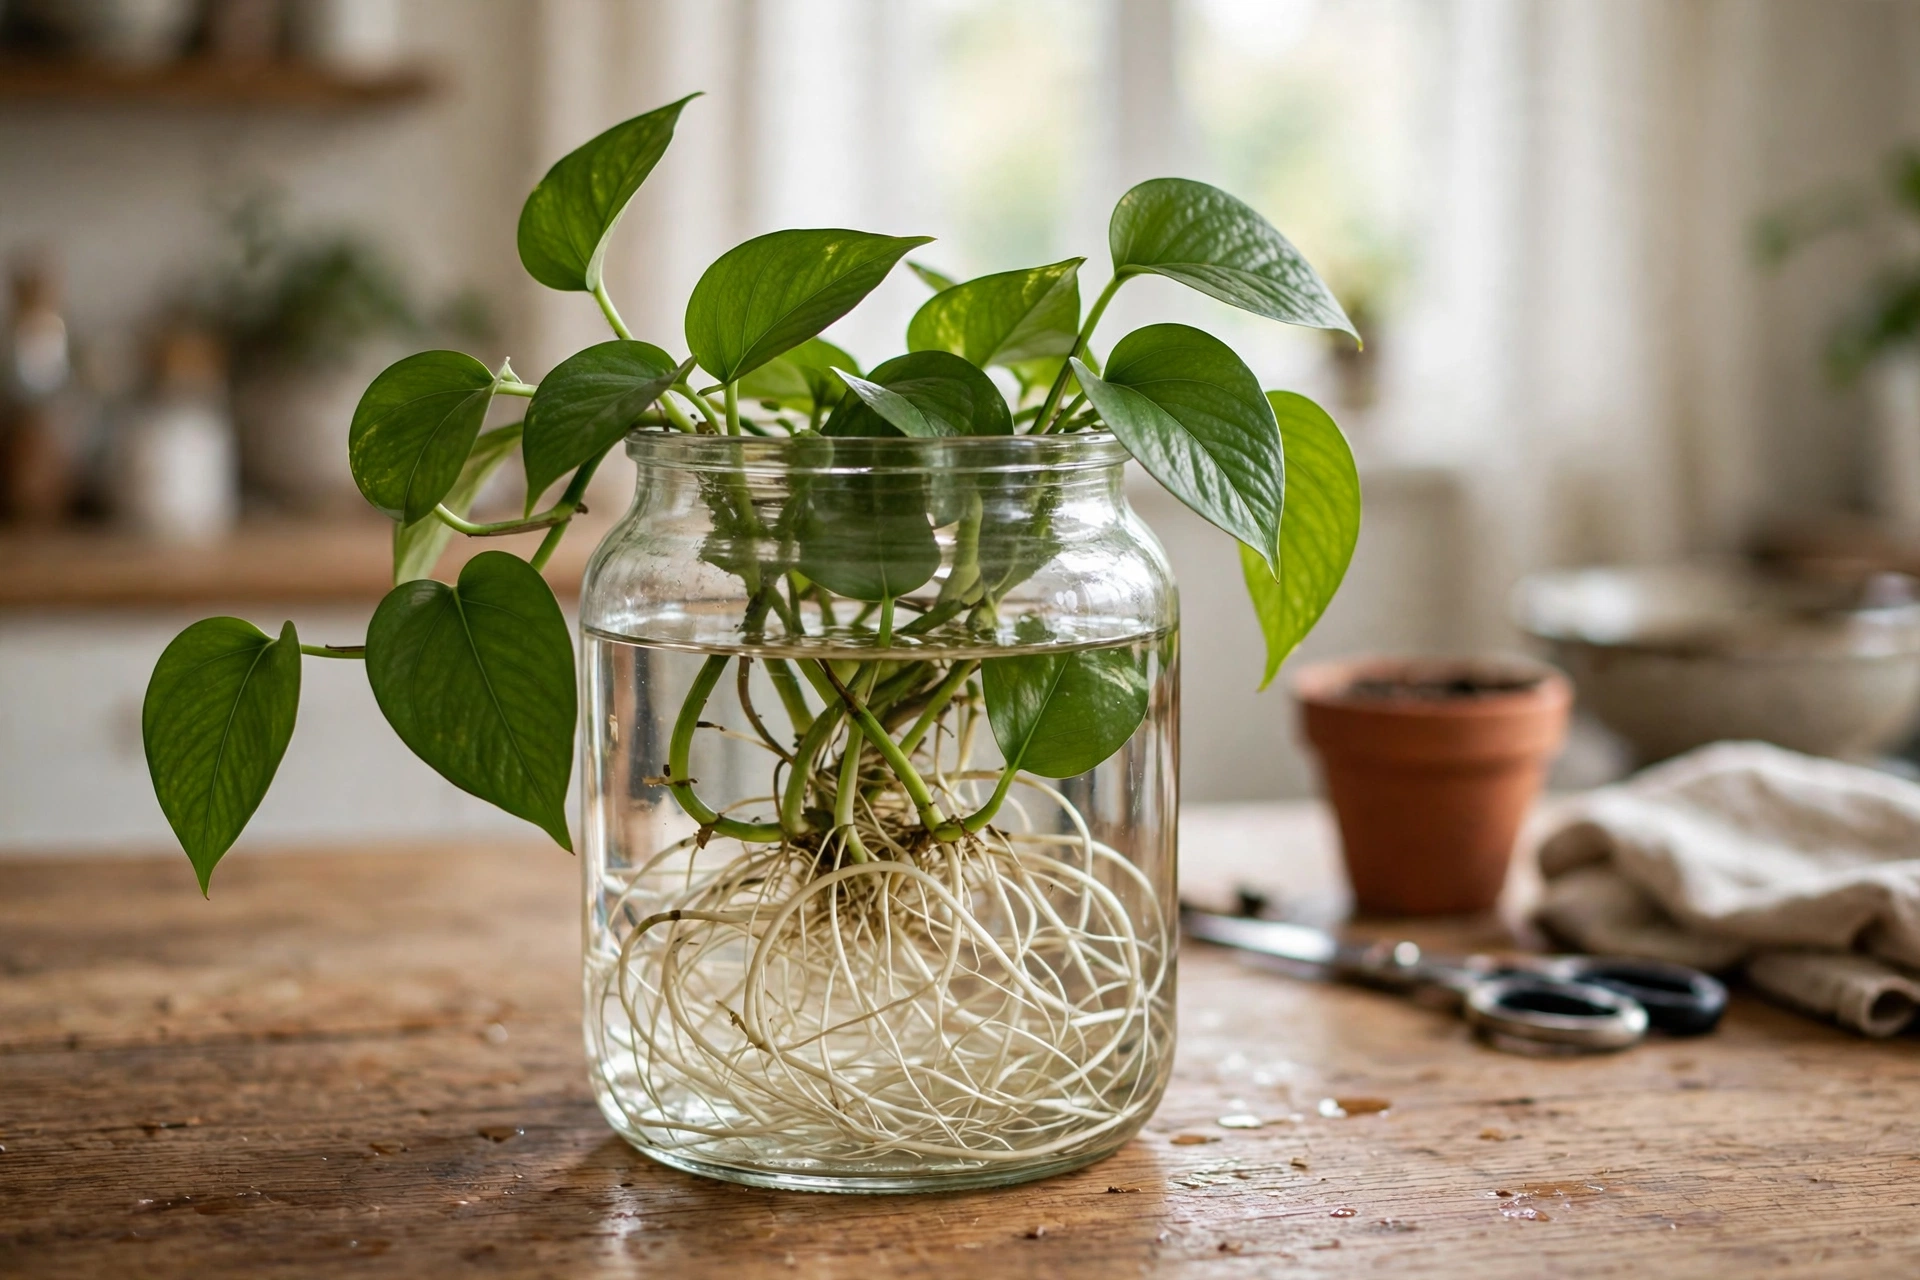
Now the waiting. The first white root tips usually show somewhere between one and three weeks. Warm rooms in spring and summer sit at the quick end of that range; a winter cutting on a cold sill takes its time, and that is normal, not failure. Hold your nerve at day ten. Do not pot up at the first whisker of root, though. Wait until the roots are a few centimetres long, roughly 5 to 8 cm, with the odd little side root starting. Much shorter and the cutting cannot drink fast enough once it hits soil. Much longer and water roots grow brittle and sulk when they are moved.
Potting up, step by step
When the roots reach that 5 to 8 cm mark, moving day has arrived. Fill a small pot with mix and water the mix first, so it is damp all the way through. Poke a hole in the middle with a finger or a pencil. Lower the roots in gently and spread them a little; they snap easily, so no forcing. Backfill around the stem, firm the mix lightly with your fingertips, then water the pot well until it runs out of the bottom.
Here is the part most people get wrong. For the first fortnight, keep that pot noticeably wetter than you would keep an established pothos. Water roots grew up drinking whenever they liked, and they need time to adjust to hunting for moisture in soil. Let a new cutting dry right out in its first week and it will wilt and sulk, sometimes fatally. Keep the mix moist (not swampy), keep the pot in bright indirect light, and forgive it a mild droop in the first few days. After two weeks, ease back into the normal pothos routine: water when the top few centimetres of mix feel dry.
One more tip that changes everything about how the finished plant looks: put three to five cuttings in one pot, spaced around it. A single cutting grows into a single vine, which looks stringy for months. A group grows into a full, bushy plant that looks like the ones in the shops.
The soil shortcut
If jars on the windowsill do not appeal, skip the water stage entirely. Take the cuttings in exactly the same way, one or two nodes each, and push the node just under the surface of damp mix in a small pot. Keep that mix consistently moist for the first few weeks, the same wetter-than-usual rule as potting up, and give the pot bright indirect light. You cannot watch the roots, which I miss, but the cutting never has to adjust from water to soil, and some people find their soil-rooted cuttings take off faster once they start. After three or four weeks, test with the gentlest tug. Resistance means roots have taken hold. No resistance, leave it alone and check again next week.
One plant into twelve: the maths
Now the satisfying bit. Go to your longest vine and count the nodes, one per leaf. A healthy trailing vine easily carries twelve or more. At one node per cutting, that is twelve cuttings from a single vine, and most plants have more than one vine you can trim. Pot those twelve at four cuttings to a pot and you have three full new plants. Or keep some jars going for the shelf, and give the rest away. A rooted cutting in a jam jar makes a genuinely good present; I have handed out dozens and nobody has ever looked disappointed.
The mother plant comes out ahead too. A vine left to trail forever gets bare near the pot, all leaves at the far end and naked stem behind them. Cutting it back wakes up growth nearer the base, so the plant you took from ends up fuller than the one you started with. Spring and early summer give the fastest roots, but on an indoor windowsill you can do this in any month. Just expect the honest, slower end of the timeline in midwinter.
When cuttings go wrong
The stem is rotting
The usual causes are a leaf left under the water or a jar that never got its weekly change, sitting there going stale. Rescue it like this: lift the cutting out, cut away every soft, brown or translucent bit of stem until you reach firm green tissue, then start it again in a clean jar of fresh water with all leaves above the line. If the rot has reached the node itself, that cutting is done. Compost it and take another; this is a plant that gives you plenty.
A month has passed and there are no roots
Check the cutting for a node. Seriously, check again. A piece of plain stem, or a leaf with a stalk, can sit in water for a month looking green and alive and never root, because it physically cannot. If there is no bump, there will be no roots. If the node is definitely there, the likely culprits are a cold spot or a dark corner; move the jar somewhere warmer and brighter and give it two more weeks.
The mother plant looks bald
A leggy, bare-stemmed mother plant is the best reason to propagate in the first place. Cut the vines back and root the pieces, and she will push new growth from points near the cuts. You can also fill out the top of the pot without cutting anything: coil a bare section of vine across the surface of the mix and pin the nodes down with a hairpin or a bent paperclip so they touch the soil. Those nodes root into the pot and the top fills in.
One gentle safety note: pothos is a kind plant to grow and an unkind one to eat. The leaves and stems contain tiny crystals that irritate mouths and stomachs, and the plant is toxic to cats, dogs and small children if chewed. Keep the jars and pots up on shelves, out of reach of small hands and curious pets, and if you have been handling a lot of cuttings, wash your hands afterwards. It is the reason my bathroom pothos lives on top of the cabinet, which it seems to enjoy anyway.
Questions I get asked about pothos cuttings
Can I root a single leaf with no stem?
No, and I say that with love, because I tried for a whole spring. A leaf on its own has no node, and the node is where roots come from. It can sit in water looking fresh for weeks, which is what fooled me, but it will never grow into a plant. You need a piece of stem with at least one leaf joint on it.
Can cuttings just live in water forever?
They can survive in water for a very long time, and a jar of pothos on a sill looks lovely. But they grow slowly and stay on the small side, because water has none of the food soil provides. Keep changing the water weekly, and if you want a plant that actually fills a pot, pot the cuttings up. If you want the jar look, that is a fair choice too.
Why are the new leaves smaller, and less patterned?
Young growth starts small, and marble patterning on the leaves fades when the light is low. Move the pot somewhere brighter, without direct midday sun on the leaves, and the variegation usually comes back on the next leaves. The leaf size catches up once the plant settles and starts feeding properly.
When is the best time of year to do this?
Spring and early summer, when the plant is growing fast and roots follow quickly. Indoors, though, pothos will root in any month. A cutting taken in December just takes the slower end of the timeline, three weeks rather than one, and needs the warmest, brightest spot you have.
That is the whole method: find the node, keep it wet, be patient for a few weeks, then be generous with the water while the new plant settles. Tell me in the comments how many cuttings you got from your longest vine. My record from one vine is fourteen, and I am quietly competitive about it.
Lisa Ben
Lisa paints, builds, thrifts and rearranges her way through one very patient house, then writes down everything she learns here on Wazala. Her windowsills are full of jam jars rooting somebody's next houseplant. New projects land every Tuesday, Thursday and Saturday, and the Sunday Letter rounds them up once a week.
You might also like
7 Plants That Survive Rooms With Almost No Sun
The honest shortlist for north-facing rooms, dark hallways and that one gloomy corner.
Read more →
Small Living Room Layouts: 6 Arrangements For Tight Spaces
Six ways to arrange a small living room, with the walkway clearances that make each one work.
Read more →
A Small Balcony Makeover On A Shoestring Budget
Big change, tiny spend: shade, seating and as many plants as the railing can hold.
Read more →