Quick Bathroom Makeover With No Demolition
 By Lisa Ben
·
October 7, 2026
·
10 min read
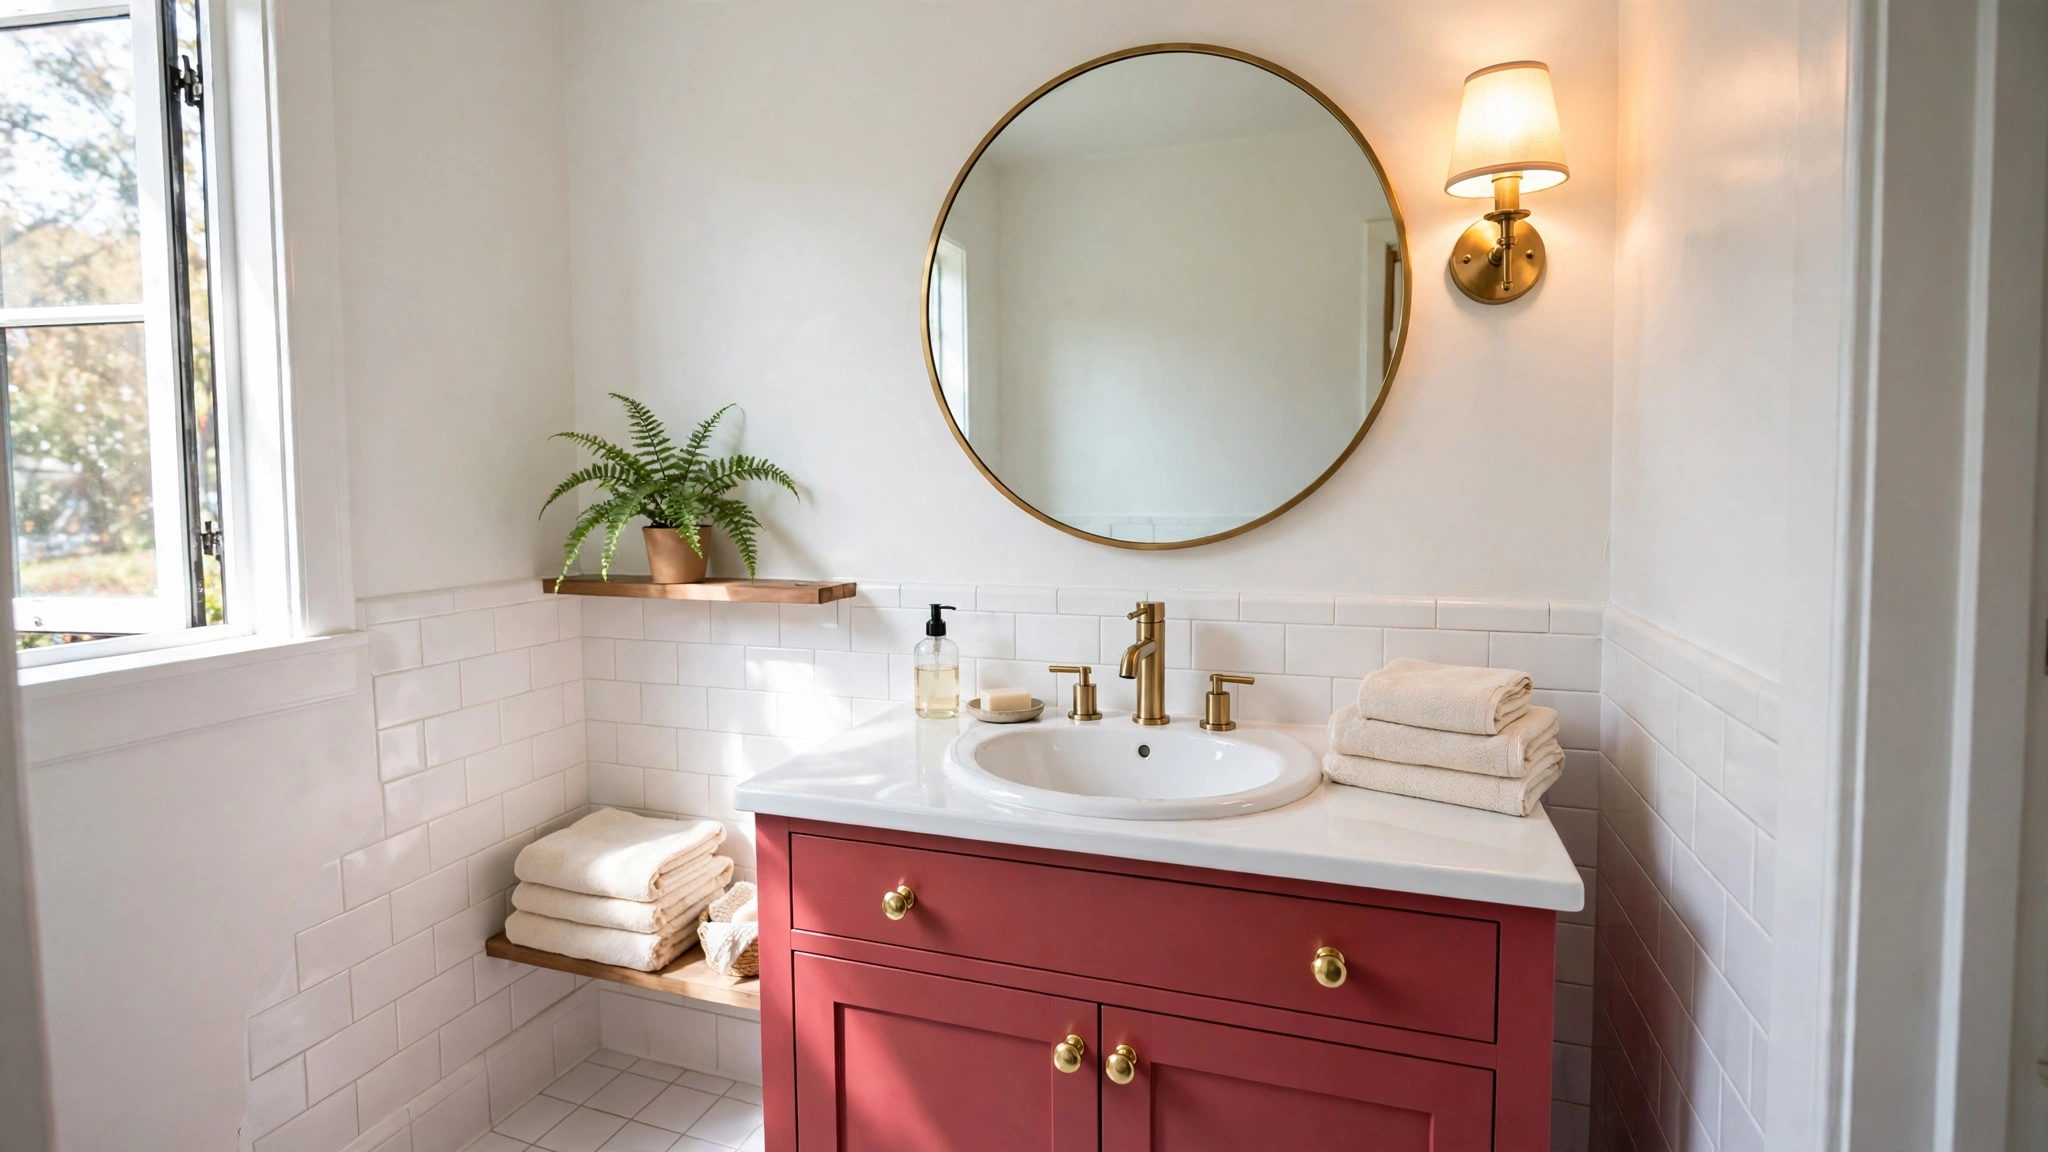
Our bathroom was not awful. That was the problem. It was fine in the way a room is fine for years while quietly making you sigh every morning: grey grout that used to be white, a vanity the colour of weak tea, a mirror the size of a dinner plate, and one ceiling light that made everyone look like they had been up all night. So I gave it a weekend. No tiles came off, no plumber was called, nothing got demolished. Everything I changed was paint, hardware, fabric or something hung on a hook.
One honest note before we start: this is a makeover, not a renovation. The bath, basin and layout are exactly where they always were. What changed is everything you actually look at, and the order below matters more than the shopping. Clean first, paint second, pretty things last.
Step 1: The deep clean, fresh grout and new sealant
Start with the job nobody would photograph. I emptied the room completely, scrubbed the tiles, descaled the taps and shower head, and went at the grout until it remembered it was supposed to be pale. Then I cut out the blackened silicone around the bath and basin with a craft knife, cleaned the gap with methylated spirit, and ran a fresh white bead of sanitary sealant in its place. Sealant is the cheapest transformation in this whole post. A crisp white line around a bath makes the tiles next to it look new from two steps back.
Any black mould spots got treated with a mould remover and left to dry fully before paint went anywhere near them. Painting over mould is the one mistake I will not make twice; it blooms back through fresh paint in a matter of weeks, and then you own a pink bathroom with spots. My full method for the grout itself, including the paste I use on stubborn lines, is in my guide to cleaning grout. This step cost an afternoon and almost nothing else, and on its own it took the room from tired to merely plain. Plain is a fine place to paint from.
Step 2: Paint the walls with proper bathroom paint
Ordinary emulsion does not belong in a steamy bathroom. It drinks moisture, bubbles, peels in the corners and gives mould a friendly surface to grow on. Kitchen and bathroom paints are made differently: mould-resistant, scrubbable, and far better at shrugging off steam. I used a soft, warm white in a mid-sheen finish on the walls, which bounces a little light around without showing every bump the way gloss does.
Prep was a wash down with sugar soap, a skim of filler in two cracks, and tape along the tiles and ceiling line. Two coats, with a proper drying gap between them, and I left the window open and the extractor running so the room stayed dry while it cured. Do not run a hot shower against fresh bathroom paint. Steam on a curing coat is how you get a finish that peels in ribbons by Christmas. If the household cannot manage a day of baths with the door wide open instead, paint on Friday and shower at the gym on Saturday. I am only half joking.
Step 3: Paint the vanity, then swap the handles
The vanity unit was solid, just a sad colour. Wrapping it in vinyl film was the other option, and vinyl is fine on flat doors, but paint handles edges and corners better and is easier to touch up. Doors came off, everything got degreased, lightly sanded, primed, then two thin coats of satinwood in a deep pink. Thin coats are the whole secret. One thick coat drips, sags and stays soft for days.
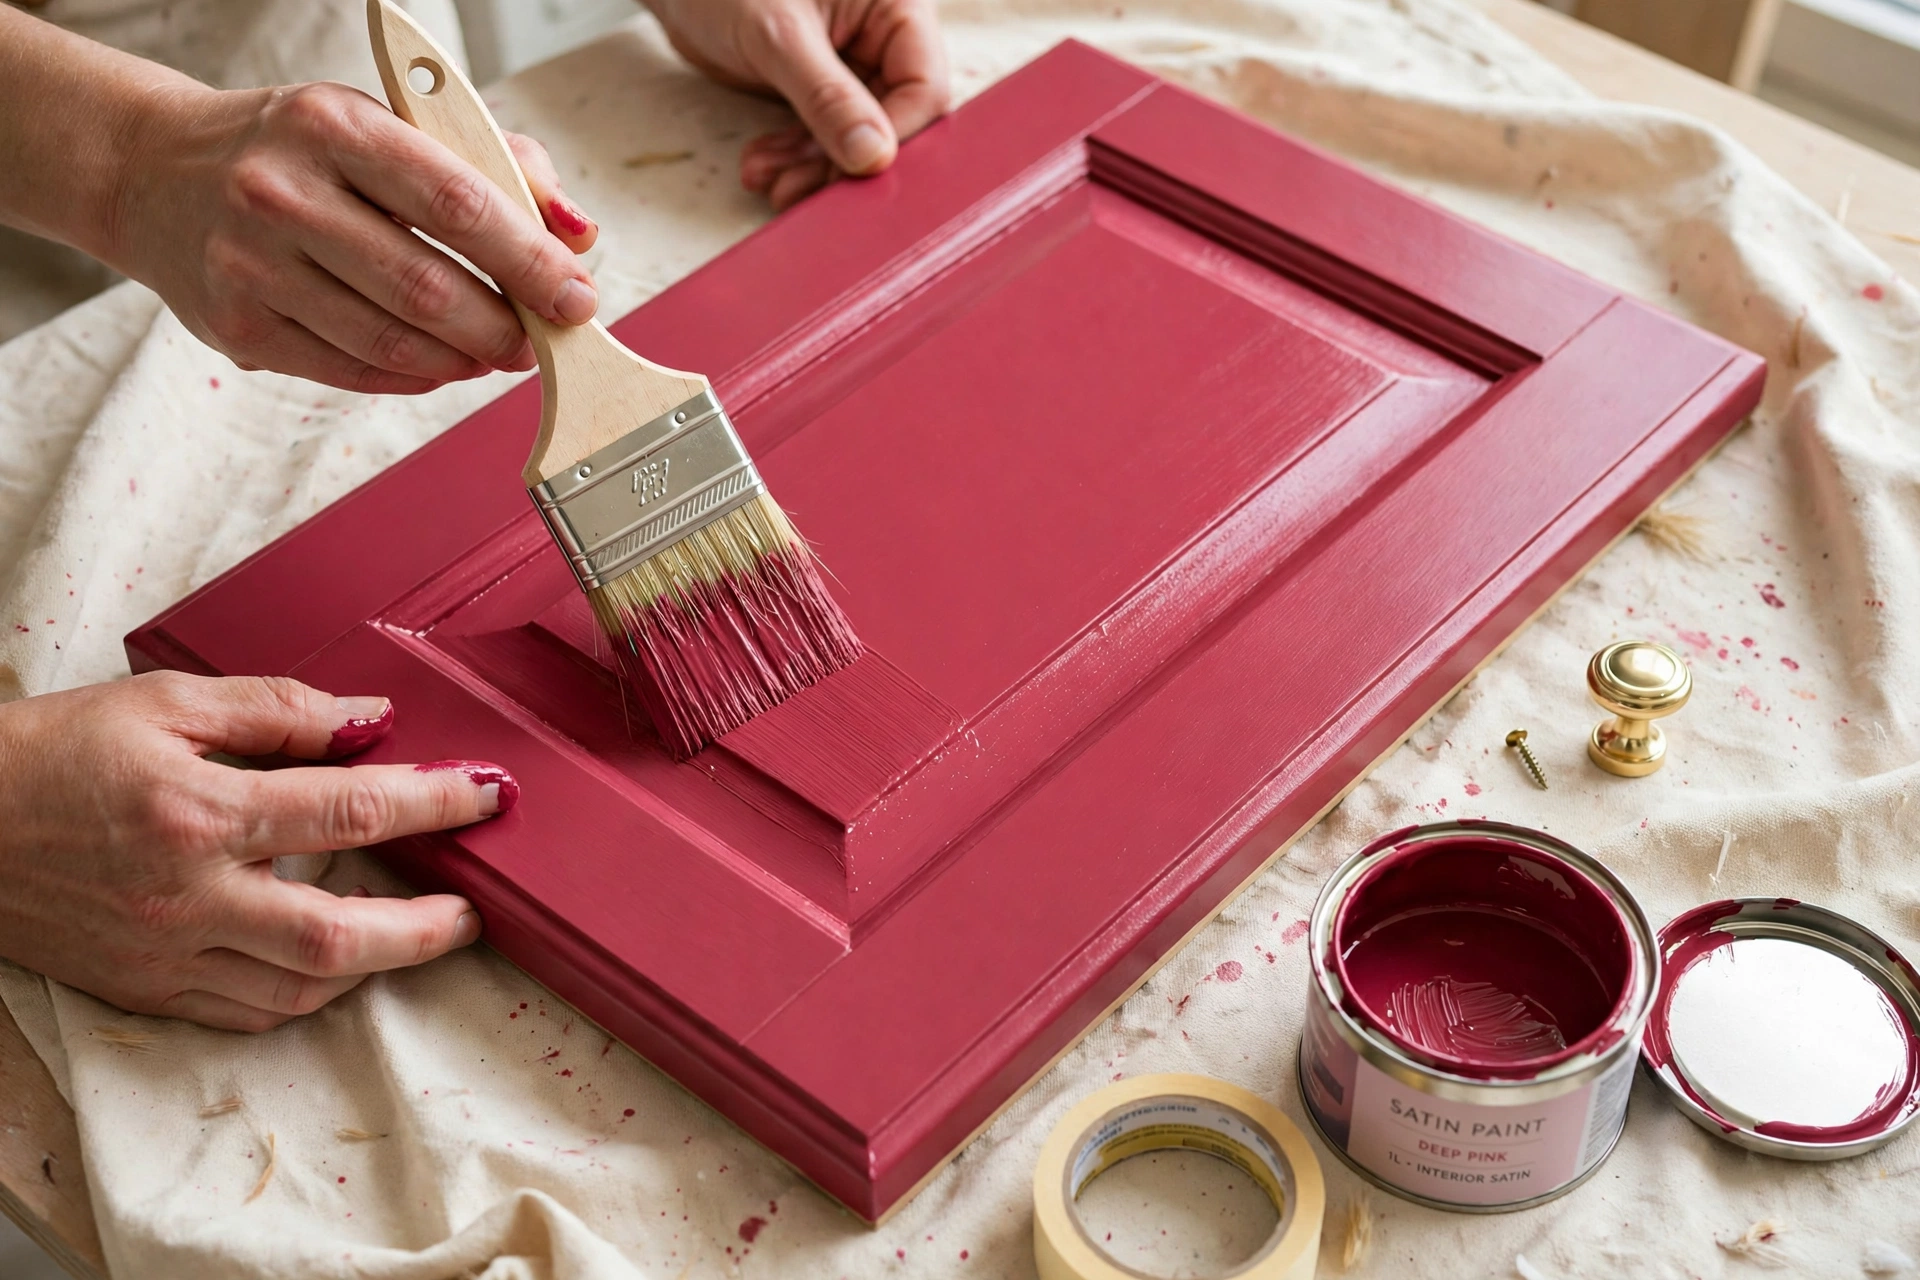
Then the handles, which are the cheapest visible change in any room with doors or drawers. Measure the distance between the screw holes, centre to centre, before you buy anything. Handles come in standard spacings, and the wrong one means drilling fresh holes and filling the old ones. Single knobs are the forgiving option, because one hole is one hole. I kept the old handles in a labelled bag in the drawer. Renters, remember that bag; it is your ticket to getting your deposit back.
Step 4: A bigger mirror does the heavy lifting
The dinner-plate mirror went, and a large round one took its place. Mirrors are the oldest trick in the small-room book because they work: they bounce light into corners and hand you back a second window's worth of brightness. The round shape earns its keep here too. A bathroom is nothing but straight lines: tiles, bath, basin. One big circle softens the whole grid.
Two practical notes. Check the weight against the wall before you hang anything heavy; plasterboard needs proper hollow-wall fixings, not a hopeful screw, and two fixings beat one. And hang it for your household's actual eye level, not the height the last mirror happened to be. Brushing your teeth while stooping is a small daily insult you can simply stop accepting.
Step 5: Fix the light, not just the bulb
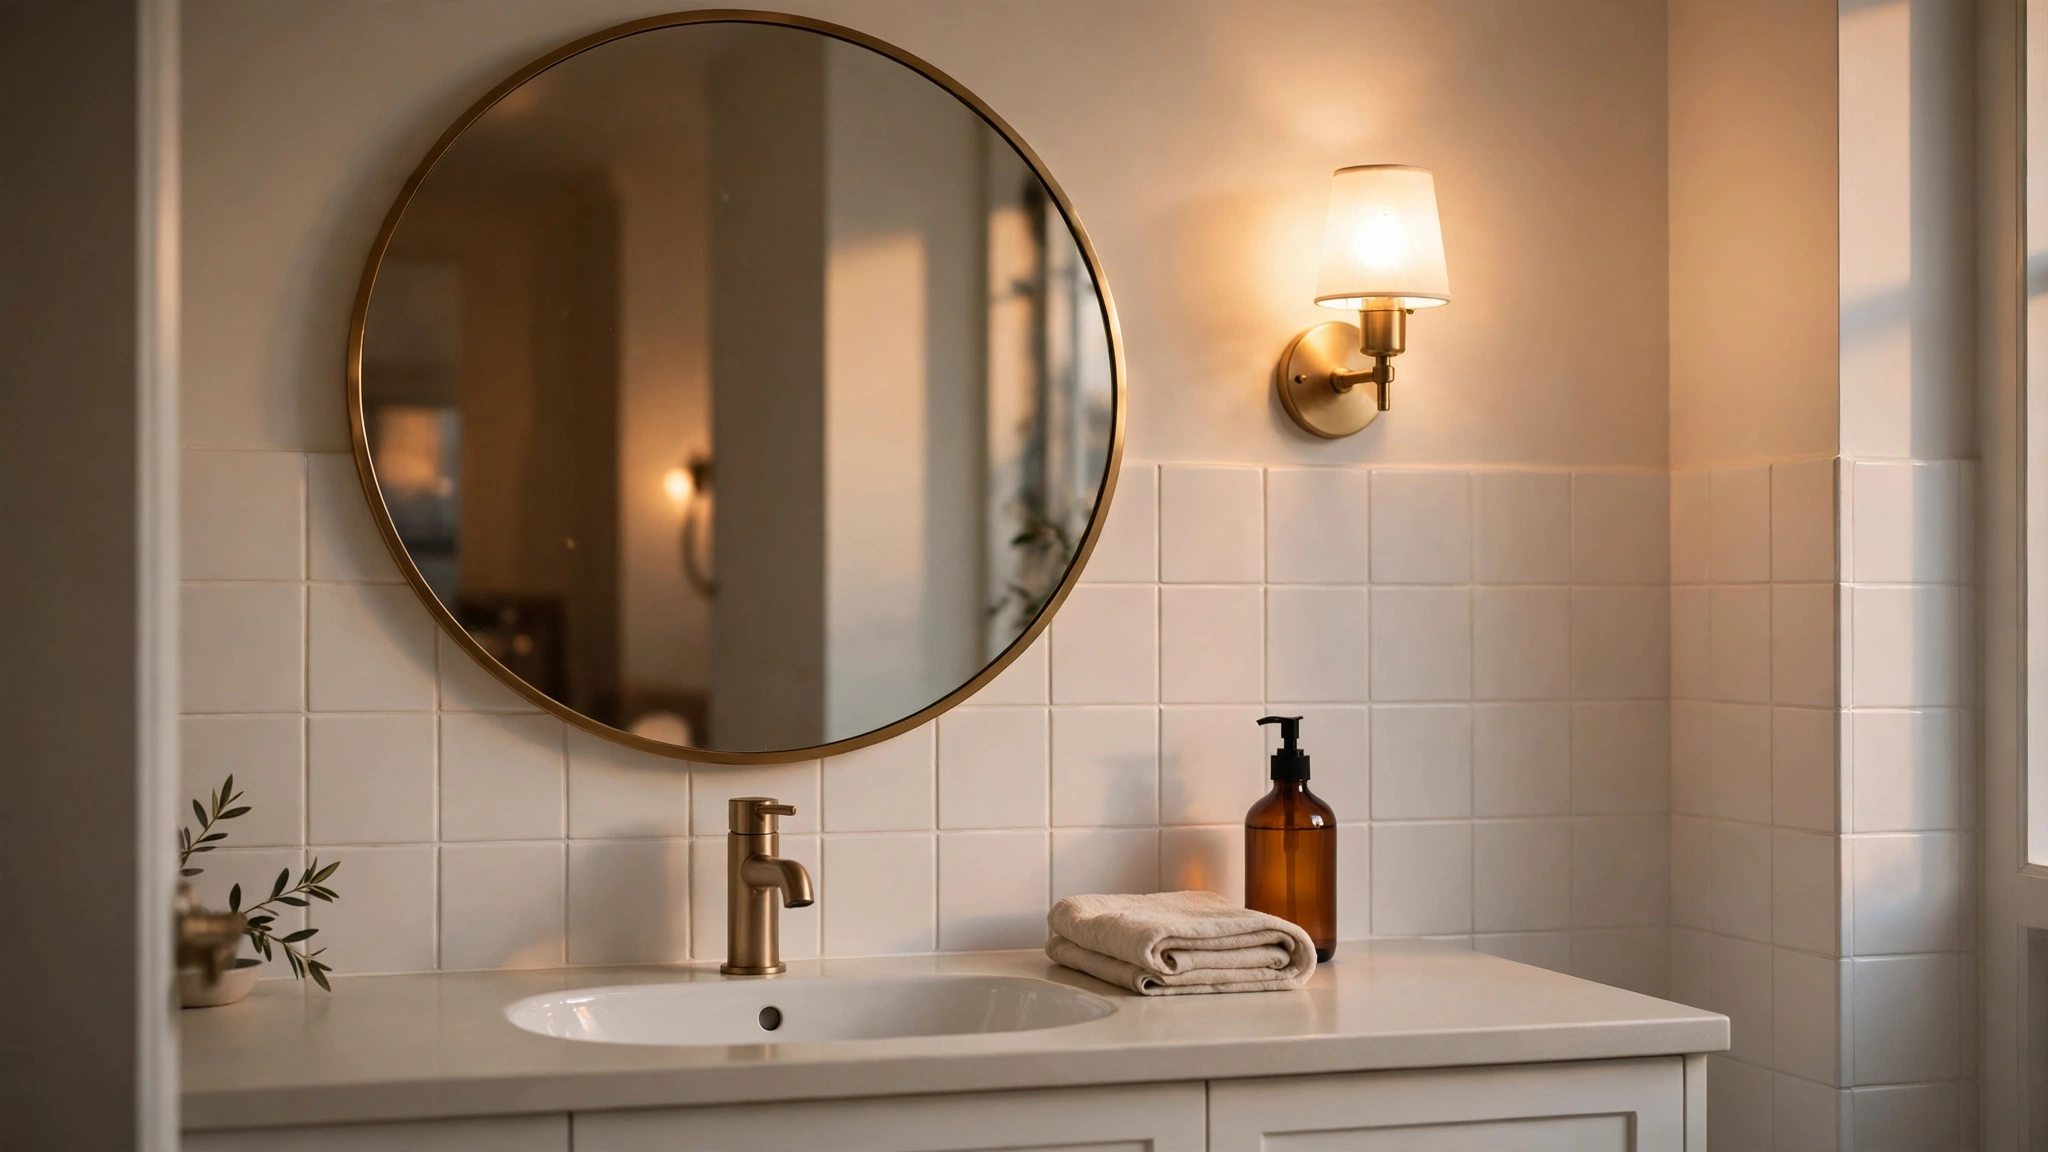
A single ceiling light fires straight down and digs shadows under your eyes, nose and chin. Everyone looks tired in that light because the light is doing it, not the face. The fix is twofold. First, a warm-white bulb rather than a blue daylight one; daylight bulbs belong in dental surgeries, not in the room where you face yourself first thing. Second, light at face height: a small wall light beside the mirror, or a mirror with a light built in, throws light across your face instead of down on it.
If rewiring is not on the table, battery light bars that recharge by USB and stick or screw under a cabinet do the same job for very little, and they come off without a trace. Flattering light is not vanity. It is the difference between a room that works and a room you hurry out of.
Step 6: Textiles and the small stuff
This is the step that makes it look styled rather than merely repainted. All the towels now belong to one colour family, cream with a pink hand towel for the rail, because a rail of clashing towels makes a small room look untidy no matter how clean it is. A new shower curtain went up too. It is one of the largest surfaces in the room, so treat it with the same respect you would give curtains in a living room.
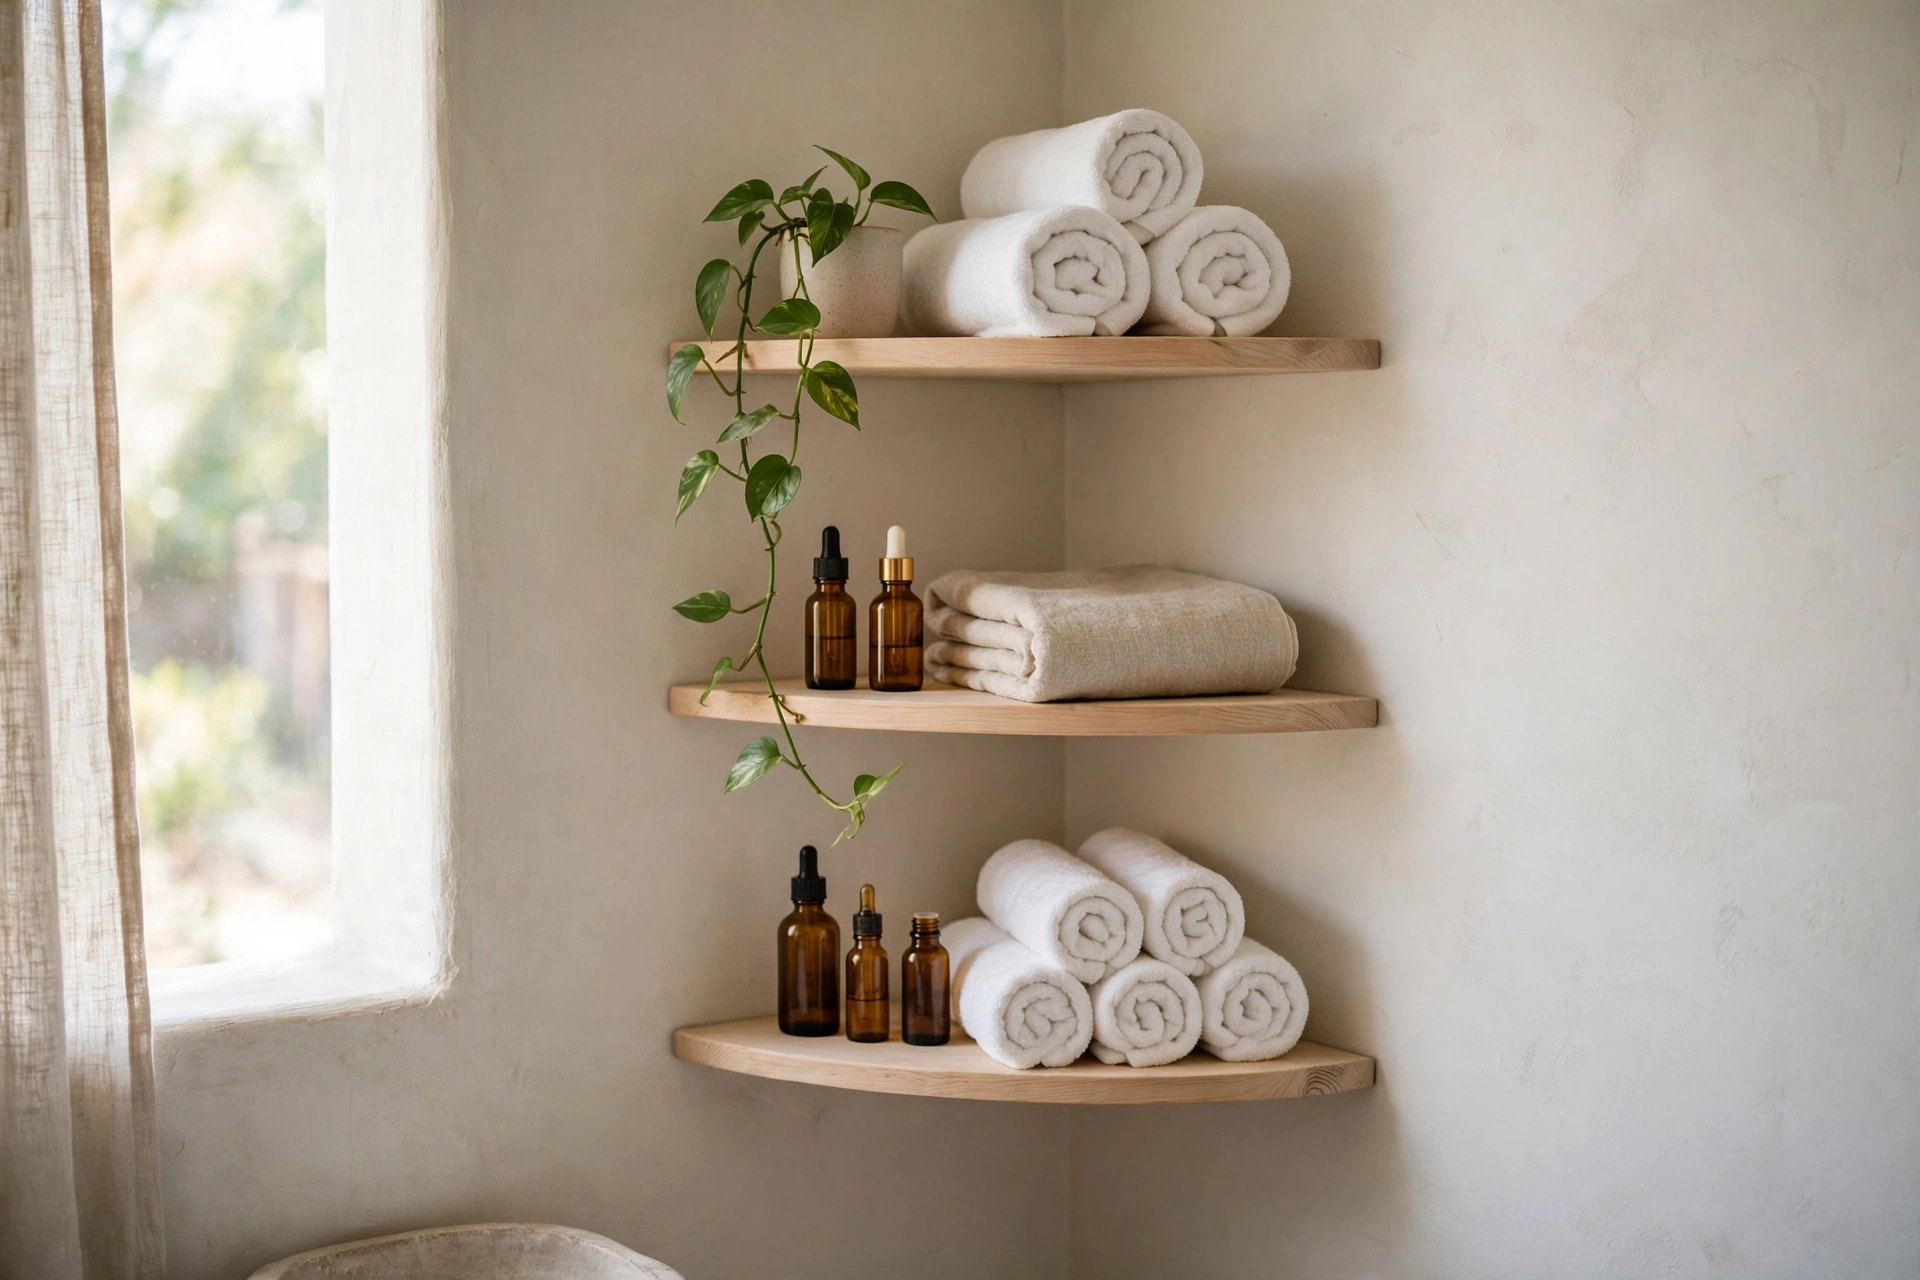
Then the bottles. A row of branded shampoo and shower gel bottles along the bath is visual noise, and it is usually the thing making a bathroom look cluttered in photos. I decanted the everyday ones into plain pump bottles and corralled the rest in one basket under the basin. A small fern on the corner shelf finishes it; ferns and pothos both tolerate steam and lower light happily. Plain bottles, matched towels, one plant. Ten minutes of work, and it reads as a deliberate room.
Step 7: The floor cheat, with an honest warning
The floor was the last tired surface: sound, flat, and a pattern best described as apologetic. I laid peel-and-stick vinyl tiles over it, and I would do it again, but only under the same conditions. The existing floor has to be firm, completely dry and flat. On a damp, lifting or uneven floor, peel-and-stick fails. Moisture gets underneath, the edges curl, and you end up with a mouldy sandwich that is worse than the floor you covered.
Degrease well, let it dry properly, and start from a chalk line through the centre of the room rather than from a wall, because walls are never as straight as you think. Keep a few spare tiles for the day one gets damaged. The gentler option, if your floor fails any of those tests, is a washable runner: it covers the worst of a dated floor, adds the colour, and goes in the machine when it needs it.
The order of the weekend
Here is how the two days actually ran. Saturday morning: empty the room, deep clean, cut out and replace the sealant, treat any mould. Saturday afternoon: fill, tape, first coat on the walls, and the vanity doors got their primer and first coat on a dust sheet in the hallway. Sunday morning: second wall coat, second coat on the doors, doors back on with the new knobs. Sunday afternoon: mirror up, light sorted, towels, plant, bottles, floor tiles last of all so nothing gets dropped on them.
Notice what is not in that schedule: a shower. Between the sealant curing and the paint drying, the room got a day and a half of no steam, and that patience is the difference between a makeover that lasts and a makeover that peels. Drying times are not suggestions. Respect them and everything else on this list gets easier.
What I deliberately did not do
I did not paint the shower tiles. Tile paint has a genuine use: on a dry splashback behind a basin, it can look smart and hold up well. Inside a shower, where water stands and runs over it daily, it lifts, chips and ends up looking worse than the tiles it covered. The tiles around our bath got cleaned and re-grouted instead, and that was the right call.
I also did not move any plumbing. Shifting a basin even a few centimetres means a plumber and a bill, and buys you almost nothing you can see. The suite stayed where it was, the layout stayed where it was, and the money stayed in the mirror instead, which does more for the room every single day.
Mistakes I have made so you do not have to
- Painting over mould. It comes back through, every time, usually within weeks. Treat it, dry the wall fully, then paint.
- Gloss paint on every surface. In a small bathroom, gloss bounces the light harshly and shows every ripple in the wall. Mid-sheen on walls, satin on woodwork is a kinder balance.
- Buying handles on looks alone. If the screw centres do not match, your cheap change becomes a filling and drilling job. Measure first, fall in love second.
- Skipping the sealant. New paint over black silicone looks like a new dress over muddy boots. The bead of sealant takes twenty minutes.
Questions I get asked about this makeover
What did it cost, honestly?
No totals, because prices vary too much to be useful, but here is the shape of it. The mirror cost more than the paint and the new handles combined. The handles, towels and sealant together were small change next to that. Everything else, the clean, the grout, the rearranging, cost time rather than money, and the whole job came in far under what a new suite or a single day of a tiler would have run to.
Can I do this in a rented bathroom?
Most of it, yes, because most of it lifts off. The mirror hangs on hooks, the handles swap back in ten minutes if you kept the old ones, and towels, baskets and plants were never attached to anything. Ask your landlord before painting walls, and think twice before sticking anything to a floor; peel-and-stick can leave adhesive behind, so test a hidden corner first. For a fully reversible version of this idea, my peel and stick wallpaper test covers what came off cleanly and what did not.
How long before I can shower after painting?
Follow the tin, but as a rule of thumb give bathroom paint at least a full day, and ideally two, before it faces a hot steamy shower. Run the extractor or leave the window open while it cures. A bath with the door open is gentler on fresh paint than a long shower with the door shut.
Will peel-and-stick floor tiles damage the floor underneath?
Usually they lift with gentle heat from a hairdryer, though they can leave adhesive residue that needs a solvent cleaner. The bigger risk is moisture: never lay them over a damp floor, because trapped damp will damage both the tiles and whatever is underneath. Test one tile in a corner for a fortnight if you are unsure.
The bathroom is the same size it was last Friday. It just stopped apologising. If you do one thing from this list, make it the sealant and the mirror; those two carry the whole room. Tell me in the comments which surface in your bathroom is doing the most apologising, and I will tell you which step I would start with.
Lisa Ben
Lisa paints, builds, thrifts and rearranges her way through one very patient house, then writes down everything she learns here on Wazala. Small rooms are her favourite problem. New projects land every Tuesday, Thursday and Saturday, and the Sunday Letter rounds them up once a week.
You might also like
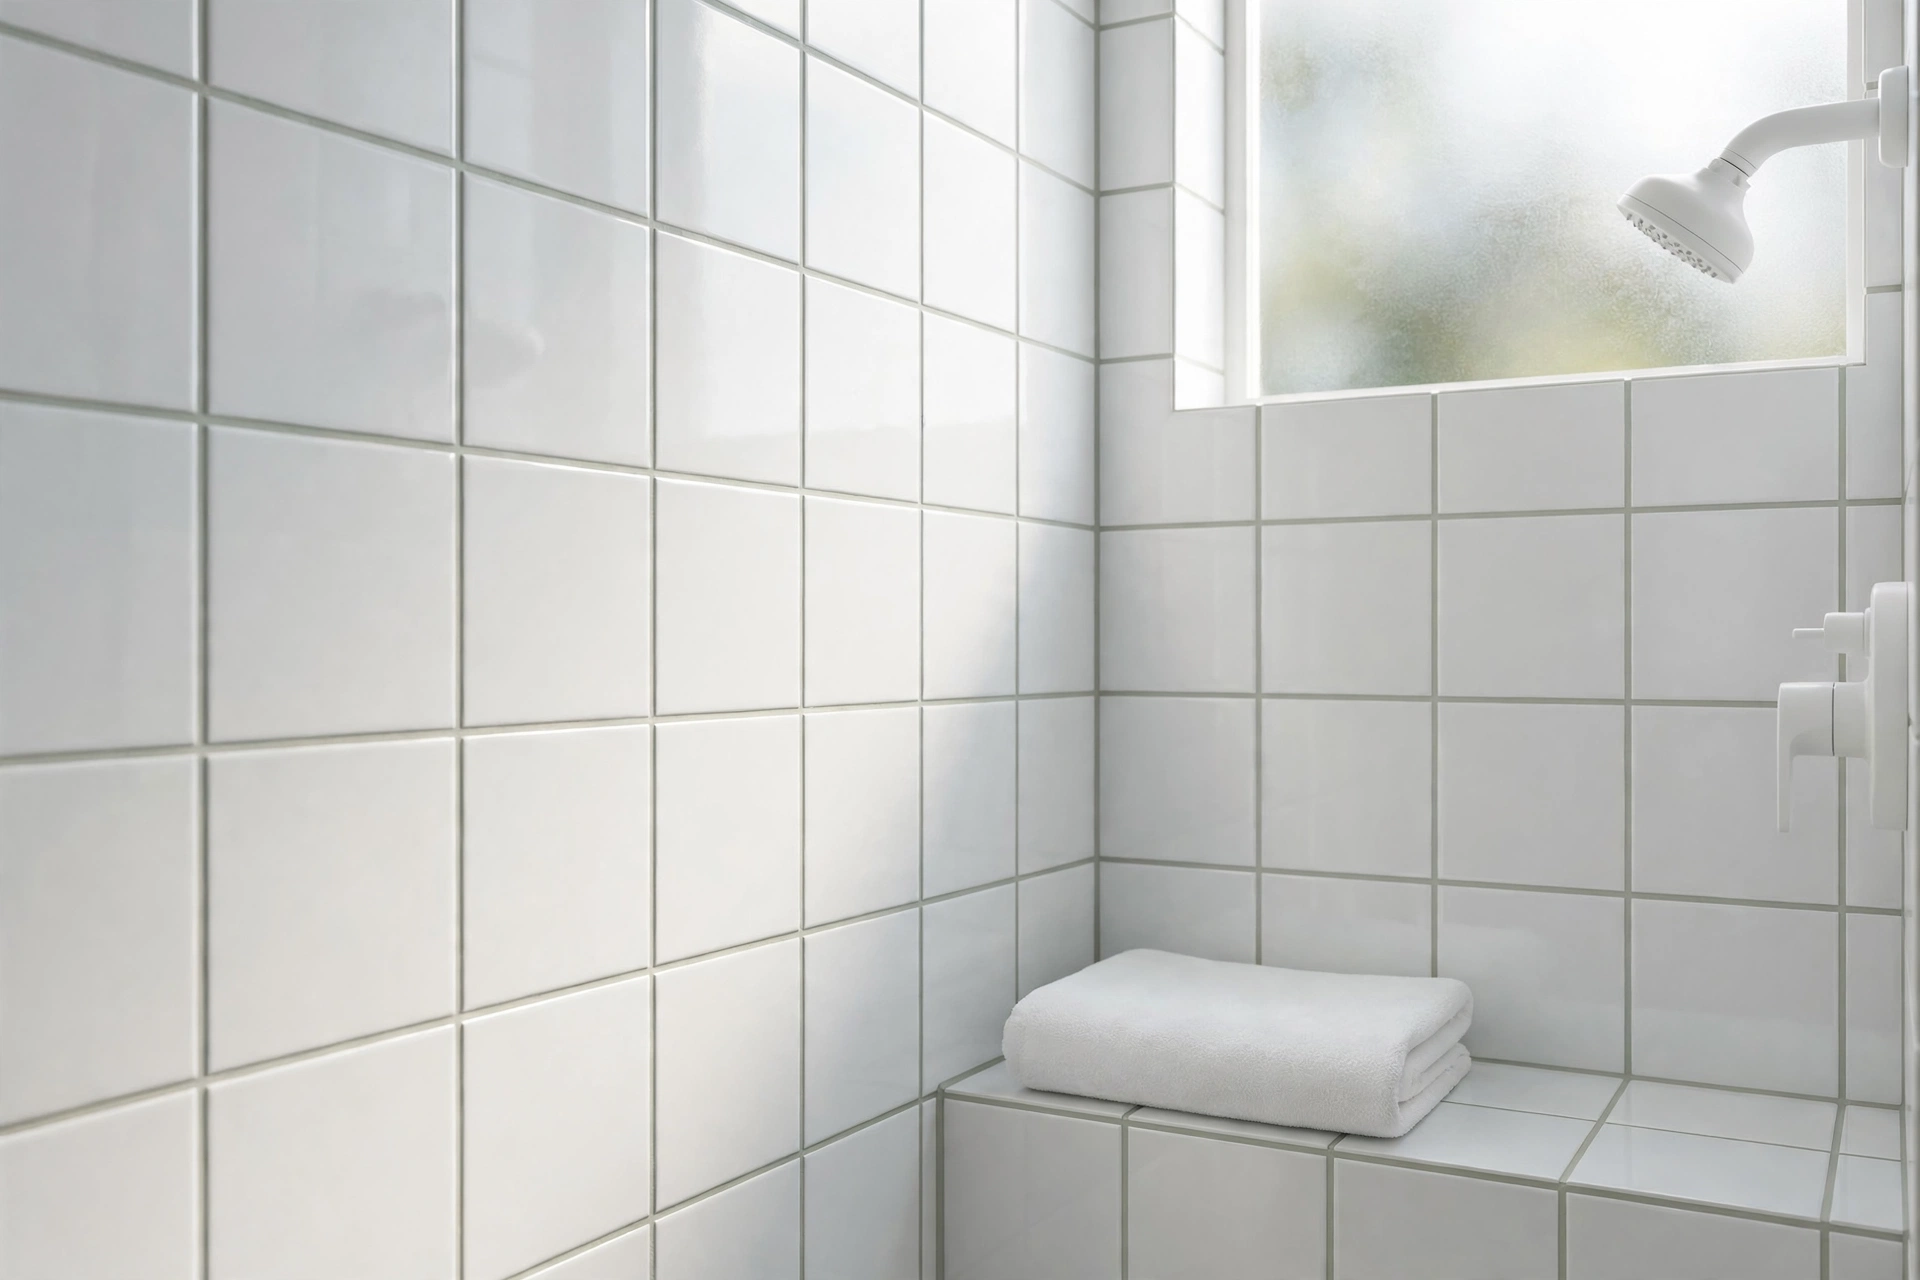
How To Clean Grout So It Looks New Again (Mostly)
The paste, the brush and the patience: step one of this makeover, written out in full.
Read more →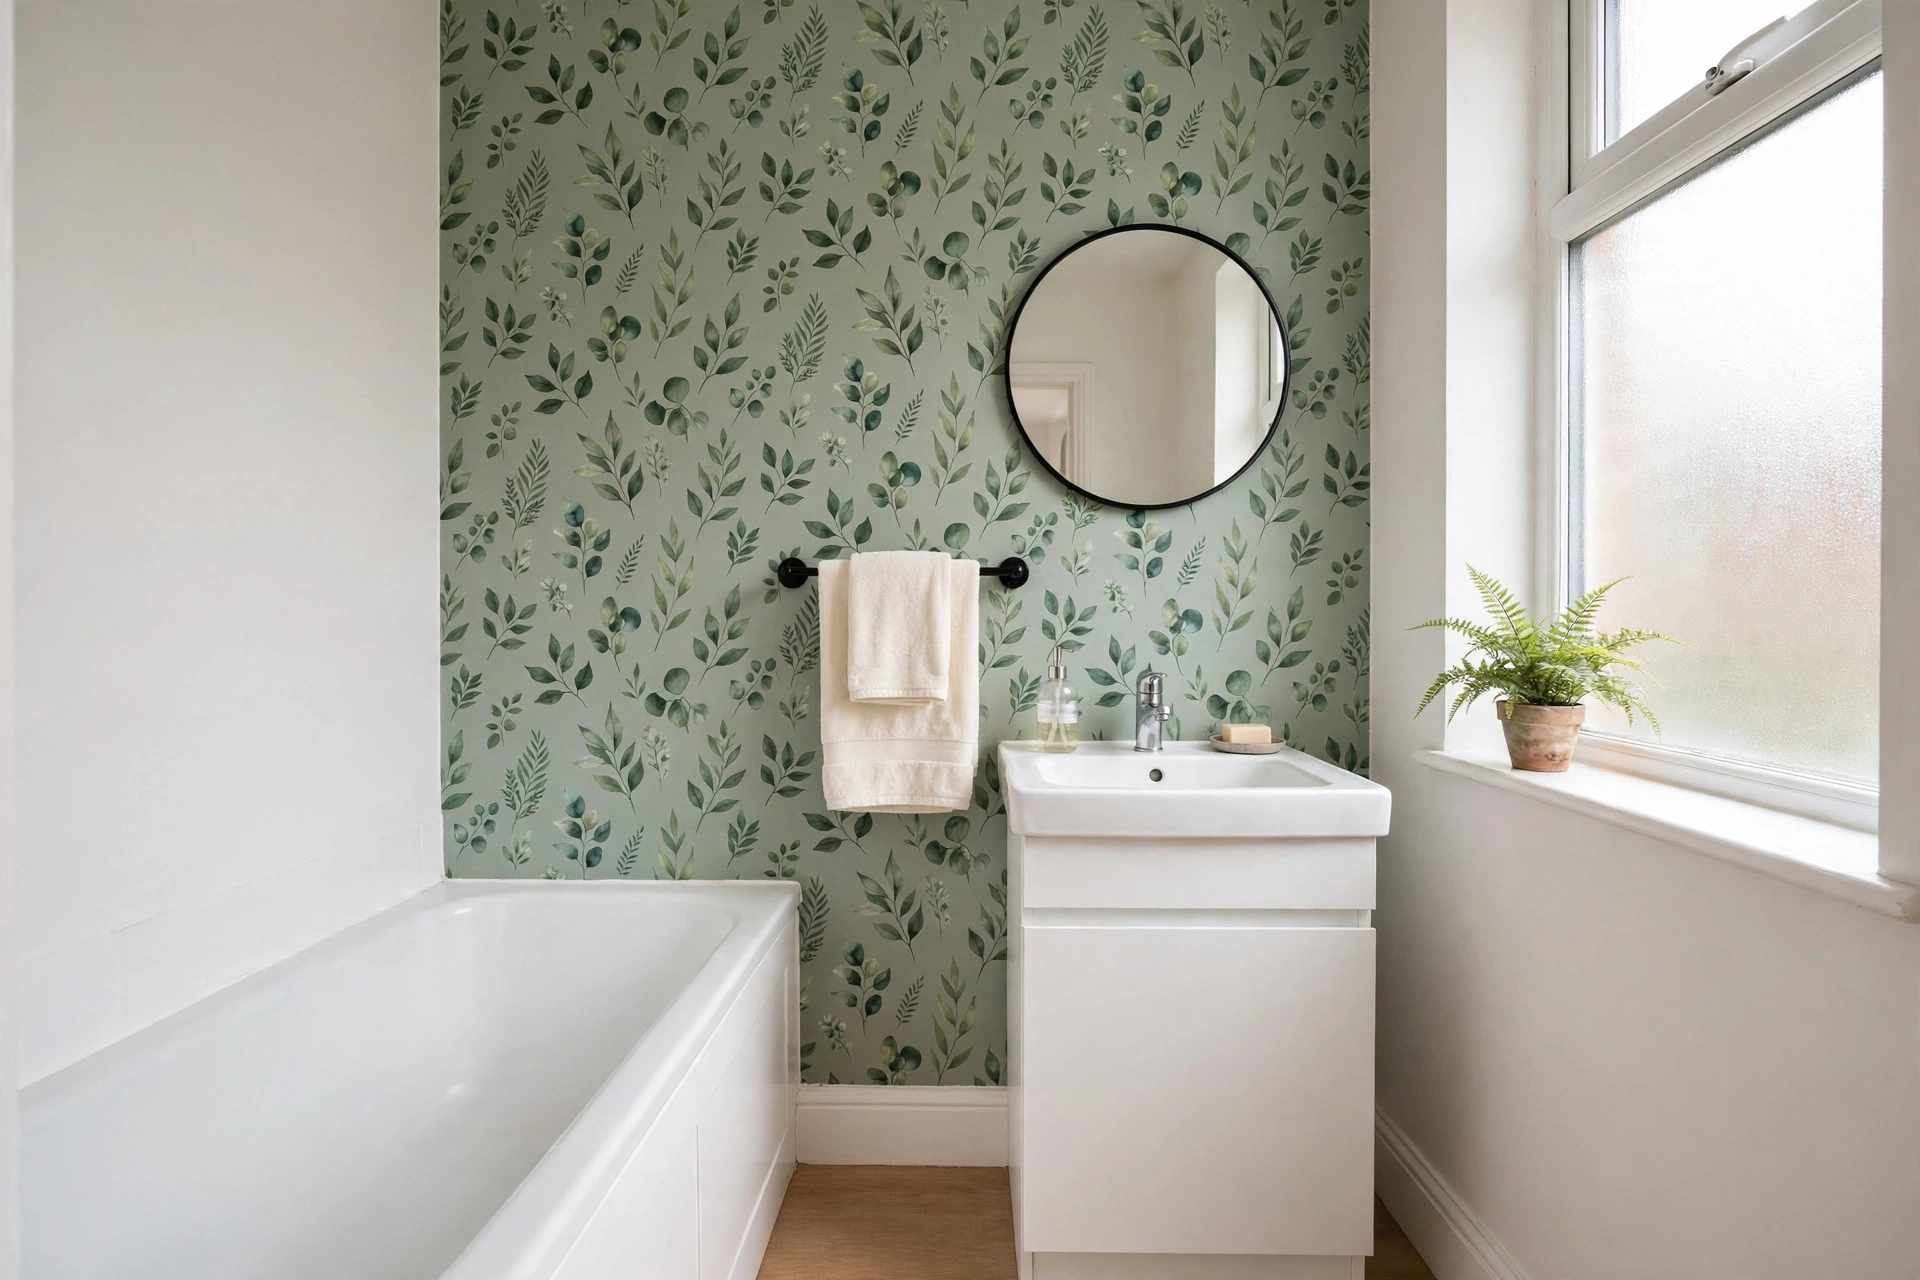
Peel And Stick Wallpaper: An Honest Test In A Rental Bathroom
What went up easily, what bubbled, and what actually came off cleanly months later.
Read more →
Small Closet, Sorted: The Two-Hour Edit
Another small room, another weekend fix: the two-hour closet edit that stuck.
Read more →