Paint Your Front Door: Colours And The Full Weekend Method
 By Lisa Ben
·
October 10, 2026
·
11 min read
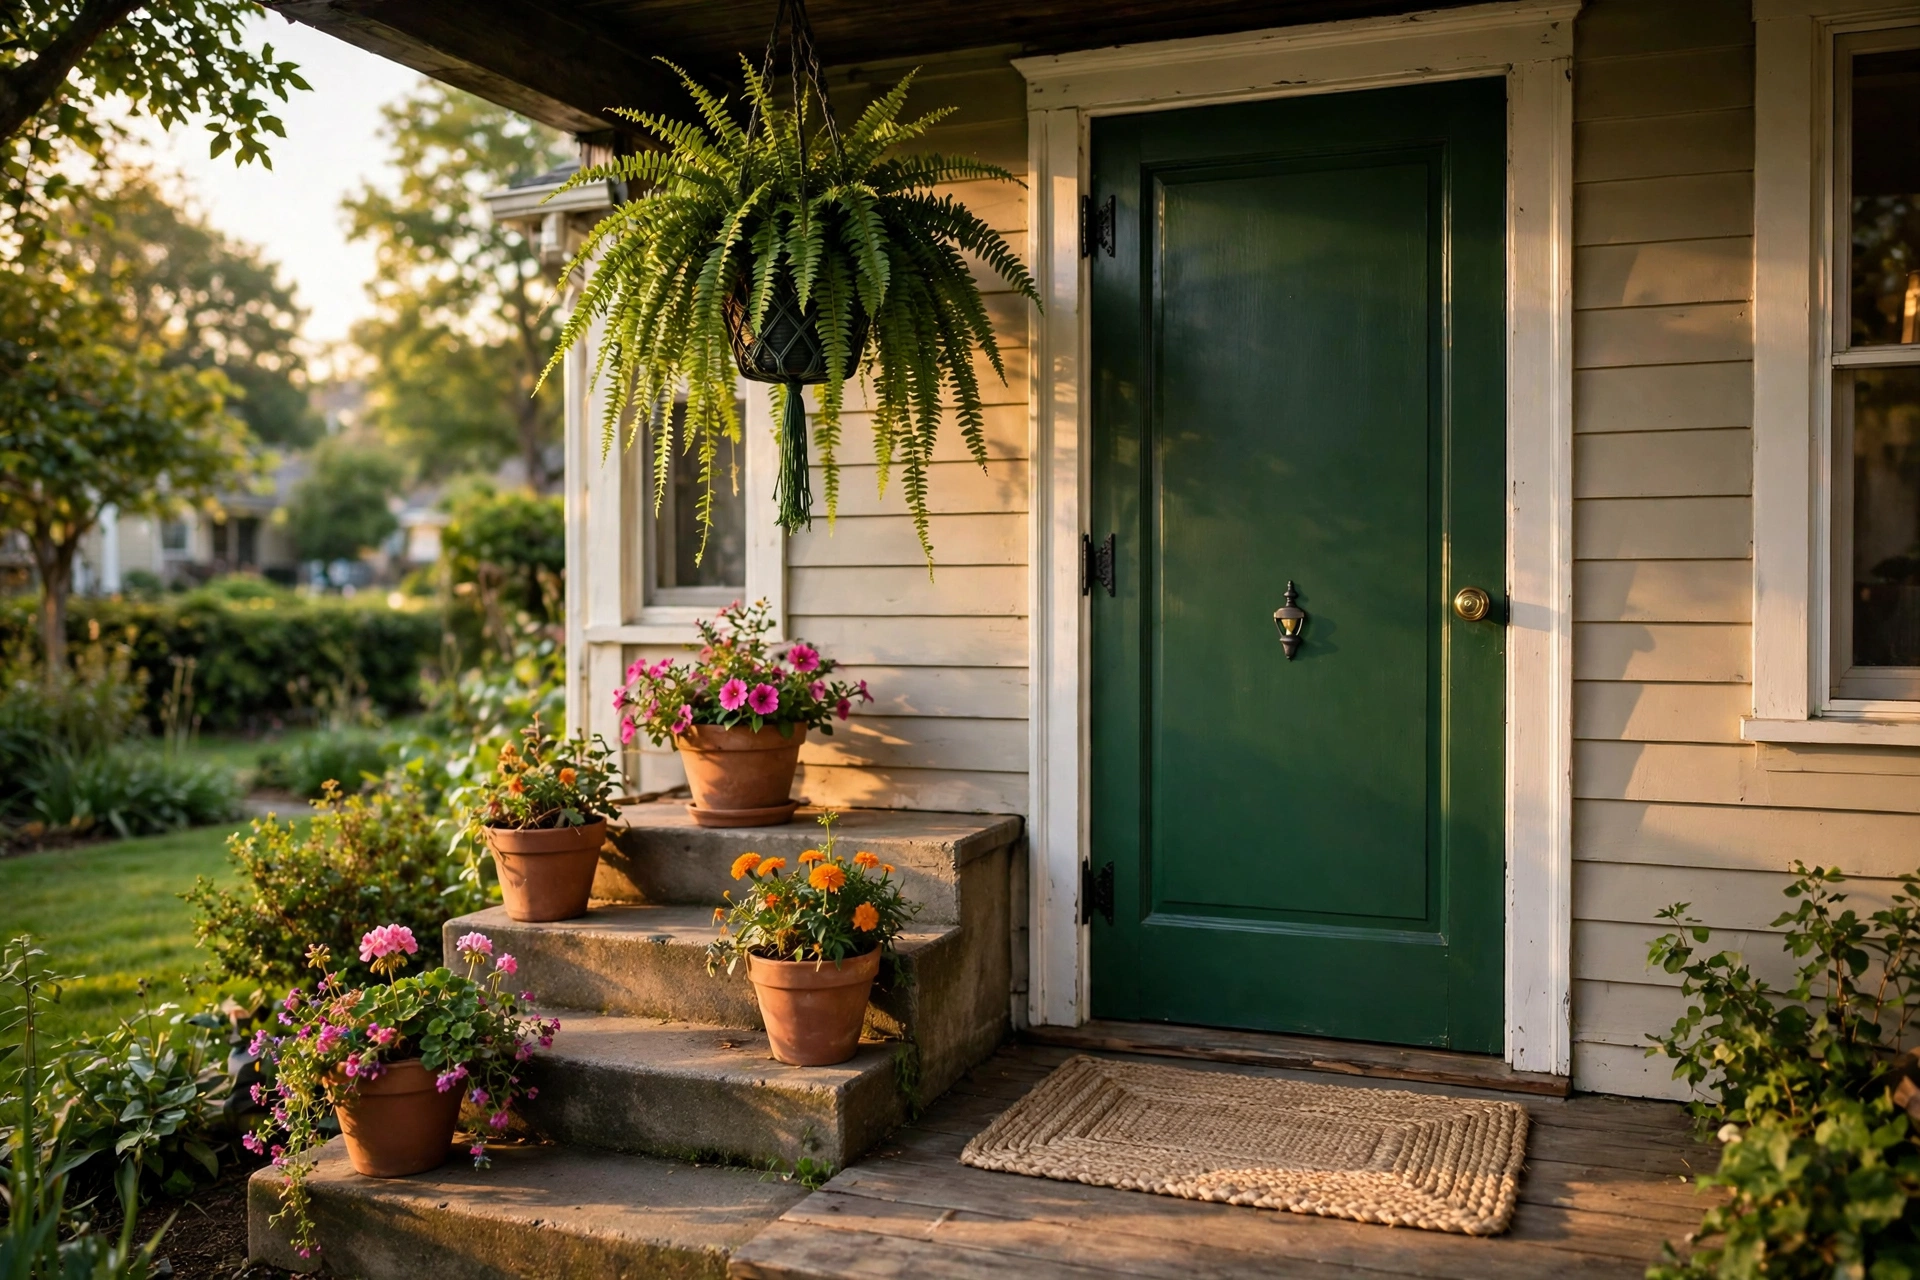
Every house has one square metre that does more work than the rest of it, and it is the front door. It is the first thing a visitor sees, the background of every parcel photo, and the part of the house front you can change completely with one tin of paint and a weekend. No scaffolding, no planning permission, no builder. Just you, a brush and a colour you actually chose on purpose.
I have painted my own door three times. The first attempt was a rush job over a dirty surface, and it peeled in sad little curls within a year. The second and third followed the method below, prep and all, and both lasted properly. The painting itself is the easy half of this project. Choosing the colour with your eyes open, and giving the paint a clean surface to hold onto, is where the result is decided. Here is the whole thing, colour first, then the weekend method step by step.
Start with the house, not the swatch card
The most common door mistake is falling for a colour in the shop and never once picturing it against your own walls. Brick, render and stone do not move. The door has to live with them, so they get the first say.
Red brick
Warm brick is the friendliest partner a door can have. Deep green, navy, black and cream all sit happily against it, because the brick supplies the warmth and the door supplies the contrast. The one fight to avoid is orange-red: a bright tomato door on orange-red brick turns the whole front into one long argument. If you want red, go deeper and bluer, towards berry, and it settles down.
Pale render or stucco
A light rendered wall is a blank page, which means the door carries the whole personality of the front. This is where bold earns its keep: mustard yellow, deep pink-red, teal and strong navy all look deliberate against pale render. The trap here is the opposite one. A pale door on a pale wall reads as unfinished, like the house is still waiting for its idea.
Stone and grey brick
Cool grey walls want a door with either clear contrast or clear warmth. Navy and charcoal-black look sharp and architectural against stone. Warm yellow is the friendlier option and the one that surprises people: it warms grey stone the way a lit window does at dusk. Cream on grey stone tends to look grubby by February, so I would skip it.

Five classic choices, honestly assessed
Deep green
The safe pair of hands. Deep green suits terraces, cottages and most brick, and it flatters brass hardware better than any other colour I know. It hides dirt well, fades gracefully, and never looks like it is shouting. If you are torn between two colours, the green is the one you will not be repainting in eighteen months.
Navy blue
Navy reads almost black in shade and properly blue in sun, which makes it feel like two doors for the price of one. It is the classic partner for white render and coastal houses, and it is tidy: dust shows less on navy than on true black. Go a shade brighter than your instinct, because navy darkens as it dries and darkens again outdoors.
Red-pink and berry
My favourite family, for obvious reasons if you have seen this site's colours. A strong pink-red or berry door on a white or pale grey front is cheerful in a way few colours manage, and callers find your house easily, which is its own small gift. The honest warning: red pigments fade faster than any other in strong sun. On a south-facing door, expect to refresh it sooner, and choose a good exterior paint with strong pigment rather than the budget tin.
Black
Black is the smartest-looking door on the street and the highest maintenance one. It shows every speck of dust, every pollen day and every fingerprint around the handle. It also absorbs heat, so a black door in full afternoon sun gets genuinely hot, which is hard on the paint film over time. Gloss black, cleaned a few times a year, still looks unbeatable. Just know what you are signing up for.
Warm yellow
The friendliest door colour there is, and the one people dilute by mistake. A washed-out pale yellow looks like a white door that gave up. Pick the bolder, mustadier version and it sings against grey brick, white render and stone. Yellow shows dark grime around the handle and kick plate more than mid-tones do, so it wants a wipe now and then, but it earns it.
Before you commit: paint a big board, at least the size of a pillowcase, and prop it against the door for a week. Watch it in morning light, at noon, and on a grey day. Sun-facing doors (south and west) fade reds and dark colours fastest, and mid-tone colours hide both dirt and dust better than very pale or very dark ones. A week of looking beats a year of repainting.
What you need
- Exterior door paint (about 750ml covers one door with coats to spare)
- Exterior primer or a combined primer-undercoat, plus spot primer for bare wood
- Sugar soap or a degreasing cleaner, bucket, sponge and a stiff brush
- 120 and 180 or 220 grit sandpaper, plus a sanding block
- Exterior wood filler and a flexible filling knife
- Painter's tape, dust sheet, and a small roller with a foam or short-pile sleeve
- A good 5cm angled brush for the mouldings
- Screwdriver for the hardware, and a labelled pot for the screws
- Petroleum jelly, for the frame edge at closing time
The weekend method
The rhythm that works: Saturday morning for prep and primer, Saturday afternoon or Sunday morning for coats, Sunday evening for hardware and the first careful close. Nothing here is hard. All of it goes wrong if it is rushed.
Step 1: Pick your day properly
Choose a dry, mild day with no rain due for at least 24 hours. Roughly 10 to 25 degrees is the happy range for most exterior paints: colder and the paint drags and dries slowly, hotter and it skins over before you finish the panel. Start in the morning so every coat gets daylight to dry in. If your door gets direct sun, plan to paint it while it is in shade, even if that means starting on the shaded hours of the day.
Step 2: Hardware off, or masked like you mean it
Take off what you reasonably can: handle, letterbox, knocker and house numbers all come off with a screwdriver and five patient minutes, and every one of them will look better for not having a paint ridge around it. Everything goes into a labelled pot, screws included. Whatever stays on gets taped properly, edges pressed down with a fingernail so paint cannot creep underneath. Tape slapped on in a hurry is how you get wobbly lines you then stare at for years.
Step 3: Wash it like it owes you money
A front door collects years of traffic film, hand grease around the handle and general street grime, and paint will not stick to any of it. Wash the whole door down with sugar soap solution and a sponge, use the stiff brush on the panel mouldings where dirt sits, rinse with clean water and let it dry completely. This is the step my first peeling door never got. It is twenty minutes and it decides whether the job lasts two years or ten.
Step 4: Sand, fill, sand again
Sand the whole surface with 120 grit to take the shine off the old paint, then 180 or 220 to smooth it. You are not stripping the door; you are giving the new paint a key to grip. Fill dings, dents and any cracked joints with exterior filler, let it harden, and sand the fills flush. Run a hand over everything: your fingers find ridges your eyes miss. Wipe off the dust with a damp cloth and let it dry.

Step 5: Prime every patch of bare wood
Wherever sanding has broken through to bare wood, and over every filler patch, paint needs primer between it and the surface or it will sink in, look dull and let go early. Spot-prime those areas, and if you are making a big colour change, pale to dark or the reverse, a full coat of primer-undercoat in a shade near your topcoat will save you a third coat later. Let primer dry for the time on the tin, not the time on your schedule.
Step 6: Two or three thin coats
Thin coats are the whole secret to a door that looks sprayed rather than painted. A thick coat sags on vertical panels, shows every brush mark and stays soft underneath for days. Most water-based exterior paints want around four to six hours between coats; oil-based ones want longer, so read your tin and believe it. Two coats is the minimum. A strong colour over pale primer may honestly need three, and the third thin one is always faster than fixing a patchy two.
Step 7: Paint in the door's own order
Work the way the door is built. Paint the mouldings and the recessed panels first, while your brush is fresh and your eye is in. Then the vertical stiles, the long uprights, and finish with the horizontal rails across. Brush the final stroke of each flat section in one direction, along the grain on the stiles and across on the rails, and keep a wet edge so sections blend instead of lap-marking. A small foam roller on the flat panels, tipped off lightly with the brush, gives the smoothest finish of all.
Step 8: Seal all six sides
A door has six sides, and the two nobody sees are the ones that drink the weather. Paint the top edge and the bottom edge with the same care as the face. The top edge catches standing rain; the bottom edge wicks up water from the step every wet day of the year. Unpainted, they swell, and the swelling cracks the face paint from behind. It takes five extra minutes with the door ajar and a small brush. This is the step the peeling doors skipped.
Step 9: Closing time, and the finishing touch
Do not close the door the moment it looks dry. Surface dry is not cured, and a door shut on tacky paint will weld itself to the frame and tear when it opens. Wait until the paint is dry and not tacky to a fingertip on an edge: late evening at the earliest, and on the last coat I leave the door on the latch overnight with the house locked from the inside door if you have one, or close it as late as you can. The old trick that saves the day is a thin smear of petroleum jelly along the frame edge where door meets frame: paint cannot stick to it, and it wipes off a week later. Then the reward half hour: hardware back on, a new handle or fresh house numbers if the old ones let the side down, step swept, and stand across the street to admire it properly.
Mistakes that ruin an otherwise good job
- Painting in hot direct sun. The surface skins over while the paint underneath is still wet, brush marks freeze in, and the finish can blister. Shade or a cooler hour, every time.
- Skipping the top edge. Rain sits on it, soaks in, and the face of the door starts peeling from the top down within a couple of winters.
- Closing the door too soon. It sticks, it tears, and you are touching up a brand-new door with a bad mood. Tacky means wait.
- One thick coat to save time. It saves an hour and costs you runs, a soft finish and a repaint. Two or three thin coats are genuinely quicker in the life of the door.
- Painting over street dirt. Paint sticks to the grime instead of the door, and leaves with it. The wash in step 3 is not optional.
Questions I get asked about painting a front door
Can I paint the door without taking it off its hinges?
Yes, and that is how I do mine. Painting in place is easier than wrestling a heavy door onto trestles, and you avoid damaging the edges moving it. Wedge it steady so it cannot swing, put a dust sheet under it, and watch for drips collecting along the bottom edge. The only thing you cannot reach is the hinge edge, which nobody sees and which is usually already painted.
Gloss or satin finish?
Gloss is the traditional front door finish: it sheds water well, wipes clean easily and looks smart on panelled doors, but it shows every dent and wobble in the surface. Satin is more forgiving of an older, less-than-perfect door and looks softer and more modern. My rule: a door in good shape gets gloss, a door with a past gets satin.
How long should a painted door last before it needs redoing?
Done this way, with prep and all six sides sealed, expect three to five good years before a light refresh coat, and longer on a sheltered door. A south or west-facing door in full weather sits at the shorter end, because sun and rain are doing their worst to it. The refresh is a wash, a light sand and one coat, an hour's work, not the full weekend again.
Does this method work on a uPVC or composite door?
Not exactly as written, so do not assume it does. uPVC and composite doors need a dedicated adhesion primer or a paint made specifically for them, and the sanding step changes completely: a heavy sand can damage the surface. Check what the door maker allows before you start, because painting can affect some warranties. The colour advice and the closing-time advice apply to every door ever made.
That is the whole job: pick the colour against the house you actually have, wash and sand like you mean it, seal all six sides, and let thin coats dry on their own schedule. One weekend, one tin, and the best-looking front on your street. If you paint yours, tell me the colour in the comments. I am collecting pink-red doors like stamps.
Lisa Ben
Lisa paints, builds, thrifts and rearranges her way through one very patient house, then writes down everything she learns here on Wazala. Her own front door has been green, then navy, and is currently under negotiation. New projects land every Tuesday, Thursday and Saturday, and the Sunday Letter rounds them up once a week.
You might also like
The 12 Best White Paint Colours For Every Light Direction
Twelve whites sorted by the light your room actually gets, with codes and undertones.
Read more →
How To Paint Kitchen Cabinets And Have The Finish Last
The full cabinet process: degreasing, priming, and the drying times nobody tells you.
Read more →
The 9 Best Greige Paint Colours, With Undertones Explained
Grey meets beige: the in-between colours that work in almost any light.
Read more →