A Dated Wooden Chair, Made Over In One Afternoon
 By Lisa Ben
·
October 30, 2026
·
10 min read
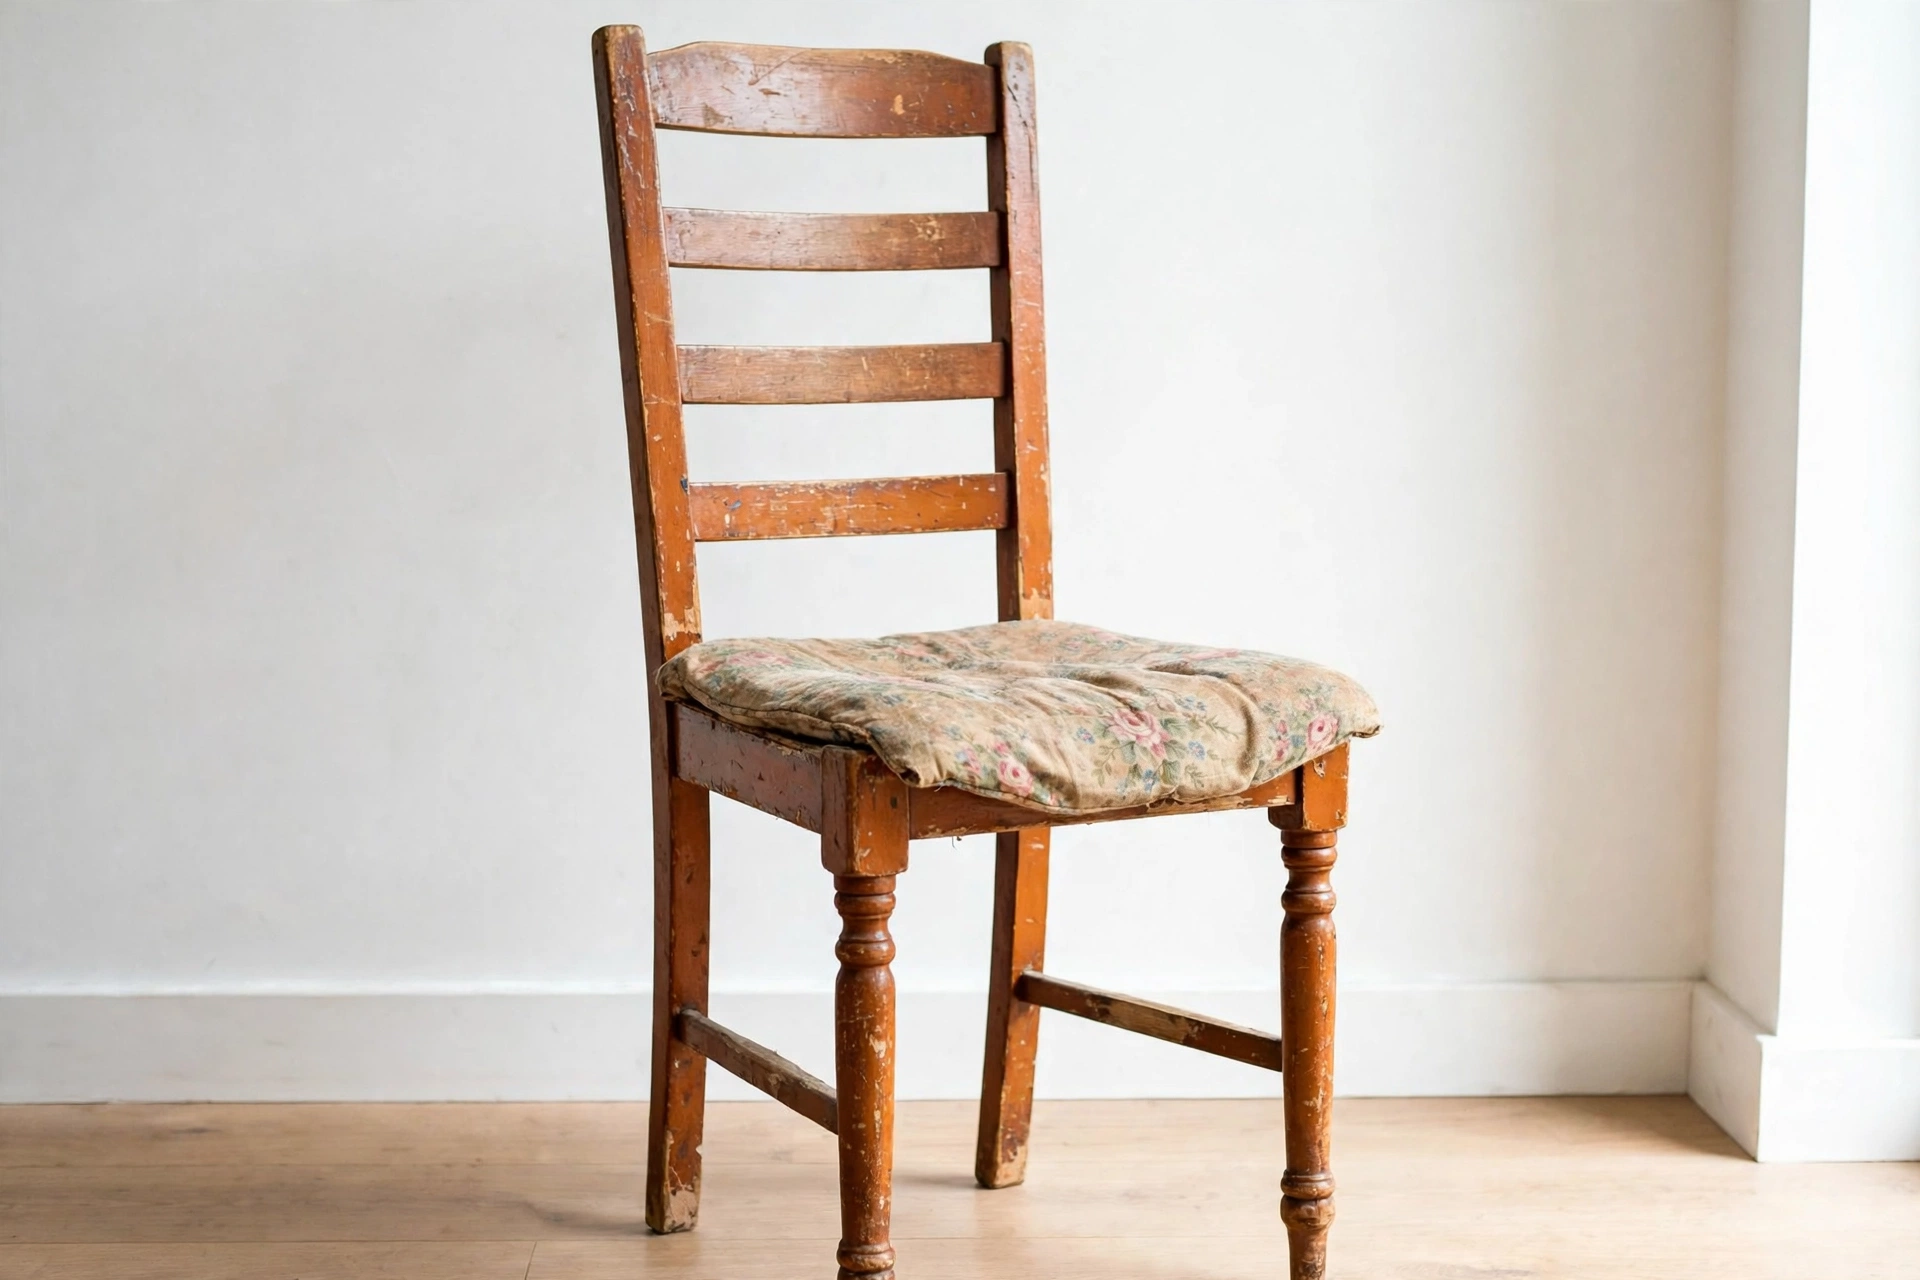
Every house has one. A wooden dining chair that nobody fights over, the spare one that gets dragged out when extra people come for dinner and then put back in the corner. Mine came from a neighbour who was clearing her garage, and on paper it had nothing going for it: orange varnish, a seat pad in a floral print that had faded to soup, and a wobble you could hear.
And yet. The frame was solid wood, the joints were fixable, and the shape was genuinely nice. That combination is exactly what a one-afternoon makeover is for. Not a restoration, not a week of stripping and staining, just a tired chair cleaned up, tightened up, painted and re-seated in time for dinner. Here is how it went, including the bits I would skip next time.
First, pick a chair that deserves the afternoon
Not every old chair is a candidate, and the test takes two minutes. Put the chair on a hard, flat floor and lean on it from a few angles. A little movement in the joints is fine, because that is a glue job. What you do not want is cracked wood: a split running along a leg, a rung that is broken rather than loose, or a seat rail with a crack through it. Paint hides a lot, but it hides nothing structural, and a chair that folds under a guest is a story nobody wants.
Check the wood itself too. Solid wood is worth saving, and you can usually tell by the weight and by looking at the underside, where the grain should carry on around edges instead of stopping at a printed pattern. Veneer that is bubbling or peeling in big patches is a different, longer project. So is anything with woodworm holes that are still crumbling fresh dust. Put those back.
The wobble test matters most. Sit on the chair and shift your weight sideways. If one joint is doing all the complaining, that is the good kind of wobble. Loose joints happen because old glue dries out and lets go, and re-gluing a joint takes ten minutes and a clamp. My chair rocked from the back-left leg joint and nowhere else, which is why it came home with me.
One last check, and it is the one people forget: flip the chair over and look at the seat board under the pad. On drop-in seats the board is often thin plywood, and if it is cracked across the middle, you will find out the hard way later. Press it firmly in the centre. It should flex a tiny bit, not creak or dip. Mine was sound, so the project stayed an afternoon project.
What one afternoon can and cannot do
Here is the honest version of the timeline, because "one afternoon" gets stretched a lot online. Painting a chair and recovering its seat fits an afternoon comfortably. Stripping a chair back to bare wood and staining it does not. Stripping alone can eat three hours on a chair with turned legs, and stain needs the surface evenly bare or it goes blotchy. That is a weekend project wearing an afternoon costume.
My afternoon looked like this. Half an hour of cleaning, checking and glueing, then the clamp stayed on while I sanded and filled. Priming took fifteen minutes and dried while I cut the new seat foam. Two thin paint coats at roughly forty minutes apart, seat recovered during the second drying gap, wax and felt pads at the end. Start to finish, about four hours of wall-clock time and maybe two of actual hands-on work. The rest is drying, and drying is where the patience lives.
The rule I work by: if a chair needs more than one joint re-glued, or any wood replaced, it leaves the afternoon list and becomes a Saturday project. Afternoon projects should end with you sitting on the chair, not staring at it in pieces.
What you need
- Sugar soap or a degreasing cleaner, a bucket and two cloths
- Wood glue and one clamp (a strap clamp is ideal, a standard clamp and a steady hand works)
- Sandpaper in a medium and a fine grit, or a sanding sponge, plus a tack cloth
- Wood filler and a flexible filling knife
- A stain-blocking or adhesion primer if you are painting over varnish
- Chalk-style paint or a durable eggshell, and a small angled brush
- Clear wax or a water-based clear coat, and a lint-free cloth
- For the seat: foam, wadding, fabric, scissors and a staple gun with staples
- Felt pads for the feet
The makeover, step by step
Step 1: Clean it like you mean it
Old dining chairs wear years of kitchen grease, hand cream and furniture polish, and paint will not stick to any of it. I scrub with warm sugar-soap water and a cloth, getting into the corners around the rungs where the grime sits thickest, then wipe down with clean water and let the chair dry fully. If a chair has had silicone spray polish on it for years, this step matters even more; that stuff is paint's worst enemy. Ten slow minutes here saves the whole project later.
Step 2: Fix the wobble
Work the loose joint gently until it opens just enough to get glue in. You are not taking the chair apart, only persuading the joint to part a few millimetres. Run a bead of wood glue into the gap, push the joint home, wipe the squeeze-out with a damp cloth straight away, and clamp it. If the gap will not open at all, glue sometimes still wicks in with a firm wiggle, but do not force it and split the wood. While the clamp is on, leave it. My chair's leg joint got a full hour, and I used the time on the next steps for the rest of the chair.
Step 3: Sand, but only where it counts
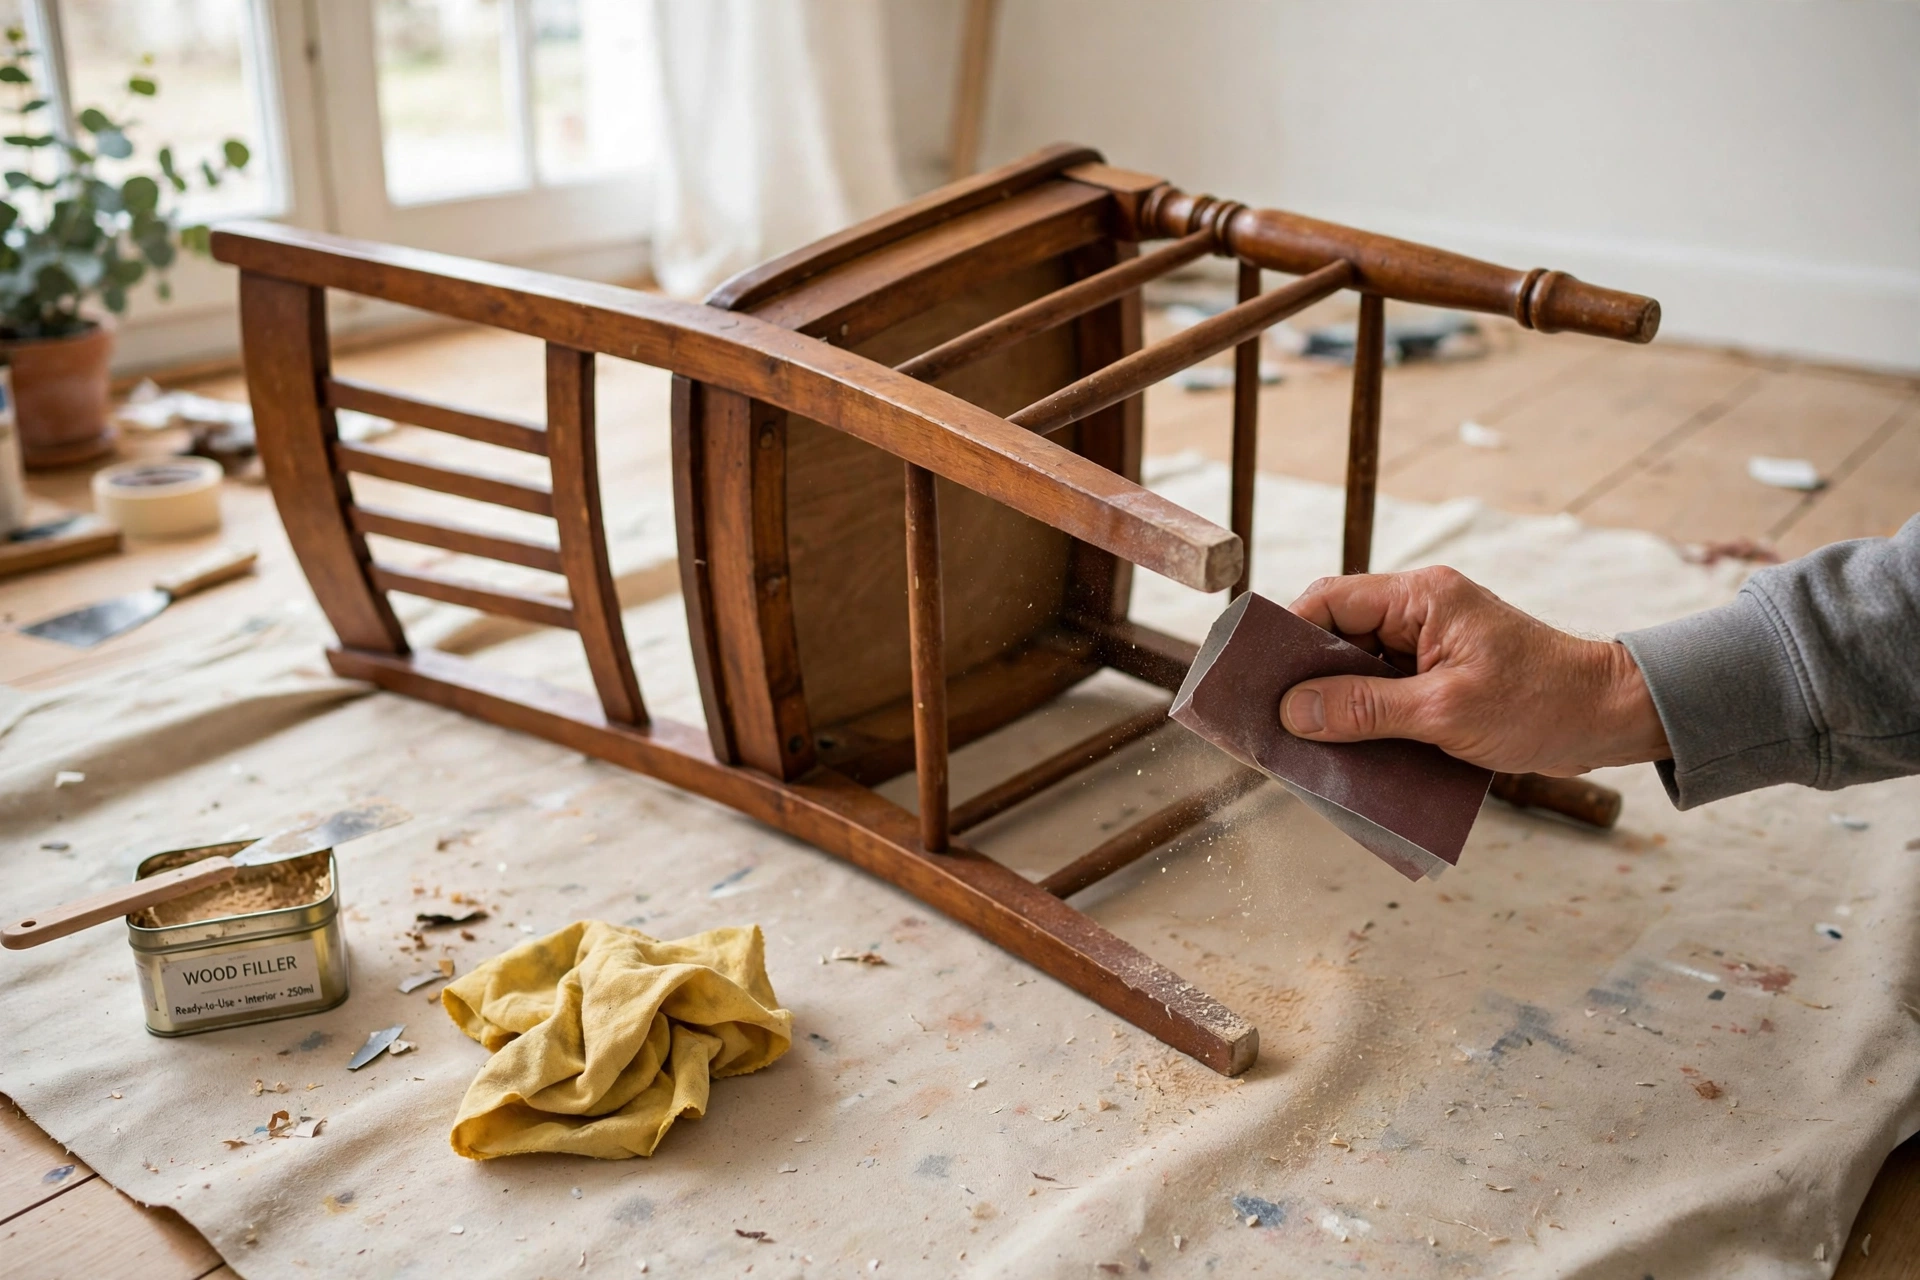
This is the step that keeps the project inside one afternoon. You do not need bare wood. For paint, the surface needs to be clean, dull and sound, and a scuff-sand gives you that: go over every varnished surface with the medium grit just until the shine comes off and the finish feels matte, paying real attention to the edges and the tops of the rungs where hands have polished the varnish smooth. Flaking or damaged finish needs a bit more work, sanded until the edges of the damage feather out and stop catching on your fingertip. Glossy patches left shiny are where paint lets go first, so run your palm over the whole chair at the end. It should feel evenly dull, like a satin ribbon. Then wipe every speck of dust off with the tack cloth.
Step 4: Fill the nicks
Every old chair has a life story written in dents. Press filler into the nicks and small dings with the knife, slightly proud of the surface, and leave the big characterful ones alone if you like them; paint will soften them anyway. Filler shrinks a little as it dries, so deep holes want two thin applications rather than one fat blob. Once dry, sand the filled spots flush with the fine grit and tack-cloth again. Twenty minutes, tops.
Step 5: Prime, because varnish is slippery
Painting over old varnish without primer is the single most common reason chair makeovers peel by Christmas. Varnish is hard and slick, and ordinary paint grips it badly. A coat of adhesion or stain-blocking primer changes that: it bites onto the sanded surface, gives the paint something to hold, and blocks any old stain or varnish colour from bleeding through your new colour. Keep the coat thin, brush out any runs on the legs immediately, and let it dry properly rather than rushing because it feels touch-dry. Dull red-brown varnish under pale paint definitely needs this step; skipping it is how you end up with a pink-tinged chair.
Step 6: Two thin coats, not one thick one
I used a chalk-style paint for the soft, forgiving finish, but a durable eggshell does the same job with a slight sheen and a harder-wearing surface. Either way, the rule is identical: two thin coats beat one thick one every time. Thin coats dry faster, level out better and do not pool in the corners or drip down the legs. Turn the chair upside down and do the undersides and legs first, then flip it and do the top surfaces, so any drip lands somewhere forgiving. Let the first coat dry fully before the second, however tempting it is to keep going. The finish line is close; do not trip over it.
Step 7: Recover the seat pad while the paint dries
A drop-in seat is the easiest upholstery job in the house. Pop the pad out, strip off the old fabric and flattened foam, and check that board one more time before anything new goes on. Cut fresh foam to the board's shape and size, lay a layer of wadding over it to soften the edges, then your fabric, patterned side down, with the board upside down on top.
The staple order is what makes it look tidy rather than lumpy. Start at the centre of the back edge and work outward, one staple in the middle of each side first, front, back, left, right, pulling the fabric snug and even as you go. Then work along each edge from centre to corner, stopping a few centimetres short of the corners. Corners come last, and they want care: fold the fabric into two or three small neat pleats, the way you would wrap the end of a parcel, pull it taut and staple through the folds. Trim the excess fabric close to the staples so the pad drops back into the frame without a fight. Sit on it before you screw it back in. If it feels uneven, now is the five-minute fix.
Step 8: Wax, felt pads, and stand back
Chalk-style paint needs a protective topcoat or it marks every time something brushes past. A thin coat of clear wax, worked in with a lint-free cloth and buffed once it hazes, gives a soft sheen and a surface you can wipe. Eggshell can wear a water-based clear coat instead, or honestly go without if the paint is a hard-wearing one. Last job, and the one that protects your floor rather than the chair: felt pads on all four feet. Then put the seat in, stand the chair at the table, and sit in it with a cup of tea. That is the quality check that counts.
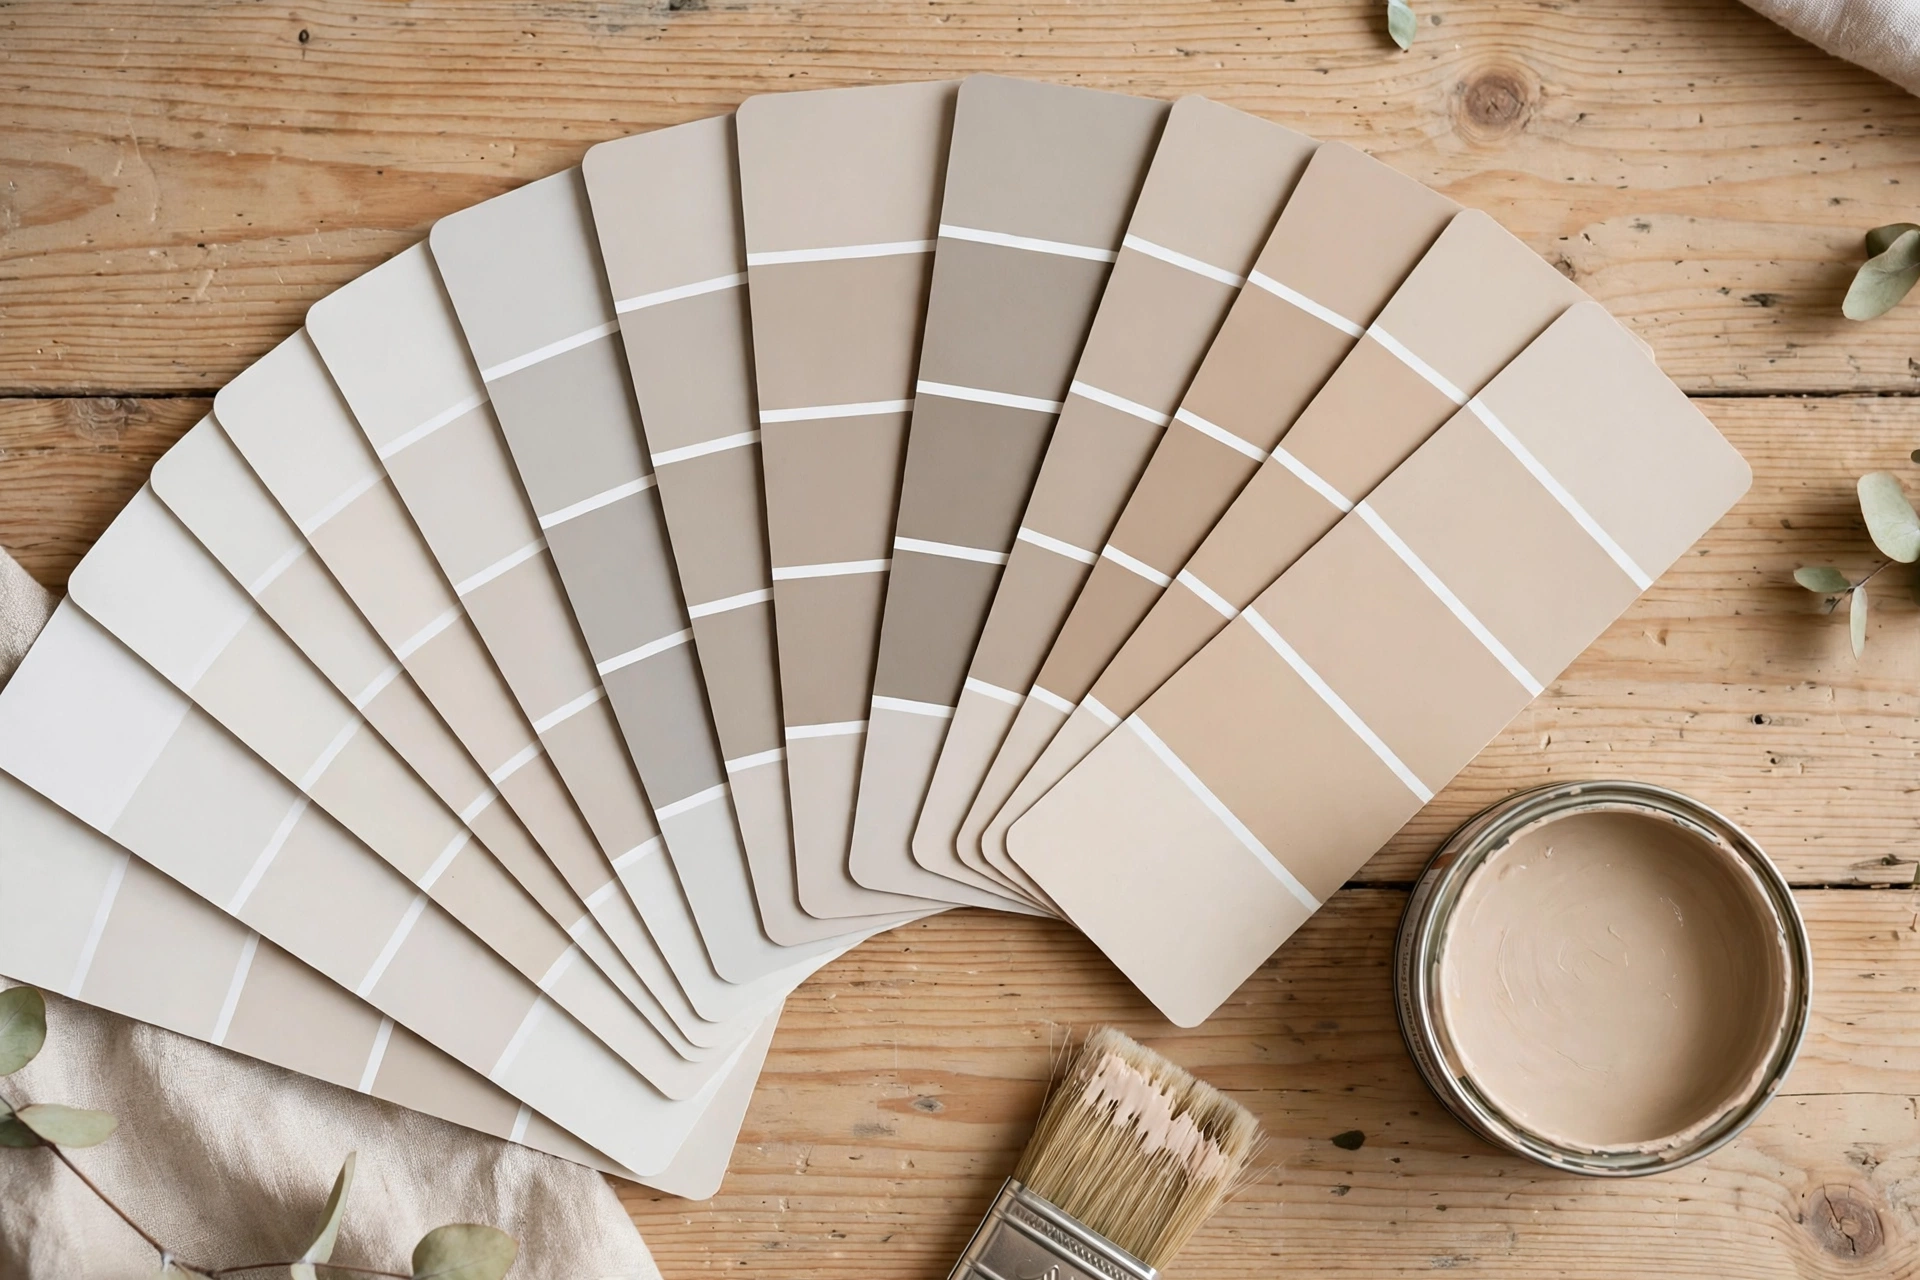
A word about colour
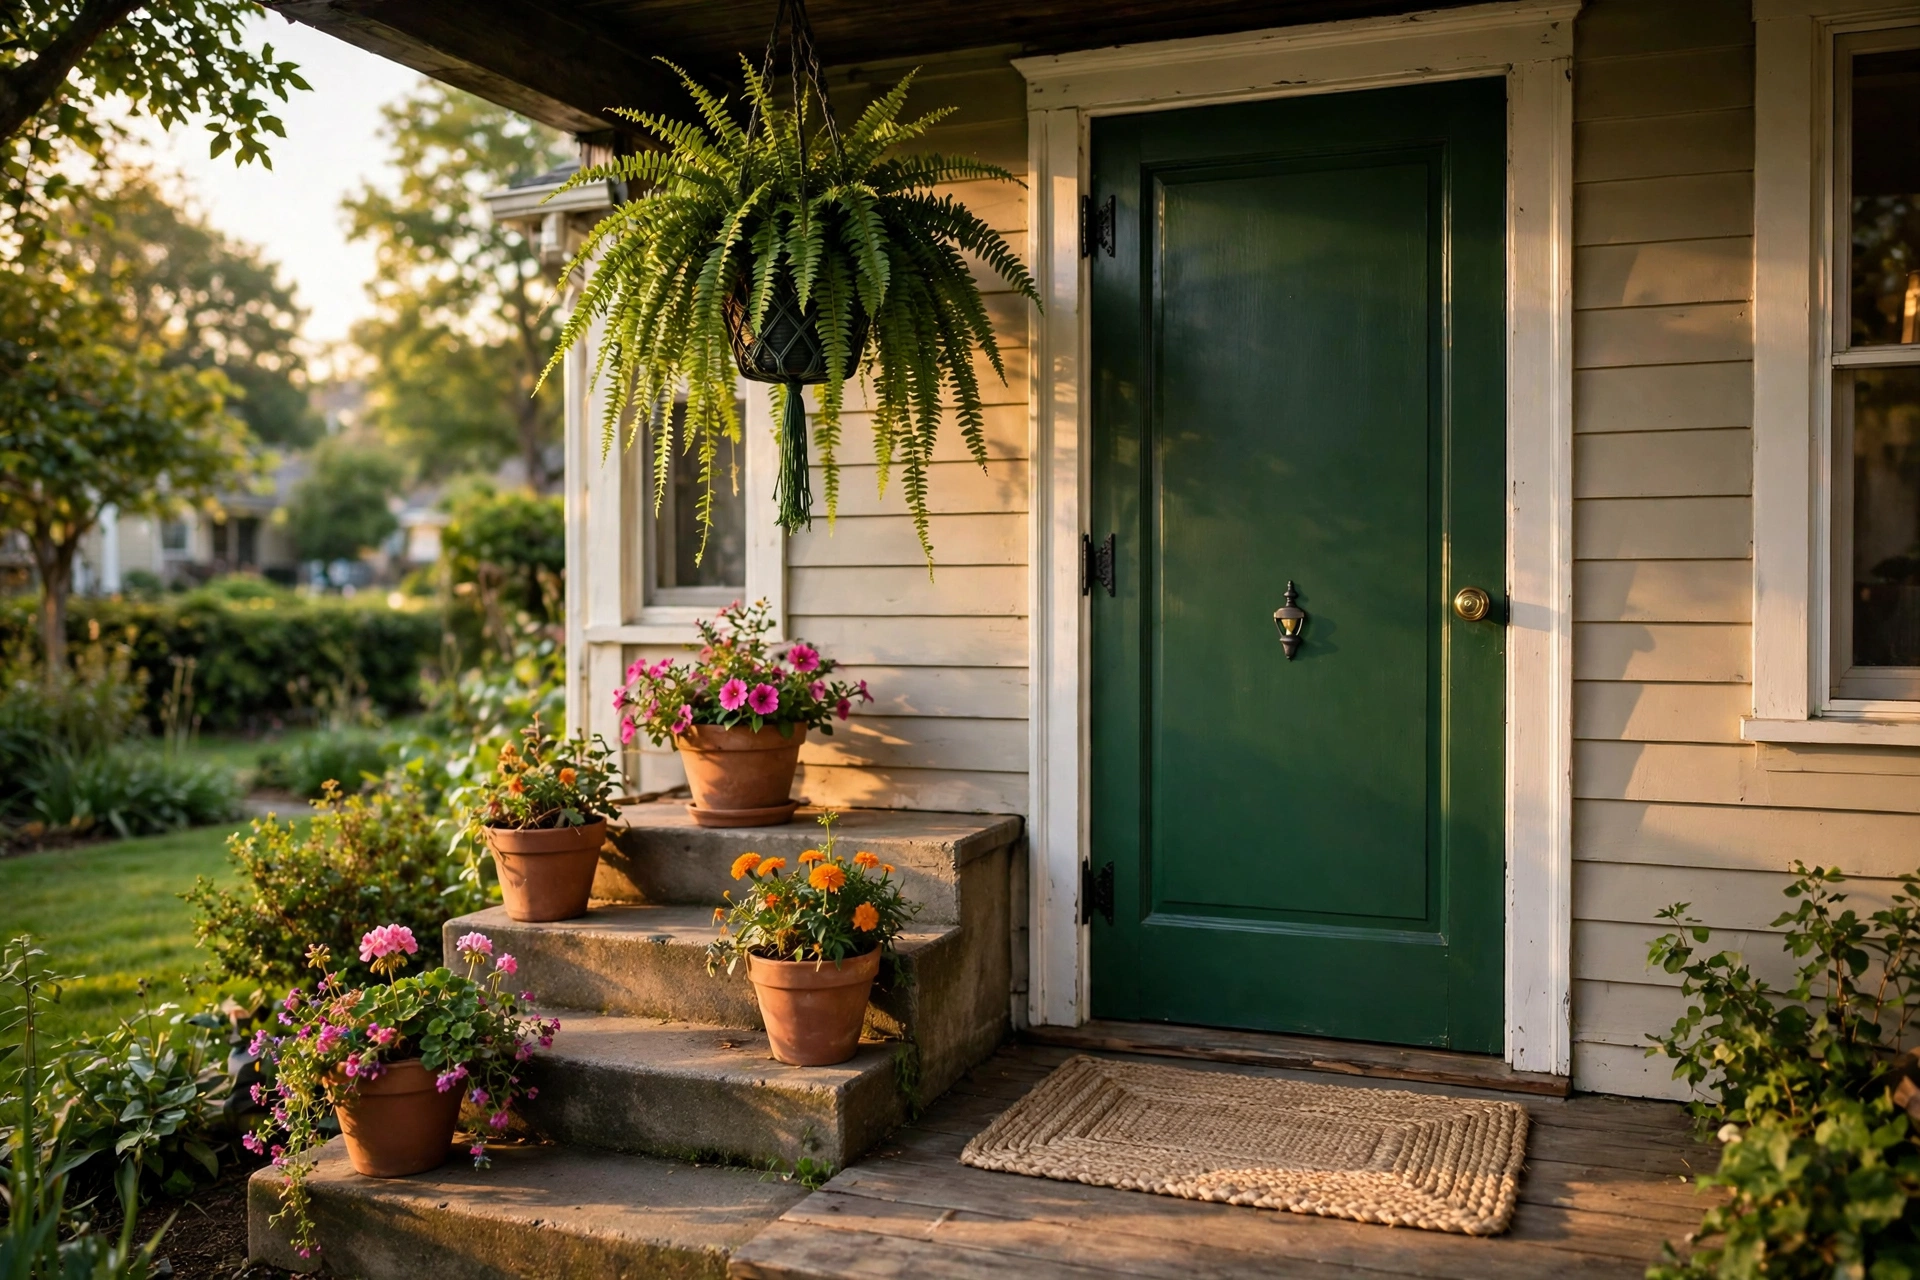
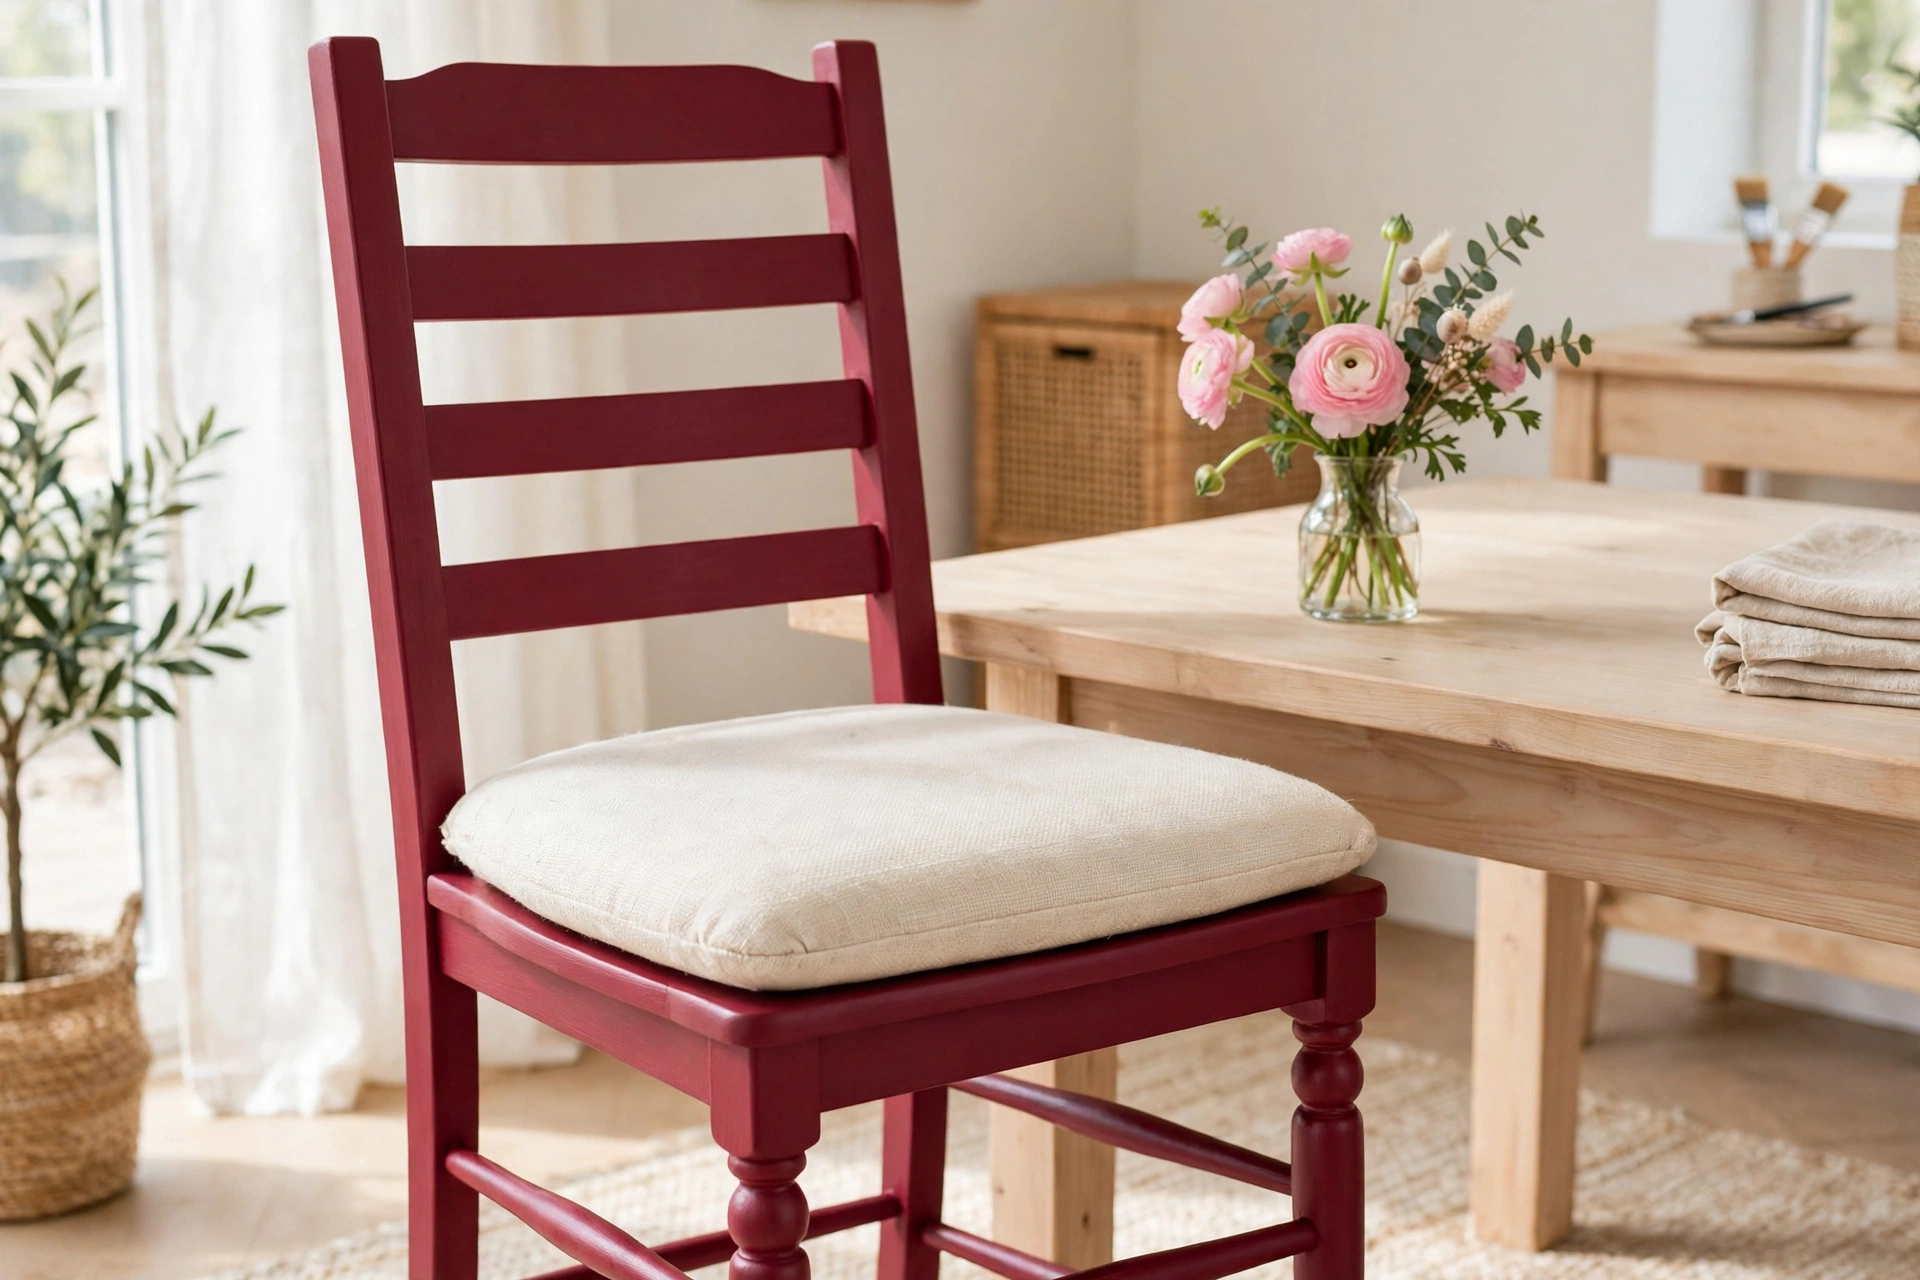
One chair is the safest place in the house to be brave. A whole dining set in a deep colour is a commitment; one chair is a punctuation mark. My set is plain oak, so this one went deep and rich, and it now sits at the head of the table looking like it always meant to be there. If your room is mostly pale and neutral, a single bold chair does the work of a whole feature wall with none of the regret. Inherited a pair? Paint both. Matching bold bookends around a plain table look deliberate, and deliberate is the whole game.
Three mistakes that ruin a chair makeover
Painting straight over glossy varnish. No cleaning, no sanding, no primer, just optimism and a brush. It looks fine for a fortnight and then starts flaking at the edges and the seat rail, where hands grab it. Every one of the boring steps exists because of this mistake.
Thick coats to finish faster. A heavy coat takes longer to dry than two thin ones, sags on vertical surfaces, and drips exactly where you cannot see it until it sets. If you can see your brush marks puddling, the coat is too thick. Brush it out or wipe some off.
Re-covering the seat without checking the board. New foam and pretty fabric over a cracked seat board feels fine for a week and then splits with someone sitting on it. The board check takes one minute while the pad is off. Do it before the fabric goes on, not after.
Questions I get asked about chair makeovers
Do I really need primer over old varnish?
Yes, unless your paint specifically promises adhesion to glossy surfaces and you have scuff-sanded properly. Primer is cheap insurance: it stops peeling and blocks old varnish colour bleeding through pale paint. One thin coat, fully dry, and your paint job lasts years instead of months.
Can I skip recovering the seat and just clean the old pad?
If the foam still has bounce and the fabric is only grubby, a gentle clean is fine and saves half an hour. But if the pad feels flat and hard, the foam has collapsed and no amount of cleaning fixes that. Fresh foam is the difference between a chair that looks done and one that feels done.
The wobble came back after glueing. What now?
Usually the joint was not clamped tightly, or old dried glue inside the joint stopped the new glue reaching wood. The fix is to open the joint properly, scrape out the old glue so you have clean wood on both faces, then re-glue and clamp overnight. A joint that still moves after that may be worn loose, and a sliver of veneer glued in as a shim tightens it.
How long before the chair can be used?
Gently, the next day. Paint feels dry within hours but is still soft underneath for a while, so no dragging it across floors or stacking things on the seat for the first couple of days. Wax finishes harden up over a week or two. After that, it is just a chair again, only a much better-looking one.
That is the whole job: a solid chair, an honest afternoon, and no heroics. If you have a corner chair waiting for its turn, start with the wobble test this weekend and see what you have got. Tell me in the comments what colour yours is going. I am collecting brave chair colours the way other people collect stamps.
Lisa Ben
Lisa paints, builds, thrifts and rearranges her way through one very patient house, then writes down everything she learns here on Wazala. Thrifted chairs are her weakness. New projects land every Tuesday, Thursday and Saturday, and the Sunday Letter rounds them up once a week.
You might also like
How I Made A Flat-Pack Wardrobe Look Built-In
Fillers, trim, caulk and paint: the flat-pack glow-up that fools everyone.
Read more →
How To Paint Kitchen Cabinets And Have The Finish Last
The full cabinet process: degreasing, priming, and the drying times nobody tells you.
Read more →
17 DIY Shelf Ideas For Every Room
From picture ledges to chunky brackets: shelves you can actually build.
Read more →