17 DIY Shelf Ideas For Every Room
 By Lisa Ben · October 14, 2026 · 11 min read
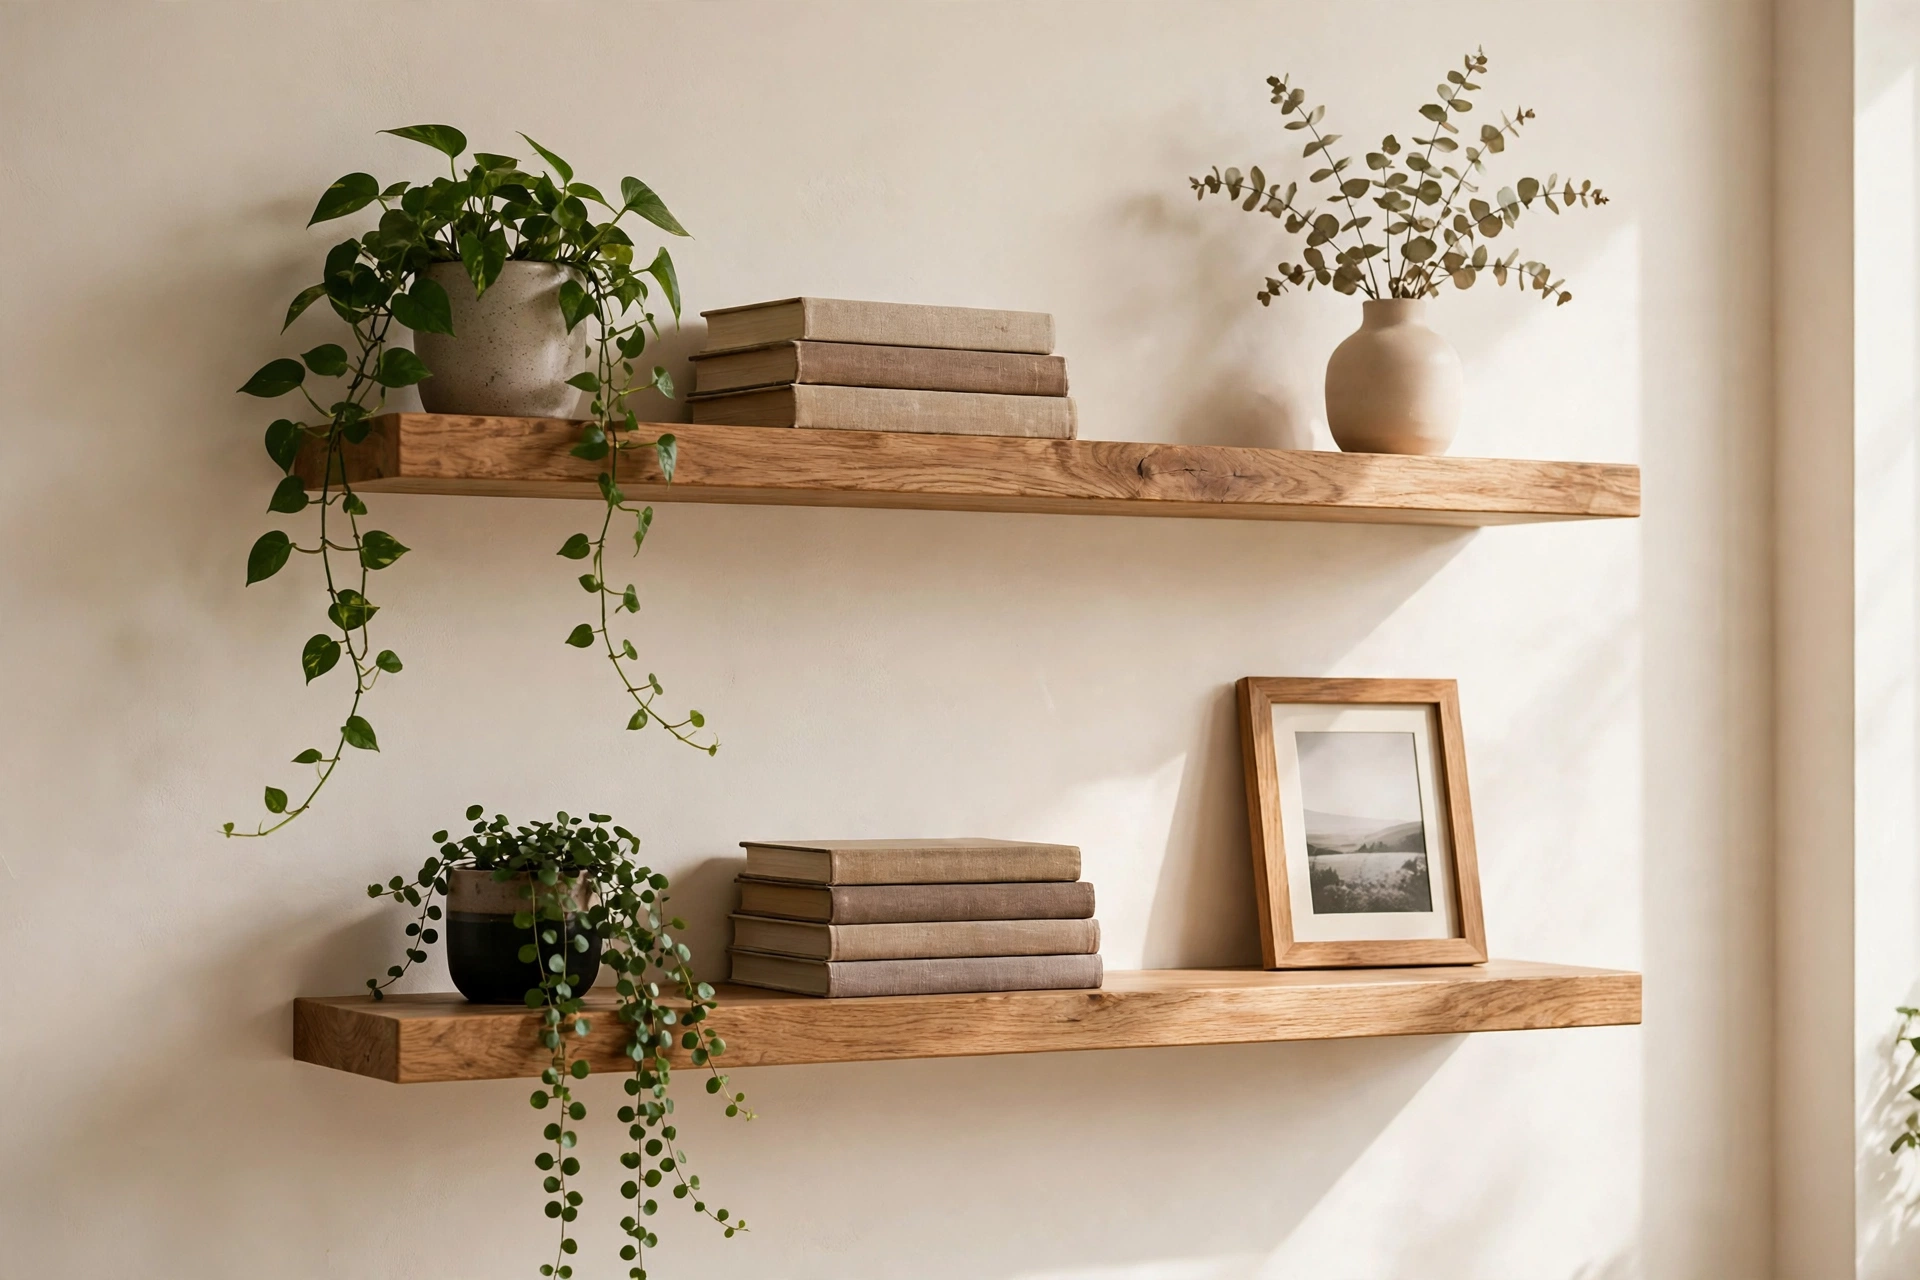
The shelves above my sofa: shallow floating shelves, styled light, screwed into studs so they stay that way.
If a room feels stuck, I will bet on one thing: it needs a shelf. Shelves are the cheapest storage you can add and the easiest display space too, and most of these go up in an afternoon.
Before you fall for a photo, though, pick the shelf for the job. Three questions decide it. What is going on it, because a shelf of cookbooks is a different project from a shelf of framed prints. How deep it needs to be. And what your wall is made of, because the fixings decide how much any of this holds. Every idea below carries an honest weight note.
A quick word on cost and time, because roundups rarely give you either. Fifteen of these seventeen are one-board jobs: a length of timber, brackets or rope or crates you may already own, and fixings. The spend that actually matters is the fixings, so buy those properly and let the board be an offcut. Only two ideas here, the built-in bookcase wall and the recessed niche, are genuine weekend projects. Everything else fits between lunch and dinner, including the swearing at the spirit level.
Before you hang anything
Five minutes of checking saves a wall full of regret holes. My routine, every time:
- Find the studs. For anything heavy, at least one fixing, and ideally all of them, goes into a stud.
- Match the plugs to the wall. Drywall alone needs proper plasterboard anchors or plugs. Brick or block wants masonry plugs and a hammer drill.
- Ask what else is in the wall. Pipes and cables like straight lines too, especially above sockets. If you are not sure what is behind a spot, do not drill there.
- Tape the line first. Painter's tape on the line, checked with a level and from across the room. I have lived with tape for a day before drilling. It has saved me twice.
- Plan the gaps between shelves. For a stack of two or three, leave roughly 30 cm between shelves for books and jars, 40 cm if storage boxes or tall vases are going up there. Measure the tallest thing you own first, then set the lowest shelf.
Living room shelves
1. Skinny floating shelves
The classic hidden-bracket shelf, kept shallow: 10 to 15 cm deep. That narrow depth is the point: framed photos, small plants and ceramics, no crowding. Keep it light: a row of hardbacks makes skinny shelves look strained, and the fixings agree. Whatever you do place on one, put the heaviest pieces near the ends, over the hidden rods, not floating in the middle.
2. Picture ledges
A slim ledge with a raised lip that you lean art against. Frames swap and layer without a single new hole. Two above a sofa borrow half the effect of a gallery wall with a quarter of the measuring.
3. Ladder shelf
A freestanding leaning shelf, wide at the bottom, narrow at the top, and no holes at all: the renter-friendly pick of this list. Books and a basket go low; the shallow top shelves are for plants and light pieces only. One safety exception to the no-holes rule: if small children will climb it, and they will try, strap the top to the wall. Leaning shelves tip, and a strap costs almost nothing.
4. Floating box shelves
Open cubes or box frames, singly or in a group of three. Each one frames its contents like a shadow box: small collections and a few paperbacks suit them best. Keep them light, and fix into studs: boxes lever on their fixings.
5. Built-in-look bookcase shelves
The big one. Line up bookcases, box them in with trim, caulk the seams, paint everything the wall colour, and flat-pack starts to look like joinery. It takes a real book collection, provided spans stay short and frames are screwed into studs. Measure your tallest books before you fix the shelf heights, and leave one section deliberately tall: every house owns three art books and a vase that fit nowhere else. Same trick as my flat-pack wardrobe built-in, turned sideways.
Kitchen shelves
6. Floating shelves on tile
Open shelves where a wall cabinet would feel heavy. The fiddly part is drilling the tile: tape, a tile bit, slow speed, no hammer setting through the glaze. Aim for a grout line if the layout lets you; grout drills kindly and a cracked tile does not. Behind a sink or hob, dab silicone around the screw holes so splashes cannot creep into the wall. Fixed into studs or solid wall behind, they carry daily dishes and jars. Full jars are heavy, so keep runs short.
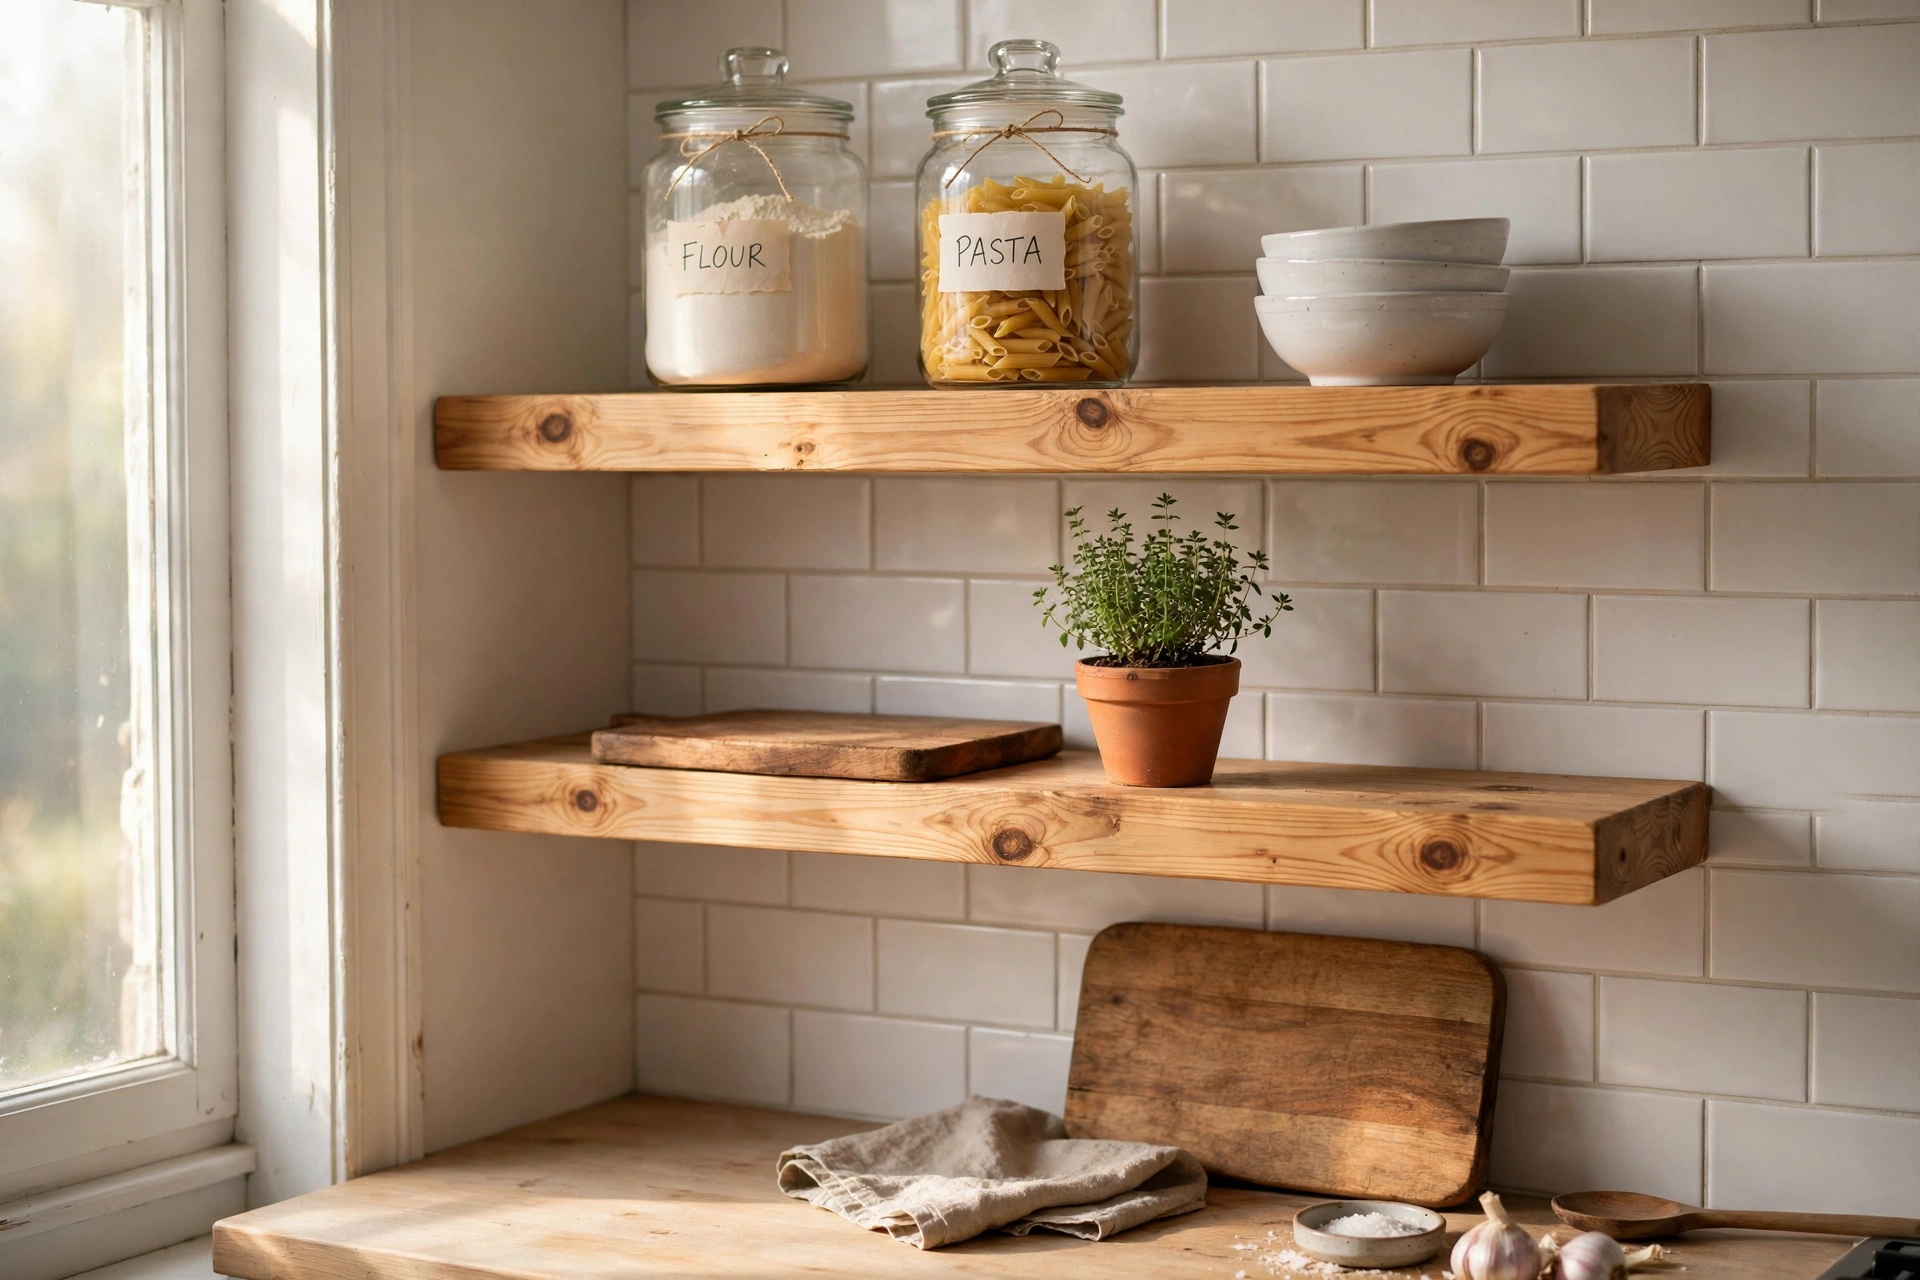
Chunky pine on white tile: short runs, a bracket near each end.
7. Bracket shelves with chunky wood
Visible brackets under a thick board: scaffold board or a leftover piece of worktop. Nothing hidden, which is the charm. Mugs, jars and splashed cookbooks live here. A bracket near each end and one every 60 to 80 cm or so, and it takes real kitchen weight. Spend on board thickness before bracket size, by the way. Sagging lives in the board, not the brackets, and a chunky board on modest brackets outlasts a thin board on fancy ones.
8. Industrial pipe shelves
Threaded pipe and floor flanges from the plumbing aisle, with a board across the top. Pipe shelves look tough because they are, as long as the flanges land in studs or solid plugs, not bare drywall. Jars and stacked bowls, no drama.
9. Window plant shelf
A narrow shelf across the kitchen window, or a clear acrylic one on the glass, turns the sunniest spot into a herb garden. Basil, mint, one trailing plant. Keep pots small and light, and tray anything you water. Two small warnings from my own sill: glass magnifies heat, so tender leaves can scorch on a fierce south-facing window, and herbs lean hard toward the light. Turn each pot a quarter every few days or they grow sideways.
Bathroom shelves
10. Corner shelves
Small triangular shelves that turn the dead corner beside the mirror or above the bath into storage. Rolled towels, spare bottles, one plant that likes the steam. An easy load, but keep heavy glass jars low or off altogether. Wet rooms and gravity are not friends. If the corner sits at head height in a tight bathroom, look for shelves with a curved or cut front corner. Your forehead will thank you the first time you bend for a dropped towel.
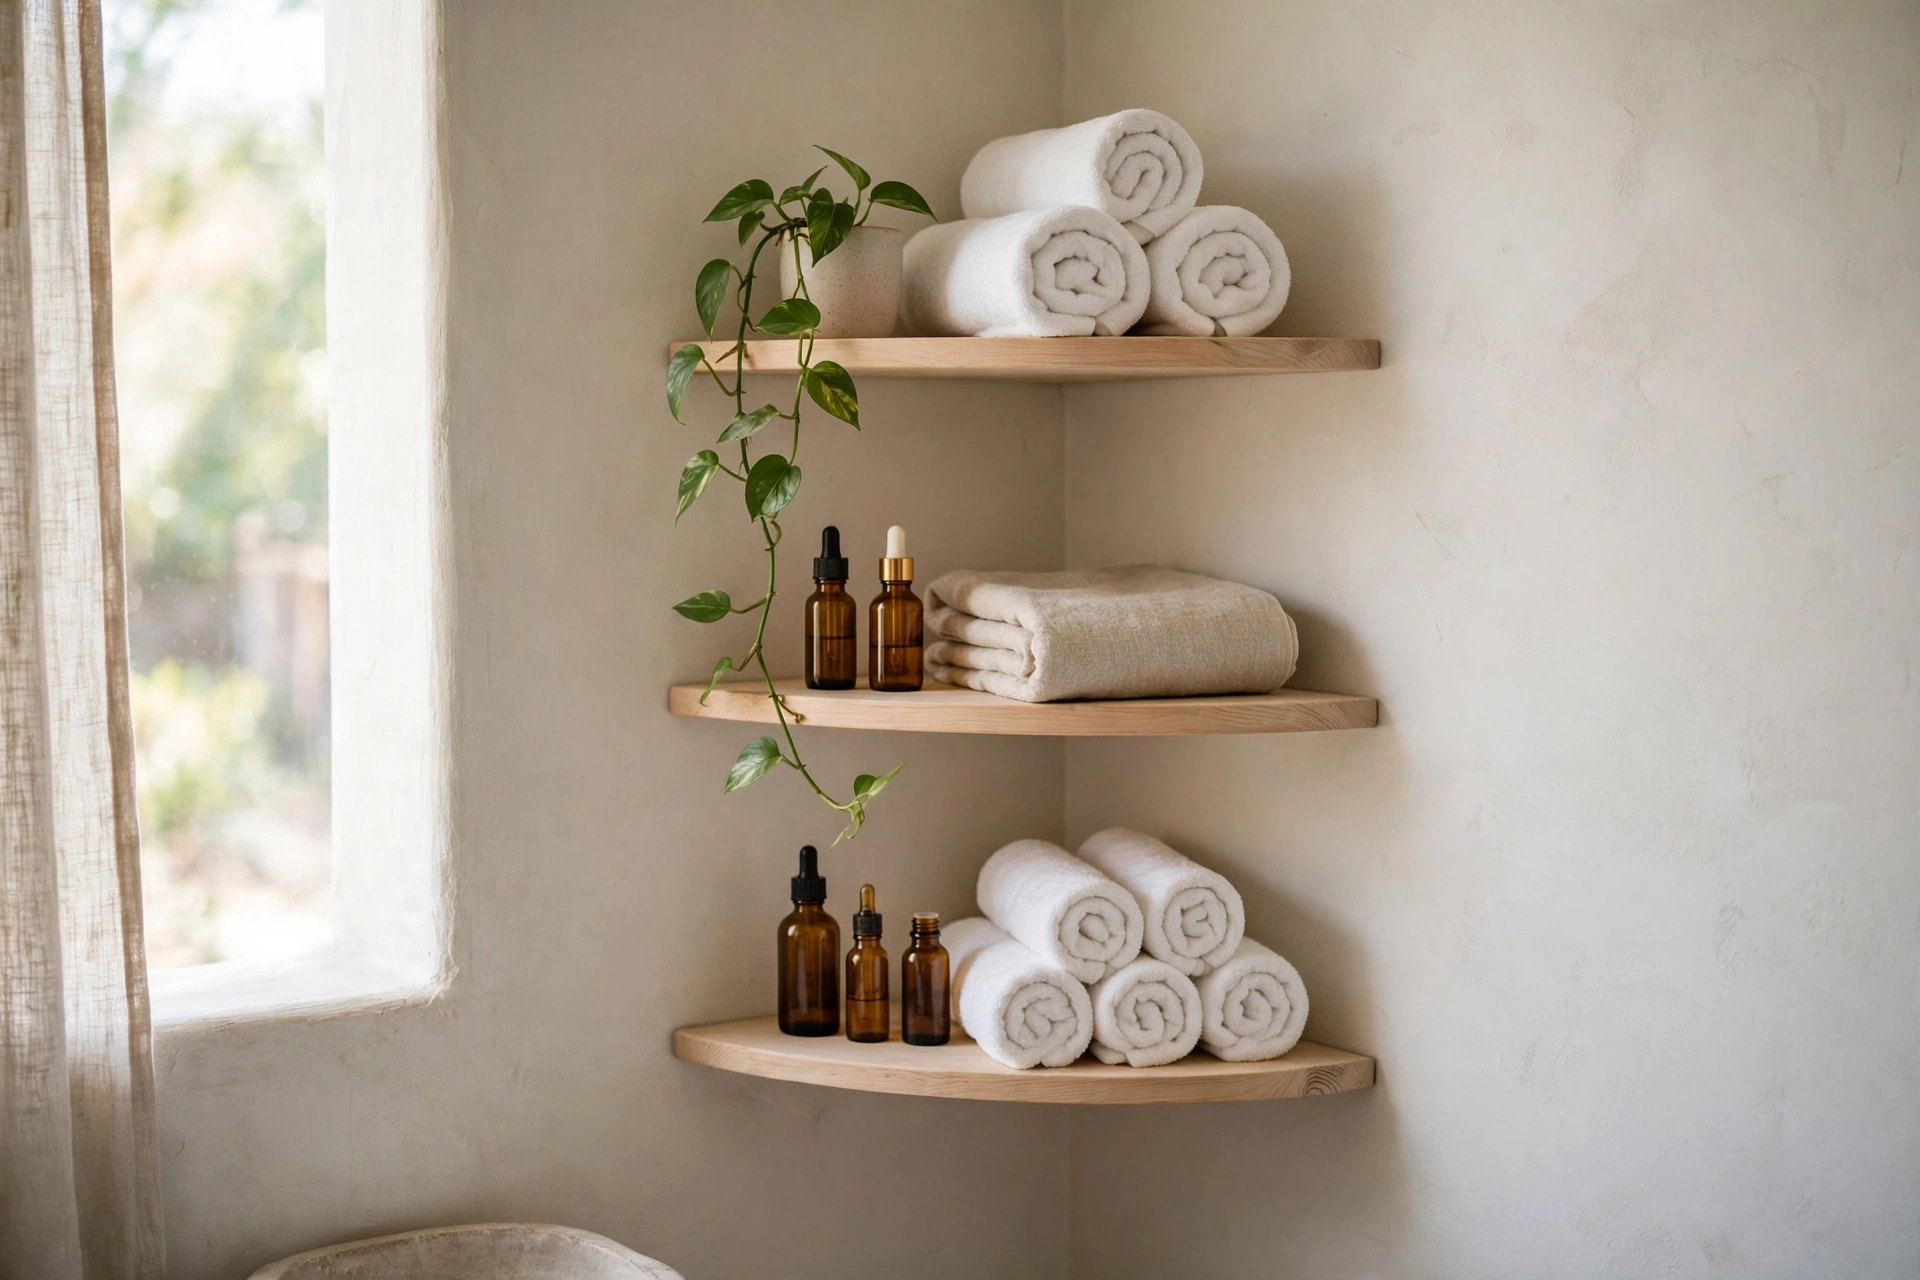
Our bathroom corner: towels rolled tight, and the plant that refuses to die.
11. Recessed niche shelves
A shelf built into the wall, usually during a remodel: a tiled shower niche for shampoo, or a shallow recess by the bath. Bottles where you reach for them, no floor space lost. One warning: only open a stud partition you know is clear inside, and if there is any doubt about pipes or wiring, hand it to a professional. In a shower, the niche also has to be waterproofed behind the tile, not just tiled and grouted. Water finds every shortcut, and a leaking niche rots quietly for years before it shows.
12. Above-door shelf
The strip of wall above the bathroom door is wasted in most houses. One shelf there holds the light, bulky, rarely needed things: spare towels, extra loo rolls, the guest wash bag. Add a small lip at the front so rolls stay put, and keep anything heavy or breakable off it. Before you drill, swing the door fully open and check the top corner of the door clears the shelf. Doors in older houses are not always hung square, mine included.
Bedroom shelves
13. Crate shelves
Wooden crates, sanded, painted or plain, stacked on the floor or screwed to the wall as open boxes. Two stacked beside the bed do everything a nightstand does, cheaply. Wall-hung crates stay light, a few paperbacks and a plant, because their fixings are small. For a floor stack, small castors under the bottom crate are a kind upgrade: the whole unit rolls out for cleaning instead of gathering dust and lost socks behind it.
14. Rope-hung shelf
A board with holes at the corners, threaded with rope, hung from two sturdy hooks. Soft, slightly boho, up in twenty minutes. It also swings when you brush past, so be honest: a small plant, a paperback, a candle in a tin. The bedtime glass of water lives somewhere still. Choose the rope for strength, not just looks: thin decorative cord is made for wrapping presents, not holding shelves. Thick rope, honest knots under the board, and a quick check for fraying once a year.
15. Peg rail shelf
A Shaker-style peg rail with a flat shelf board on top. Pegs below take tomorrow's bag, a hat, a dressing gown; the shelf above takes boxes and a short row of books. Screwed into studs along its length, it is properly strong. Space the pegs about 15 cm apart: closer and hanging things bunch up, wider and you waste the rail. In a hallway, this one earns its keep every single day.
Hallway and entry shelves
16. Under-stair shelf
The sloped triangle under the stairs, fitted with stepped shelves that follow the angle. Shoes low, baskets and the dog's things at the tall end, post and keys at standing height. A freestanding stepped unit is simplest; boards on wall battens are neater. Resist filling every centimetre: leave the tall end open for the vacuum and the mop, the two things that never fit anywhere else in a small house.
17. Rolling cart as a shelf alternative
Not a shelf at all, and in a hallway niche it beats one. A three-tier trolley holds books, craft supplies or party drinks, then rolls away for cleaning. Heavy tier at the bottom, always: a top-heavy cart is a small accident on wheels. If bottles are its job, choose a cart with a raised edge or rail on each tier, or the first enthusiastic roll across the kitchen ends in a slow-motion slide.
My honest rule of thumb. If you would not hang off the fixings yourself for two seconds, do not ask them to hold a shelf of books. When in doubt, go one fixing stronger than the shelf seems to need. It costs pennies.
Start with one shelf, live with it a week, and you will know where the next one wants to go. If a full wall of storage is the real goal, my pantry shelf build covers longer spans and the bracing that stops sagging. And send me your photos. The corner shelf transformations alone are worth the inbox space.
How high should a shelf go?
The other half of getting a shelf right is height, and a few working distances cover most rooms. Above a kitchen worktop, leave roughly 45 to 55 cm between the counter and the first shelf: room for a kettle and a tall jar, without the shelf crowding your hands. Above a sofa, the bottom shelf wants to sit about 20 to 25 cm above the back cushions, close enough to feel connected, high enough that nobody's head meets it when they flop down. Above a desk, 40 to 50 cm up from the surface keeps books in reach while you are seated. And for anything you use daily, keep the top shelf at or below about 180 cm, or accept that it becomes storage for things you have quietly given up on.
Questions I get about hanging shelves
How far apart should shelf brackets be?
The board and load decide it, but keep spans modest: roughly 60 to 90 cm for a chunky solid board, shorter for a thin one, with a bracket near each end. Board thickness counts as much as spacing: a 4 cm thick board spans happily where an 18 mm board bows. Press the middle of the finished shelf. If it flexes, it wants another bracket.
Can I hang shelves in a rental without losing my deposit?
Start with the no-hole ideas: a ladder shelf, a rolling cart, a stack of crates. If you do drill, a picture ledge asks for a few small screws, and small holes patch with filler in minutes at moving-out time. Check your lease about drilling into tile.
What shelf depth do I need for books?
Most paperbacks sit happily on 20 cm. Big hardbacks and coffee table books want 28 to 30 cm, or they overhang. First, measure your deepest book and add a centimetre. Ten seconds, and it saves the commonest shelf mistake I see.
Why is my shelf sagging, and how do I fix it?
Usually one of three things: the span is too long, the board is too thin, or the fixings are pulling out of drywall. The honest fix is a middle bracket or a thicker board. If the wall plugs spin in their holes, move the fixings to fresh holes in studs.
About Lisa Ben
Lisa is the writer behind Wazala, where she shares the decor and DIY projects from her own home: paint colours that actually work, furniture rescues, and storage squeezed into impossible corners. She has strong opinions about primer and weak resistance to a roadside furniture find. Say hello at info@wazala.site.
You might also like
How To Make A Flat-Pack Wardrobe Look Built-In
Trim, caulk and one coat of paint turn a plain wardrobe into something that looks made for the room. The gap at the top is the whole trick.
Read more →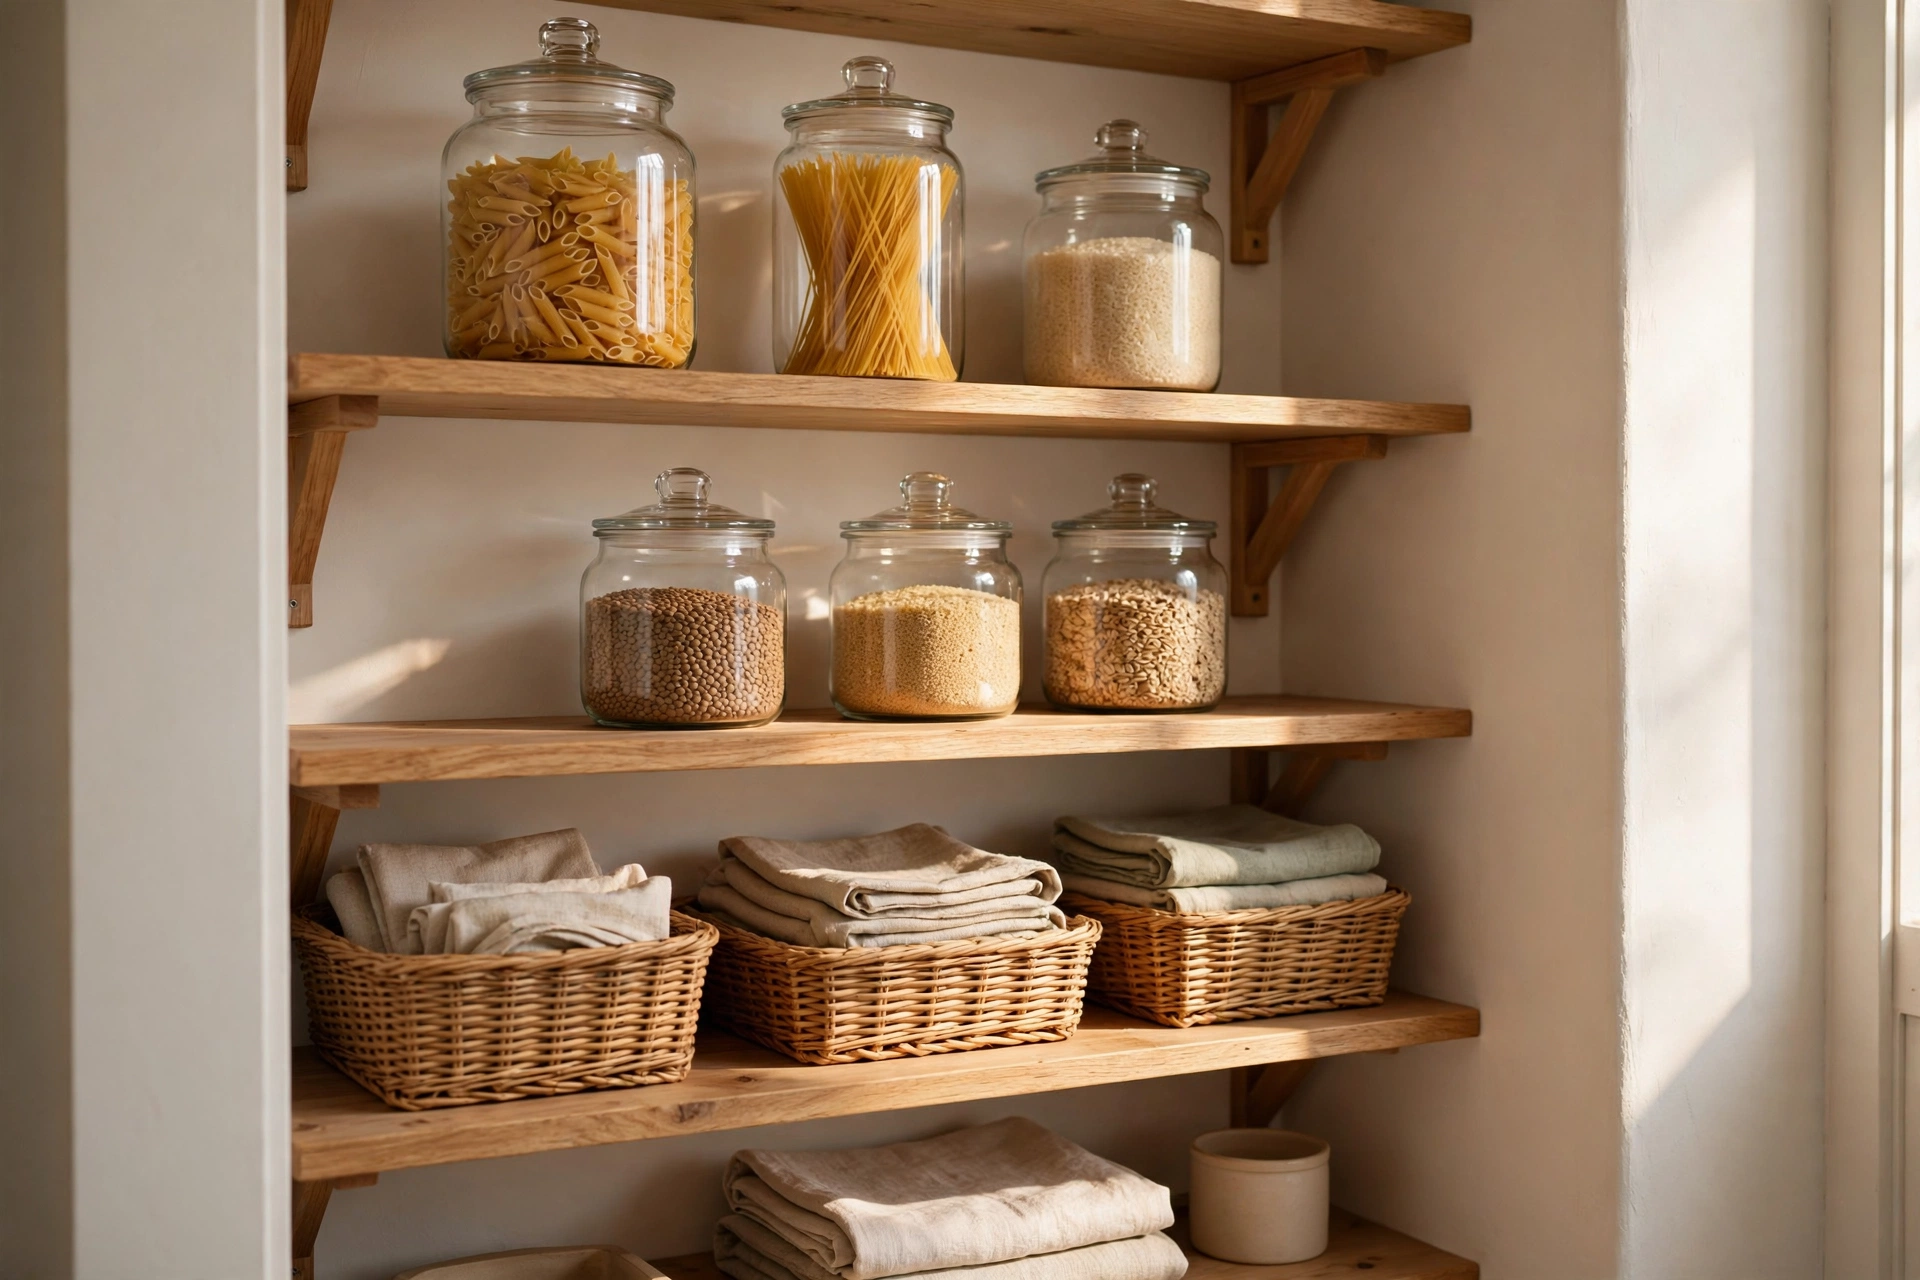
How To Build Pantry Shelves That Do Not Sag
Longer spans, heavier jars, zero bounce. The bracing and board thickness that keep a pantry shelf straight under a full load.
Read more →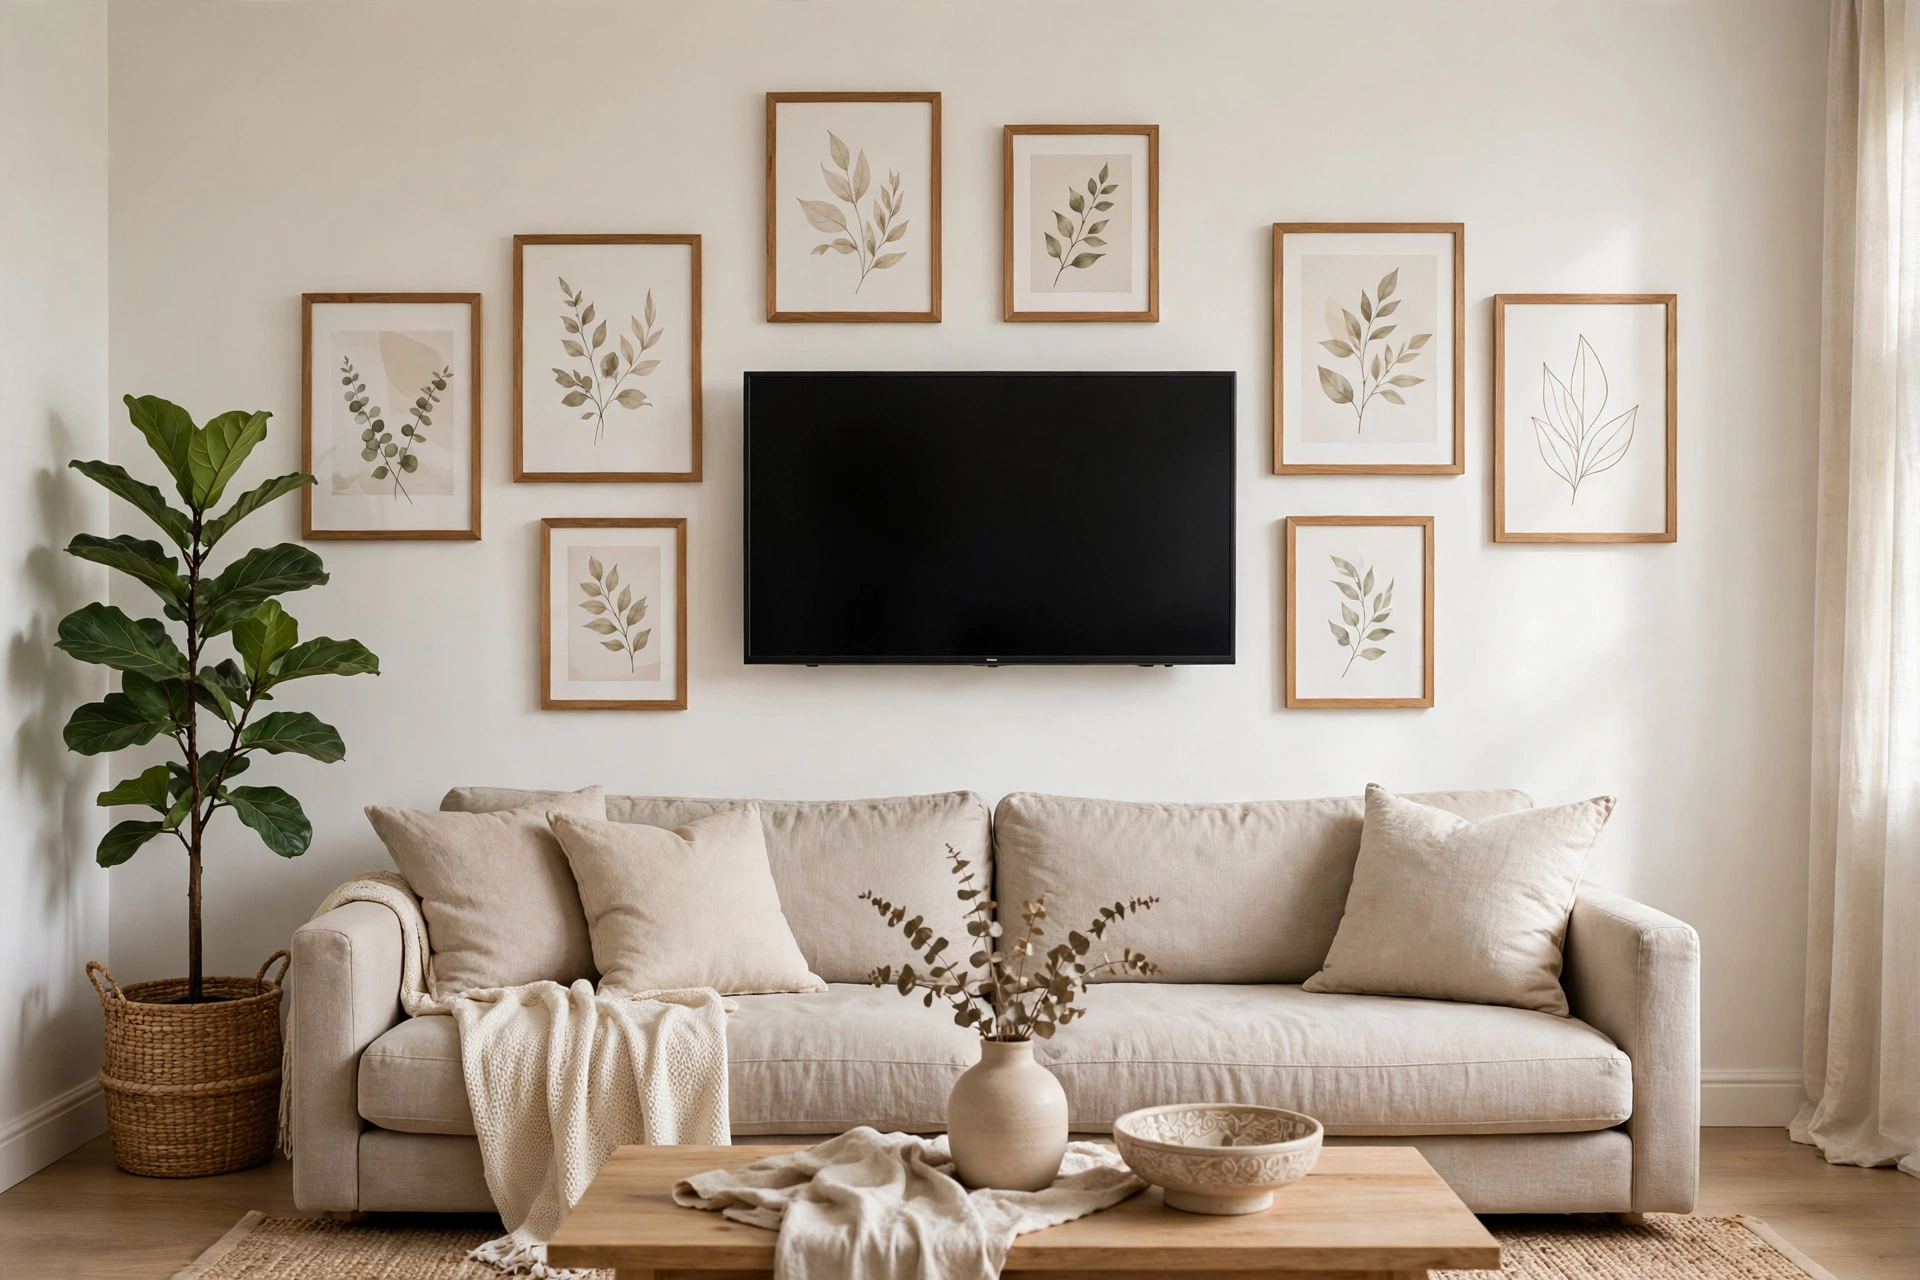
How To Hang A Gallery Wall Around A TV
Paper templates first, one level, and spacing that stays even all the way round the screen. The TV stops being the eyesore.
Read more →