How I Made A Flat-Pack Wardrobe Look Built-In
 By Lisa Ben
·
October 21, 2026
·
11 min read
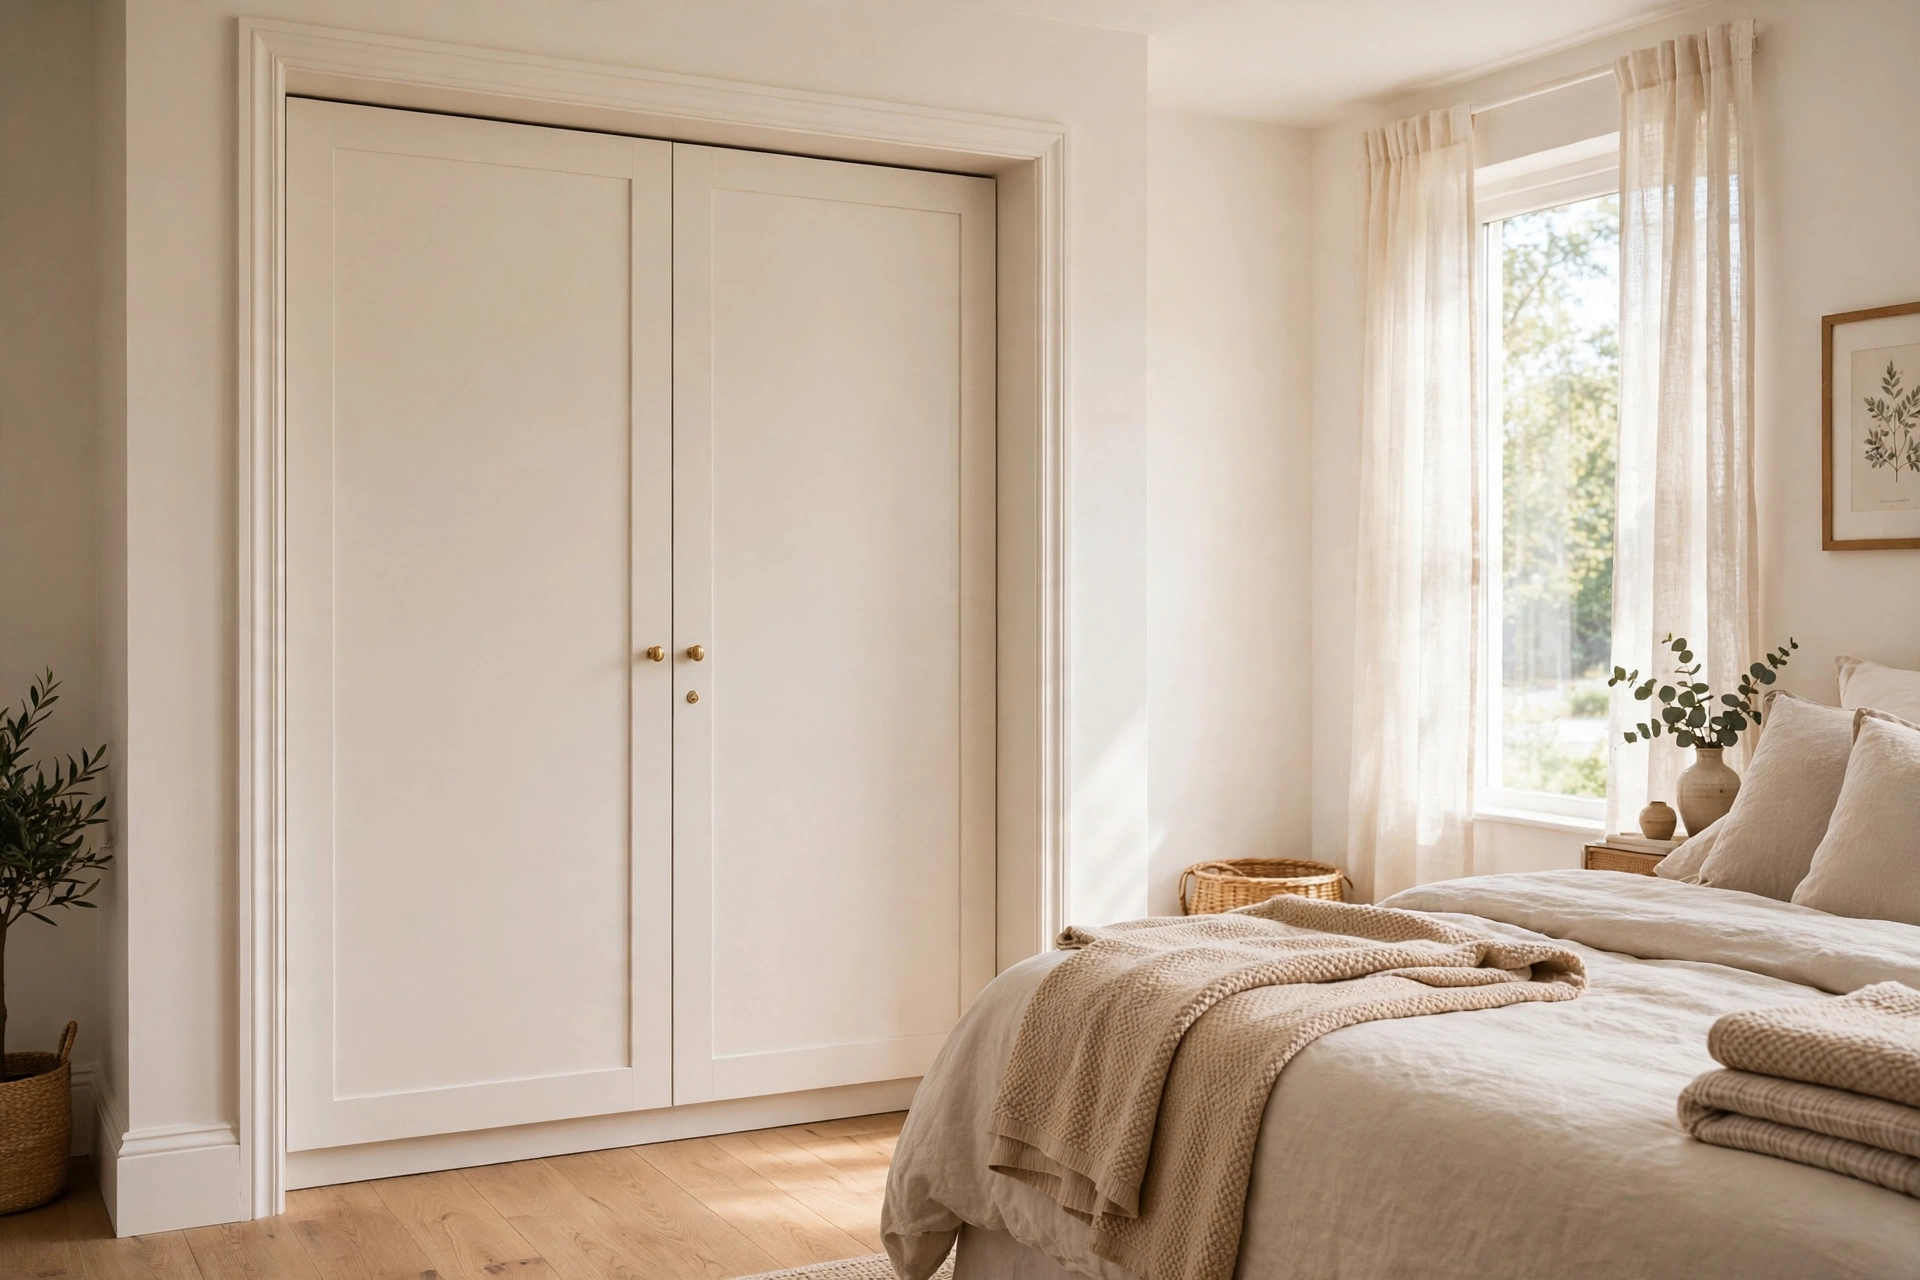
Our spare room has an alcove that looks like it was built for a wardrobe. For two years what actually stood in it was a basic flat-pack wardrobe, the doors a touch crooked, with a shadow gap down one side and a wider one across the top where spare quilts went to disappear. It worked fine. It just never looked like it belonged there.
Fitted wardrobes cost what they cost mostly because a joiner measures your room, then builds and fits panels around it until nothing is left floating. The wardrobe in the middle is often nothing special. So I kept the cheap wardrobe and did the joinery part myself: fillers, trim, caulk and paint. The carcass never changed. Everything around it did.
First, measure the alcove properly
This is the step that decides whether the job looks easy or looks amateur, and it nearly caught me out. Alcoves are never one width. Ours measured one thing at skirting level, a little less halfway up, and less again near the ceiling, because old walls lean and bow in ways you cannot see until a straight wardrobe is standing next to them. So measure the width in three places, the height on both sides, and the depth at the top and bottom. Write down the smallest number in each set. That is the space you actually have.
Then plan the gaps on paper before anything gets built. My wardrobe went in centred, with a filler strip planned down each side, a header panel across the top, and a plinth along the front at the bottom. Equal small gaps look deliberate. One big accidental gap looks like a mistake, because it is one.
What I used
Materials:
- One sheet of 18mm MDF, cut into strips for the fillers, header and plinth
- A length of softwood batten to fix behind the filler panels
- Architrave trim for the two sides and the top
- Packing shims, screws and wall plugs
- Decorator's caulk and wood filler
- Adhesion primer, then eggshell paint in the wall colour
- New handles, plus filler for the old holes
Tools:
- Tape measure, spirit level and a pencil I kept losing
- Drill/driver and a saw for the MDF strips
- Caulk gun and a damp cloth
- Sandpaper, a small roller and an angled brush for the edges
Step 1: Build the carcass square
Build the wardrobe in the room it will live in, as close to the alcove as you can, because a finished wardrobe is a heavy, awkward thing to carry through a doorway. While you assemble it, check it is square by measuring both diagonals corner to corner. If the numbers match, the doors will hang evenly. If they do not, sort it now, because no amount of filler and paint later will hide doors that meet at a slant.
Step 2: Slide it in, shim it level
Our floor dips slightly towards the window, which is normal and also the reason the doors rubbed before. I pushed the carcass into the alcove, then worked packing shims under the low side until the level sat happy in both directions and the doors swung clear. Shim from both sides where you can, trim off whatever sticks out, and do not rush this. A wardrobe that is level looks fitted almost by itself. One that leans announces itself every time you walk past.
Step 3: Fix it to the wall
Do not skip this one. A tall wardrobe full of clothes is top-heavy in a way that is easy to underestimate, and tall furniture must be anchored, no exceptions. I screwed a batten to the wall inside the top of the alcove and fixed the carcass back to it, and added the anti-tip straps the wardrobe came with as a belt-and-braces second fixing. It takes ten minutes and it is the most important ten minutes of the whole project.
Step 4: Fillers and a plinth from MDF
Now the gaps. I fixed battens to the alcove walls, then screwed MDF strips to them, one down each side of the wardrobe, scribed and trimmed until each one sat snug against the wall. Walls wave, so a filler that is perfect at the top can gap at the bottom; scribe it, plane a shaving off, offer it up again. Across the top went a wider header panel, and along the front at floor level I ran a plinth cut to the height of the skirting board. That plinth quietly does more for the built-in look than anything else, because it makes the wardrobe appear to grow out of the floor instead of standing on it.

Step 5: Trim around the edges
With the gaps filled, I ran architrave down both sides of the wardrobe and across the top, mitred at the corners, pinning and gluing it over the joins between filler and carcass. Think of it as a picture frame. The trim turns three separate joins into one deliberate outline, and it is the moment visitors stop seeing a wardrobe and start seeing joinery.
Step 6: Caulk and fill every seam
Decorator's caulk along every joint where wood meets wall, filler over every screw head and pin hole, then a light sand once it all dries. Caulk is forgiving stuff: run the bead, smooth it with a wet finger, wipe the excess with a damp cloth. This is the least exciting step and the one that does the most work. Paint makes a finish look good. Caulk makes it look finished.
Step 7: Prime, then paint
Bare MDF drinks paint, especially the cut edges, so prime everything first and give the edges a second pass. The wardrobe's factory finish is slick, so an adhesion primer matters here too; a light scuff with fine sandpaper first gives it something to hold. I painted the whole thing, doors, fillers, trim and all, in the same warm white as the walls, in eggshell, which makes the wardrobe recede and the alcove read as one fitted unit. A contrast colour works just as well if you want the wardrobe to be the feature of the room instead. Two thin coats, with a proper evening of drying between them.
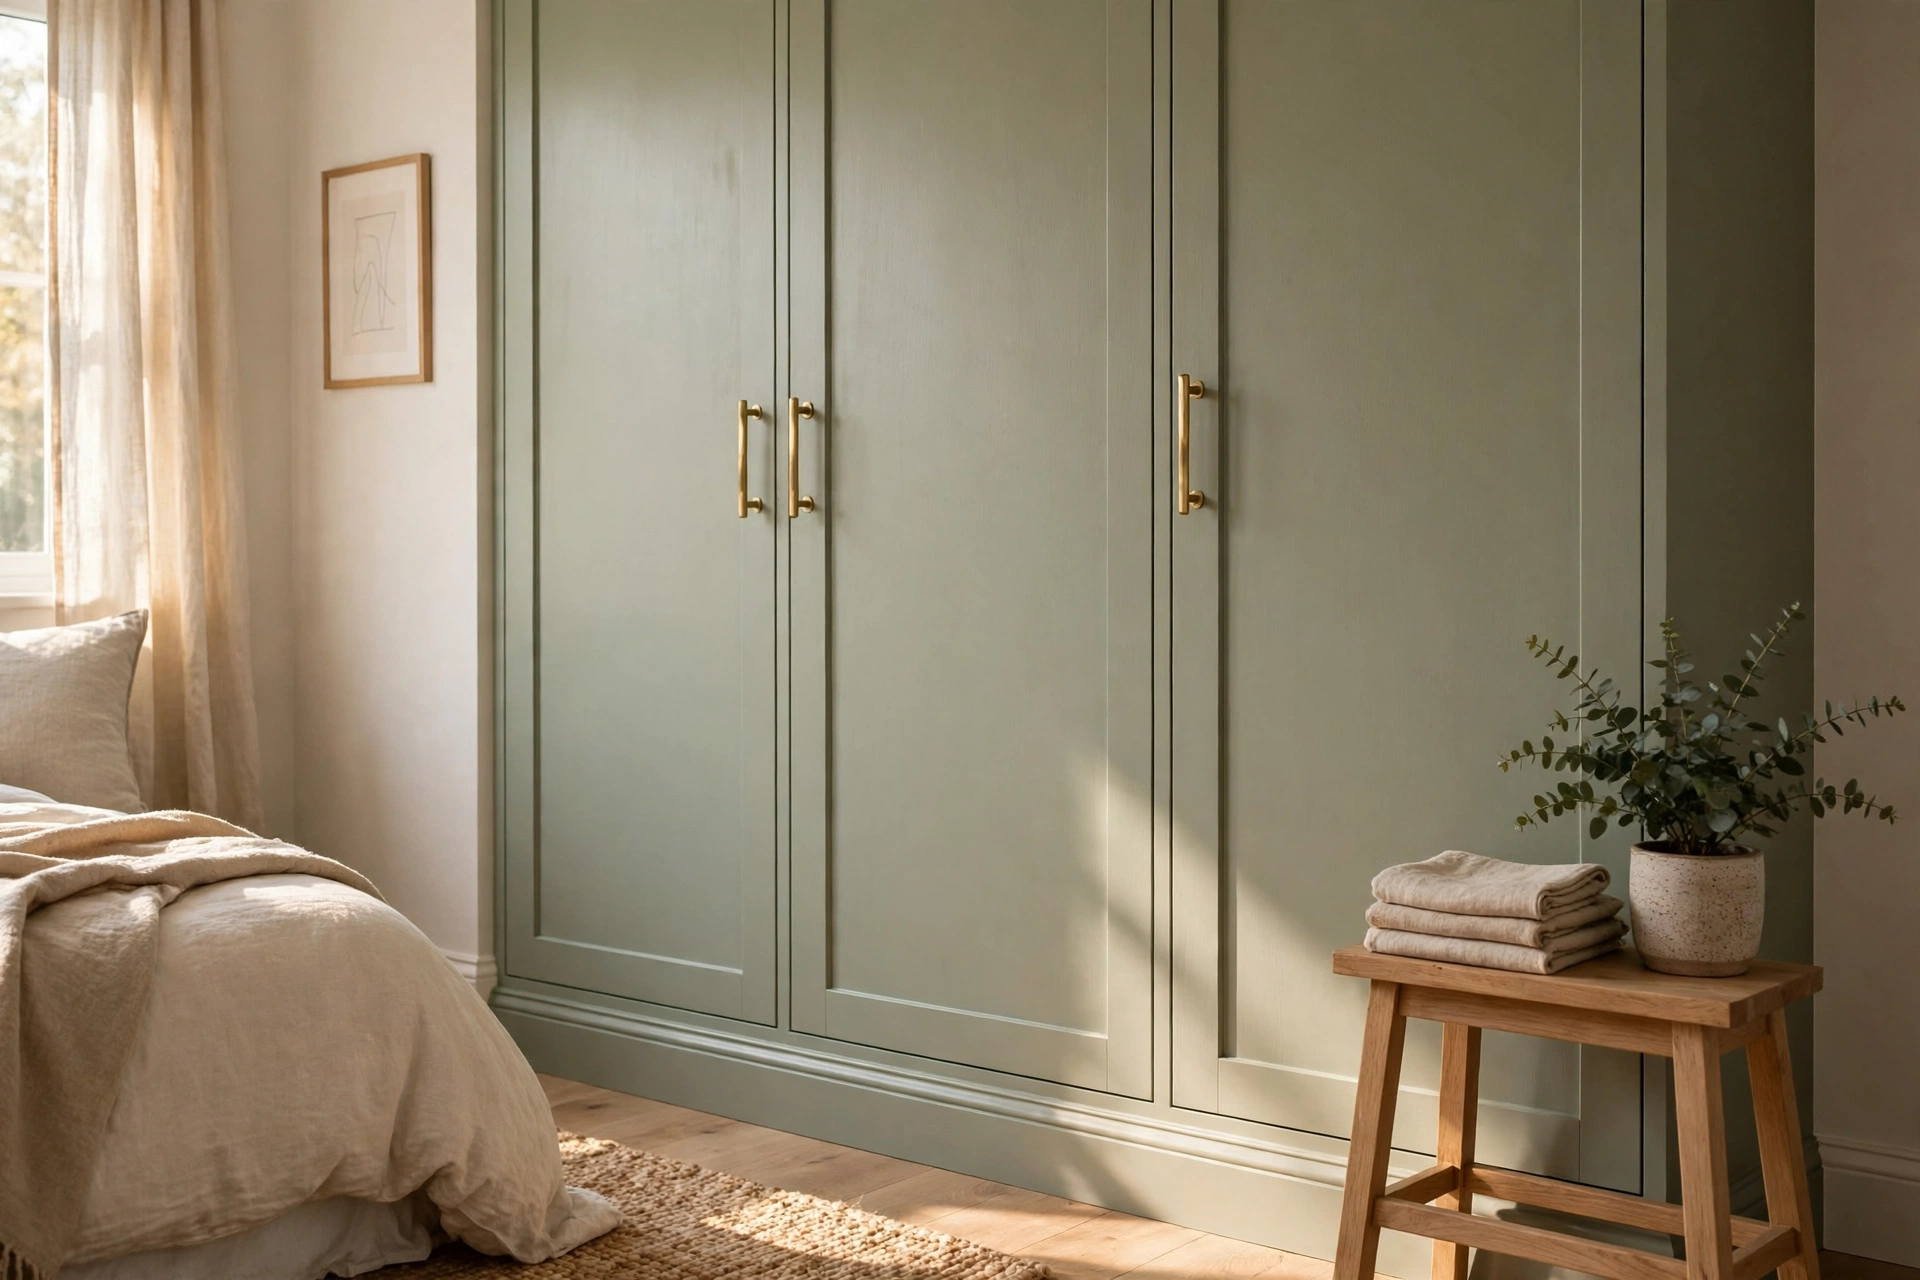
Step 8: Swap the handles
Last, and weirdly satisfying: the handles. The plain knobs a flat-pack wardrobe ships with are the loudest giveaway on the whole piece. I swapped them for small brass ones that match the rest of the room. Measure the hole centres on any pull handle before you order, because spacings vary and filling and redrilling is a boring way to spend an evening. Ask me how I know.
Time, and what it cost
Be honest with your weekend: the fitting, fillers and trim took the best part of two days at a steady pace, and the painting spread itself over the following evenings because coats need to dry and I need to sleep. Call it a weekend of work plus drying time, and do not plan to load the wardrobe with clothes until the paint has had a couple of days to harden.
On cost, the proportions are the story. The wardrobe itself was almost all of the budget. The MDF, batten and trim together came to a small fraction of it, the caulk and filler were loose change, and the paint was mostly left over from the walls. The handles were the one place I spent a little more on purpose. Nothing about this job needs expensive materials; it needs patience and a tape measure.
What I would do differently
Three lessons, all earned. One: measure in three places, because my first filler was cut to the skirting-level width and the alcove turned out narrower at the top, so I cut it twice. Two: level before you anchor, not after, because shimming a wardrobe that is already screwed to the wall is a miserable job. Three: caulk after the primer, not before the fillers go in, and keep the damp cloth closer than you think you need it. Caulk gets everywhere. Every single time.
Questions I get asked about this project
Does the gap at the top have to be filled?
If you want the built-in look, yes. An open slot across the top reads as storage and collects dust. A header panel plus trim closes it and makes the wardrobe look like it runs to the ceiling, even when it stops a few centimetres short.
Will paint actually stick to a flat-pack wardrobe?
Yes, with prep. Clean it, scuff the surface lightly with fine sandpaper so the primer has a key, and use an adhesion primer made for slick surfaces. Skip the primer and the paint will scratch off at the corners within the year.
My alcove is wider than the wardrobe by a lot. Can this still work?
It can. Centre the wardrobe and build the fillers deeper, or turn one wide side gap into open shelves or a hanging nook instead of filling it. Once a gap is doing a job, it stops looking like a gap.
Does it really need fixing to the wall?
Really. Tall furniture can tip, especially with drawers open or a child climbing, and the whole point of this project is that the wardrobe stays exactly where you put it. Brackets or straps into the wall, every time.
That is the whole trick: measure honestly, fill the gaps, frame it with trim, caulk like you mean it, and paint it into the room. If your flat-pack wardrobe is standing in an alcove looking slightly apologetic, this is your weekend. Tell me in the comments how wide your gaps are, and I will help you plan the fillers.
Lisa Ben
Lisa paints, builds, thrifts and rearranges her way through one very patient house, then writes down everything she learns here on Wazala. Flat-pack furniture is her favourite raw material. New projects land every Tuesday, Thursday and Saturday, and the Sunday Letter rounds them up once a week.
You might also like
How To Paint Kitchen Cabinets And Have The Finish Last
The full cabinet process: degreasing, priming, and the drying times nobody tells you.
Read more →
17 DIY Shelf Ideas For Every Room
Floating, bracketed, built in and everything between, sorted by the room they suit.
Read more →
The 12 Best White Paint Colours For Every Light Direction
Twelve whites that actually work, sorted by the light your room gets.
Read more →