How To Paint Kitchen Cabinets And Have The Finish Last
 By Lisa Ben · October 24, 2026 · 12 min read
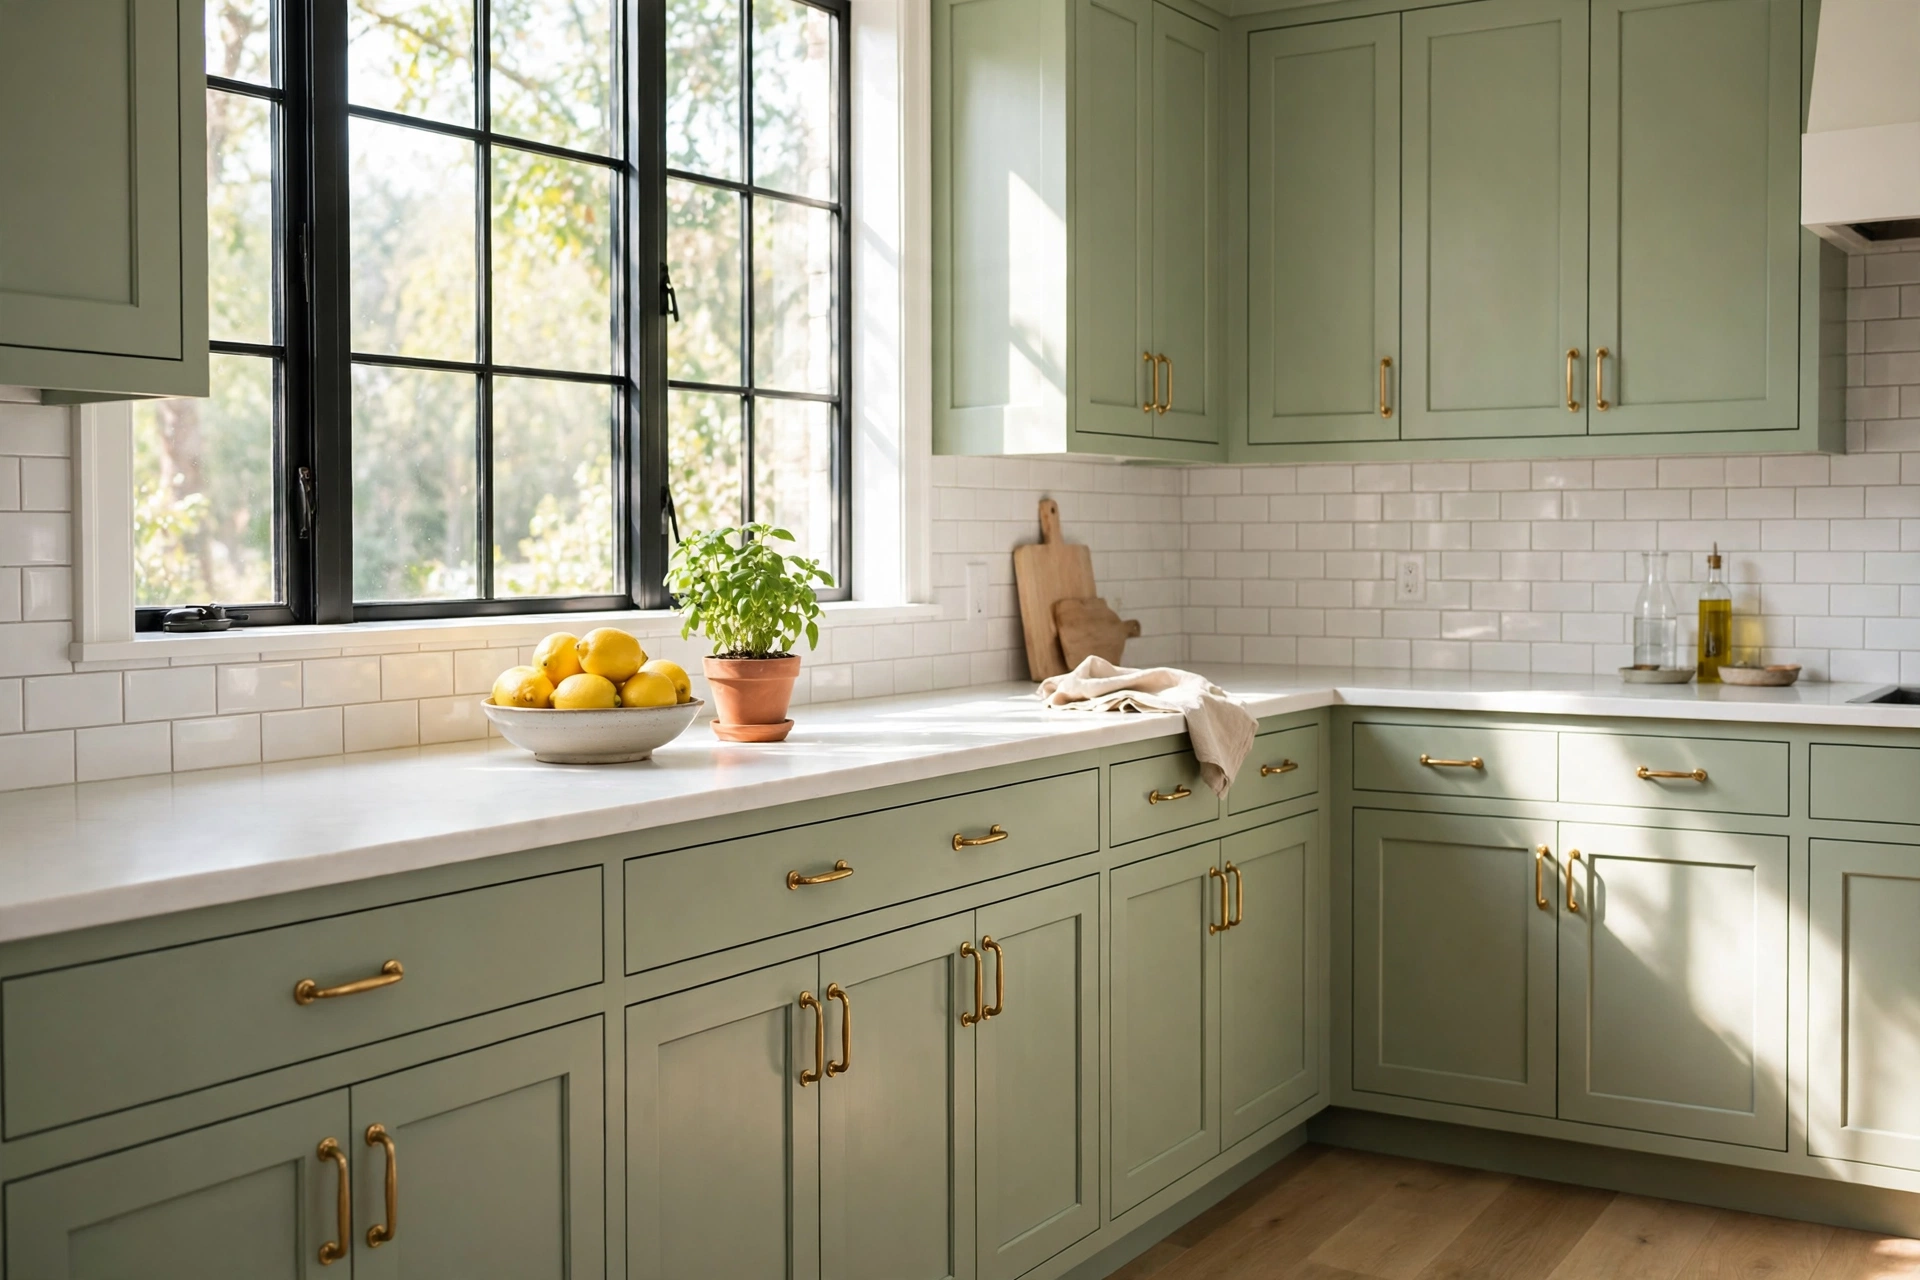
The finished kitchen: sage green cabinets, two coats over a bonding primer, and a finish that still wipes clean.
Painted cabinets fail in predictable ways. The paint peels around the handle you grab every morning. It chips along the edge of the sink door. Almost none of that is the paint's fault. It is grease that never came off, a primer that could not grip the old finish, or doors hung back up while the paint was still soft underneath.
My first set of painted cabinets did all three. This is the process I use now: slow, boring, and in the right order. None of the steps are hard. You just cannot swap them around.
What you will need
Materials
- Degreaser (details in Step 3)
- Bonding primer, 1 litre for an average kitchen
- Cabinet or enamel paint, satin or semi-gloss
- 120, 220 and 320-grit sandpaper
- Painter's tape and numbered labels or sticky notes
- Wood filler
- Tack cloths, lint-free rags, drop cloths
- Soft-close door bumpers
Tools
- Screwdriver or drill for hinges
- Sanding block or a small orbital sander
- Saw horses or a flat work table
- Small foam rollers plus spare sleeves
- A good angled brush, 50 mm
- Paint tray and stir sticks
- Dust mask or respirator, gloves
Time and cost, honestly
For an average kitchen (ten to fourteen doors, plus drawer fronts and frames), plan on two weekends and a quiet week in between. Weekend one: removal, cleaning, priming. Weekend two: two paint coats. Then the doors sit and cure while you cook in a doorless kitchen.
If you already own a sander and basic tools, most people land in the low hundreds for primer, paint, rollers, tape and paper: a fraction of the cost of one new cabinet door. Buy good primer and good paint; everything else can be cheap.
The steps
Step 1: Empty everything and label as you go
Take the contents out of every cabinet and drawer first. Yes, all of it. You cannot sand and paint around a stack of plates. Stick a note inside each cabinet with its location ("above hob, left") and photograph the insides. Future you, staring at fourteen doors in a pile, will be grateful.
Step 2: Remove the doors and hardware
Unscrew the hinges from the frames, not from the doors, so each hinge stays on its door in exactly the position it was. Put the screws in a small bag taped to the back of that door. Number every door with tape on the hinge edge, and write the same number inside the matching cabinet. Drawer fronts usually unscrew from inside the drawer box. Set the doors flat somewhere they can live for two weeks: a garage floor on drop cloths, a spare bed, a work table.
Step 3: Degrease like you mean it
This step decides everything, and it is the one people rush. Cabinets carry years of cooking film, and paint will not stick to it. Wipe every surface with a proper degreaser: a TSP substitute (the phosphate-free powder mixed with warm water) is my first choice for frames and the doors near the hob. Ready-made degreaser sprays are fine on lightly used cabinets. Work in small sections, scrub with a non-scratch pad, then wipe with a clean damp cloth so no cleaner stays behind. When the rag comes away clean and the surface no longer feels slick, you are done. Let everything dry fully.
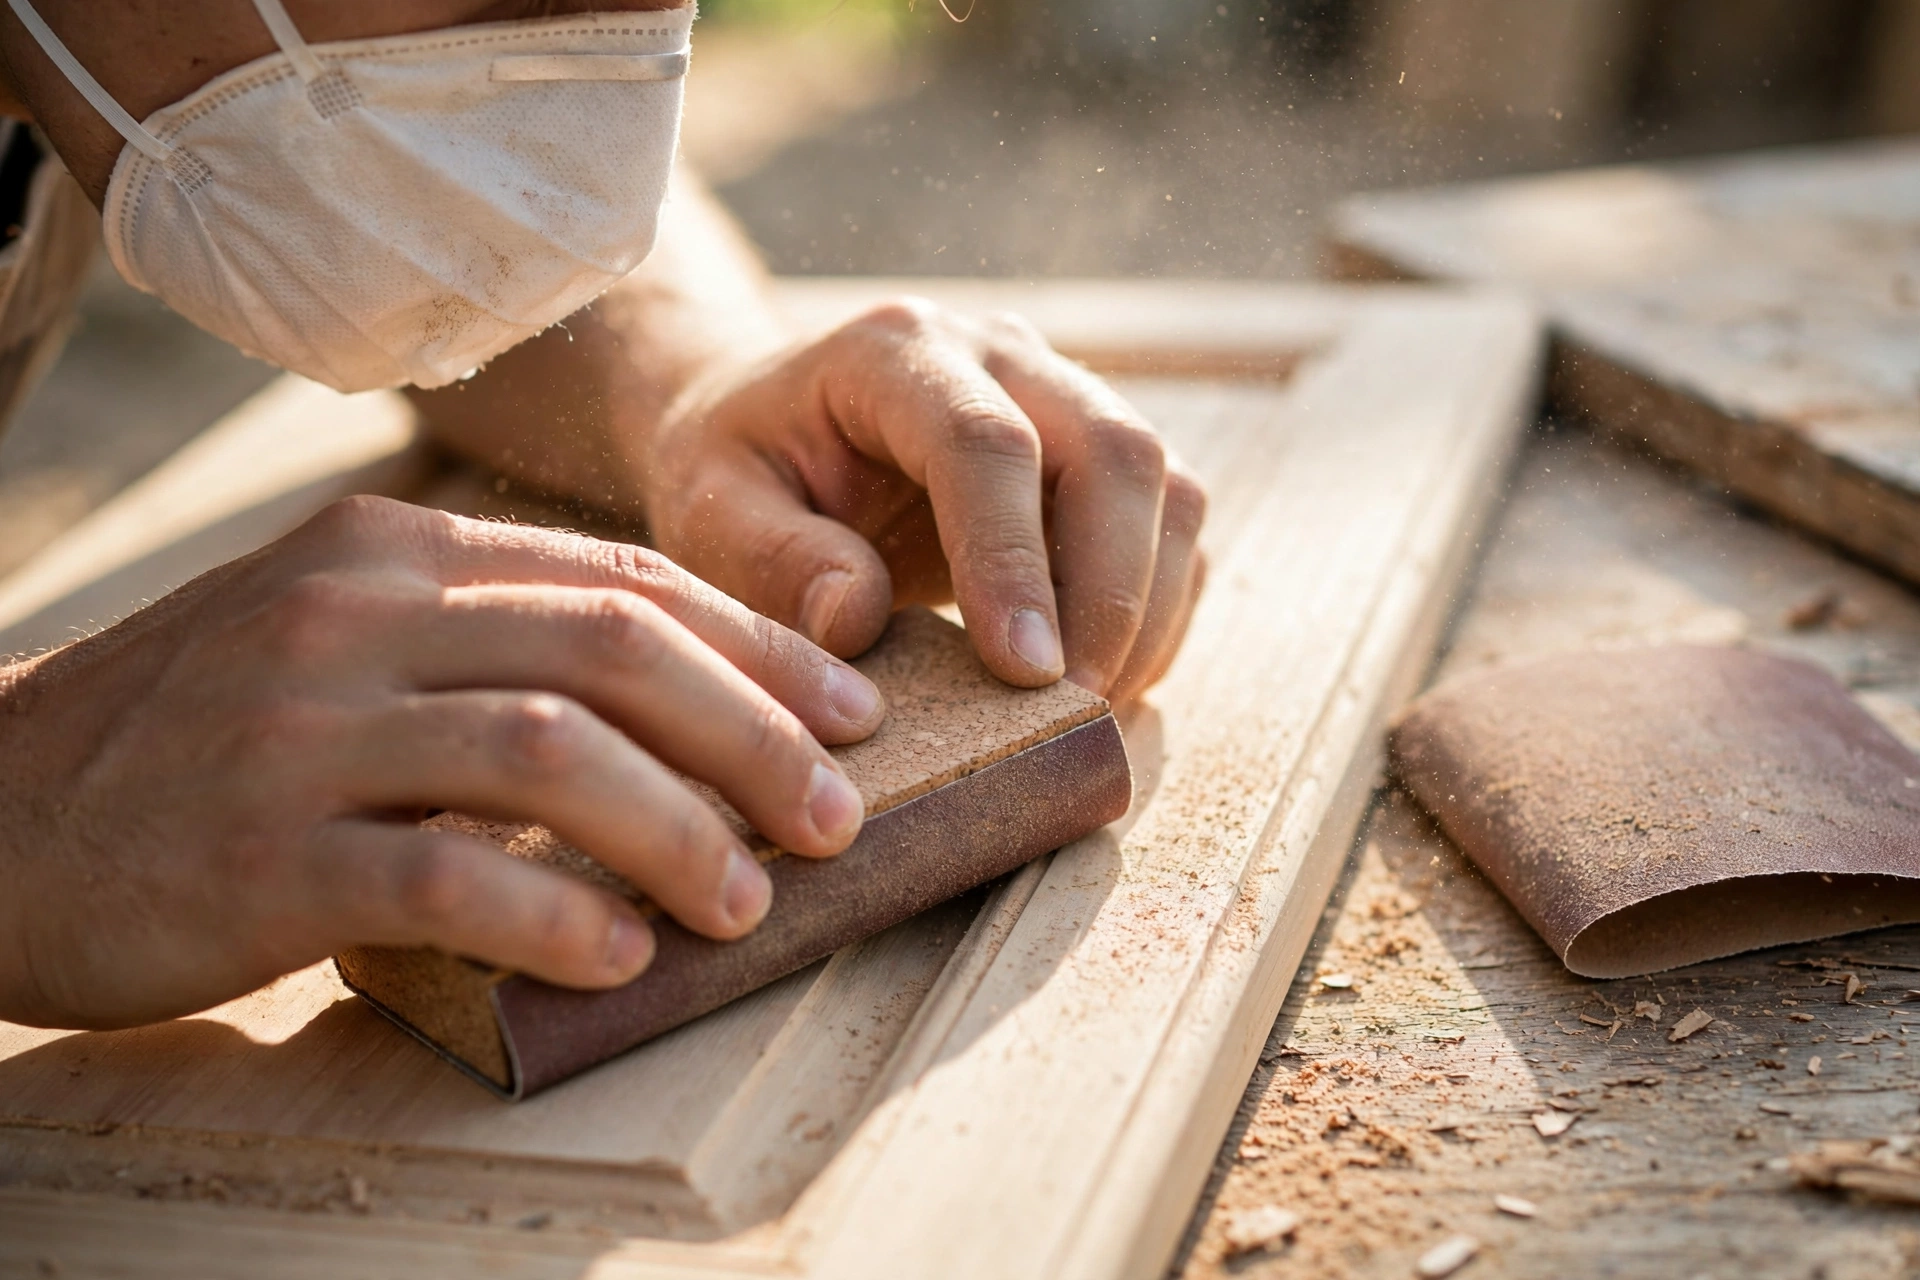
Sanding a door front with a block. You are dulling the shine, not stripping the door back to bare wood.
Step 4: Sand to dull, not to bare wood
Sand every surface you will paint with 120-grit, just enough to take the shine off and give the primer something to hold. You are not removing the old finish. Fill any dents with wood filler, let it dry, then sand again lightly with 220-grit until the door feels evenly smooth. Vacuum, then wipe with a tack cloth. Run your bare hand over it: if it feels gritty anywhere, wipe again. Dust left here shows up as bumps in the final coat.
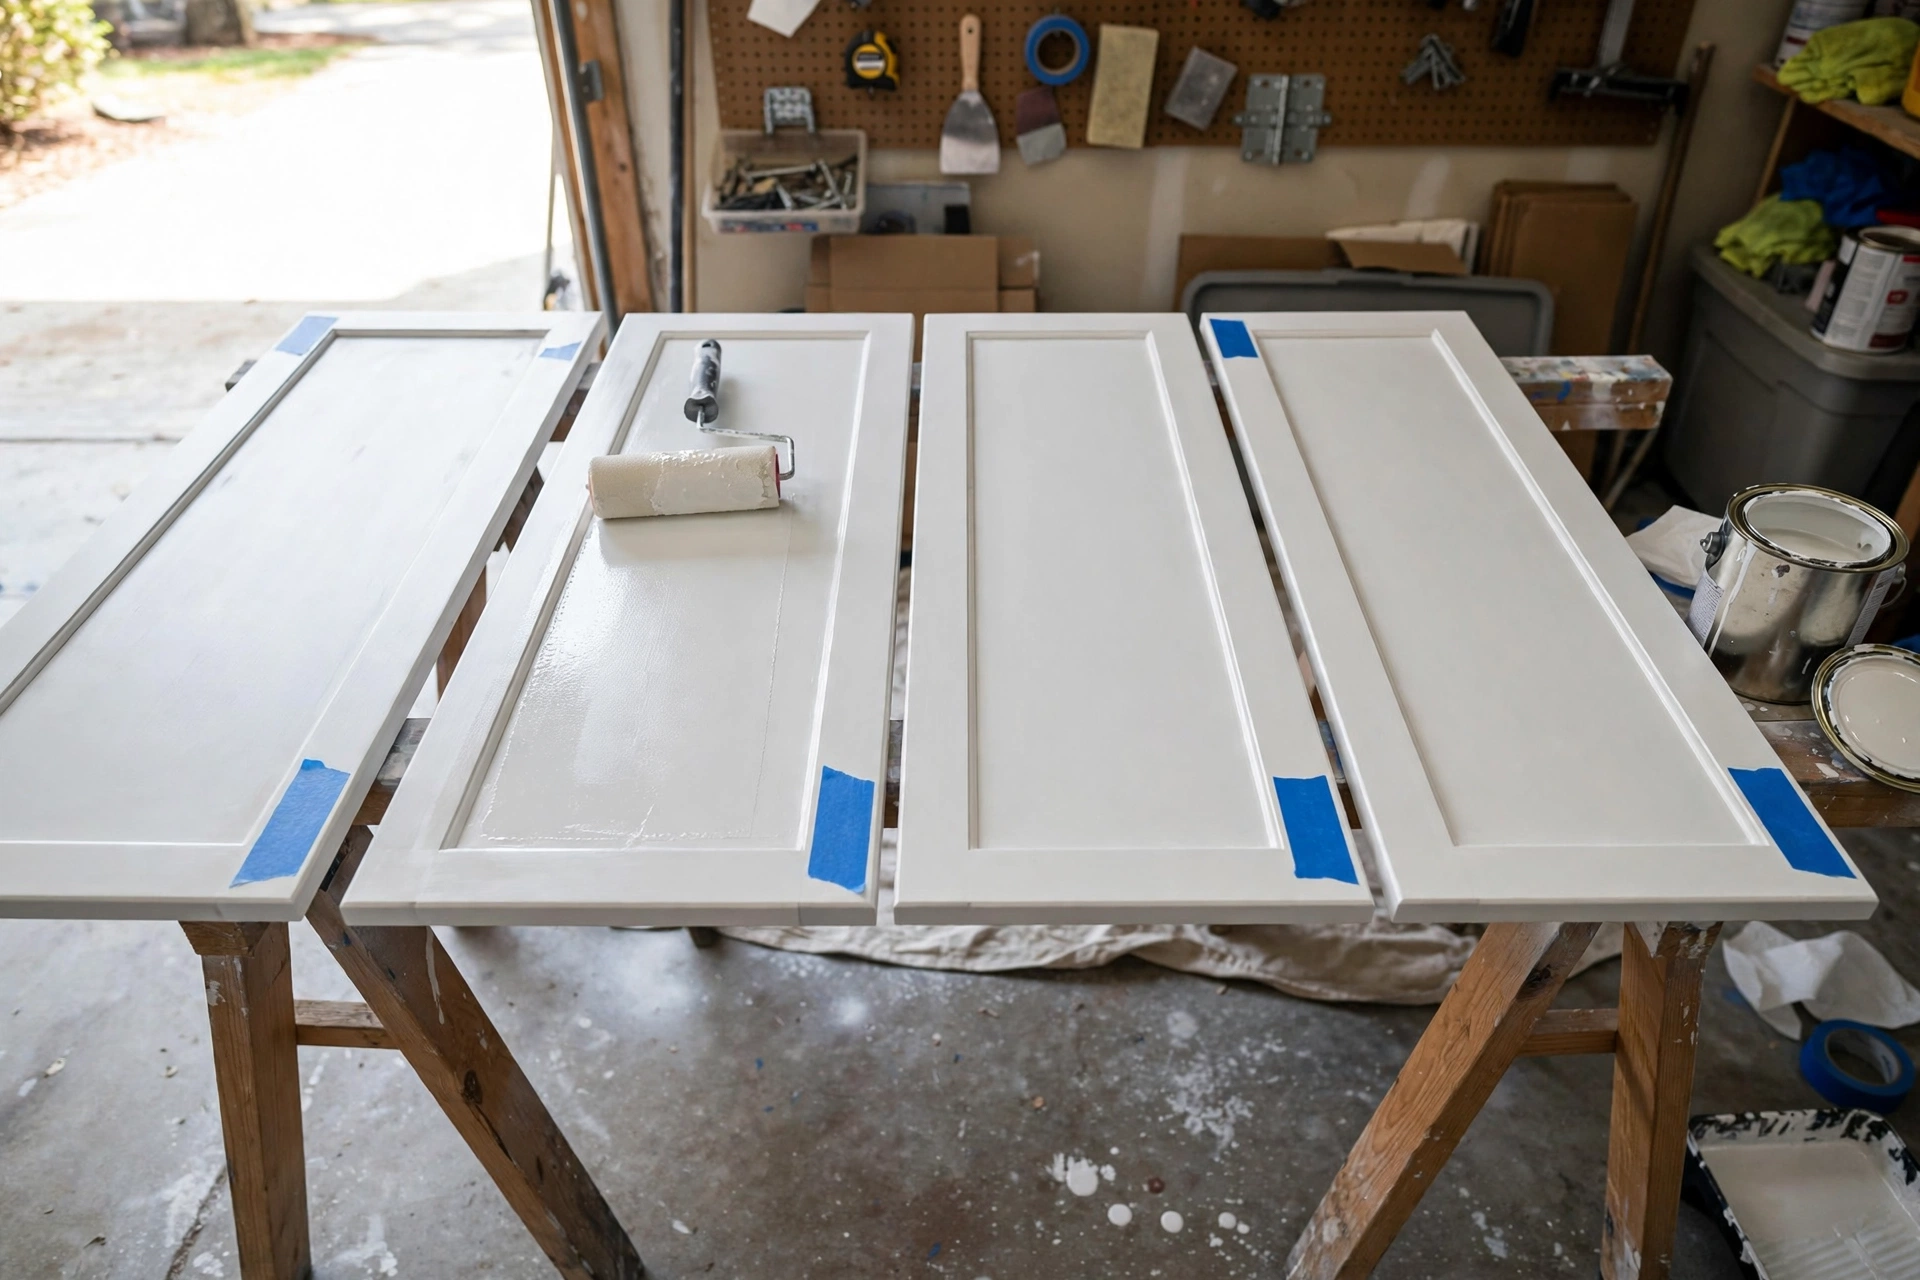
Doors laid flat on sawhorses for priming. Flat doors mean no drips and an even coat.
Step 5: Prime with a bonding primer
Standard wall primer is not enough here. Cabinets carry a hard, glossy factory coating, and ordinary paint slides off it within months. A bonding primer is made to grip slick surfaces like that, and it separates a five-year finish from a one-year finish. On raw oak, a shellac-based primer also blocks the tannin bleed that turns white paint yellow in patches. One coat is enough: roll the flat fronts, brush the edges and routed detail, and let it dry for the time on the tin. Sand lightly with 220-grit if it feels rough, and tack-cloth again.
Step 6: First coat of paint, thin
Use a paint made for cabinets or trim: an enamel or hard-wearing acrylic in satin or semi-gloss, because matt finishes mark and hold grime. Keep the doors flat. Brush the edges and details first, then roll the fronts with a foam roller and tip off lightly so the texture settles. Thin is the whole secret. A thin coat looks see-through in places, and that is correct. Thick coats sag, wrinkle and stay soft. Do the frames in place in the same order.
Step 7: Sand lightly, then the second coat
After the recoat time on the tin, usually the next day for me, sand everything lightly with 220 or 320-grit. This knocks down dust nibs and gives the second coat a key. Tack-cloth, then repeat the first coat exactly. Two thin coats look better and wear harder than one thick one ever will. A pale colour over a dark door may need a third thin coat on the fronts.
Step 8: Let them cure. Dry is not cured
Here is the part nobody tells you. Paint feels dry in a few hours and is usually safe to recoat the next day. But cured, meaning fully hard, takes far longer: many cabinet paints need three to four weeks, so read your tin. In that window the finish can dent from a fingernail and stick to anything pressed against it. Leave the doors flat and separated for at least five to seven days before rehanging, longer if you can stand it, and treat them gently for the first month. No scrubbing, no stacking.
Step 9: Rehang and adjust
Now your labels pay off. Match each numbered door to its cabinet, screw the hinges back into the same holes, and refit the handles. Doors rarely sit perfectly first try: most hinges adjust with two screws, one sideways, one up and down, so work along the run and even out the gaps. Fit new soft bumpers inside each door corner; they stop the paint-on-paint sticking and protect your fresh edges.
A quick safety note. Wear a dust mask or respirator while you sand, gloves with TSP substitute and degreaser, and keep a window open or a fan running so fumes clear. Keep solvent-based products away from the hob and any flame, and dry oily rags flat outdoors, never scrunched in a bin.
5 mistakes that ruin cabinet paint jobs
- Skipping the degrease. Paint over cooking grease peels in sheets, usually around the handles first. No primer fixes a greasy door.
- Painting doors while they hang. Wet paint drips on vertical doors and the edges never get coated properly. Take them off; flat is faster.
- One thick coat. It looks quicker and finishes softer, with brush marks that never level. Thin coats always win.
- Wall primer on factory finishes. Glossy factory coatings, laminate and melamine need a bonding primer, full stop.
- Rehanging the next day. Dry paint is still soft paint. Doors hung too early stick to the frames and tear at the contact points.
Questions I get about painted cabinets
Can I skip the sanding if I use a bonding primer?
Sort of, and I still would not. A bonding primer grips a clean, glossy surface well, but ten minutes with 120-grit doubles your safety margin. Never skip the edges and corners; peeling always starts there.
Which finish is best: satin or semi-gloss?
Satin is my default: it wipes clean, hides small flaws in older doors, and does not glare under ceiling lights. Semi-gloss is tougher and easier to scrub, so I use it around the hob and sink. Avoid flat or matt; it holds onto grease marks.
How long before I can use the kitchen normally?
Cook in it as soon as the frames are dry; they cure in place. Just be gentle for the first few weeks: wipe splashes with a soft cloth, no harsh scrubbing, and do not let the doors slam until they have had their full cure time.
Brush and roller, or do I need a sprayer?
A foam roller and a good angled brush get you a finish most people cannot tell from sprayed, as long as the coats stay thin. A sprayer is smoother still, but adds masking, practice and cleanup. If you have never sprayed, do not learn on your kitchen.
About Lisa Ben
Lisa is the writer behind Wazala, where she shares the decor and DIY projects from her own home: paint colours that actually work, furniture rescues, and storage squeezed into impossible corners. She has strong opinions about primer and weak resistance to a roadside furniture find. Say hello at info@wazala.site.
You might also like
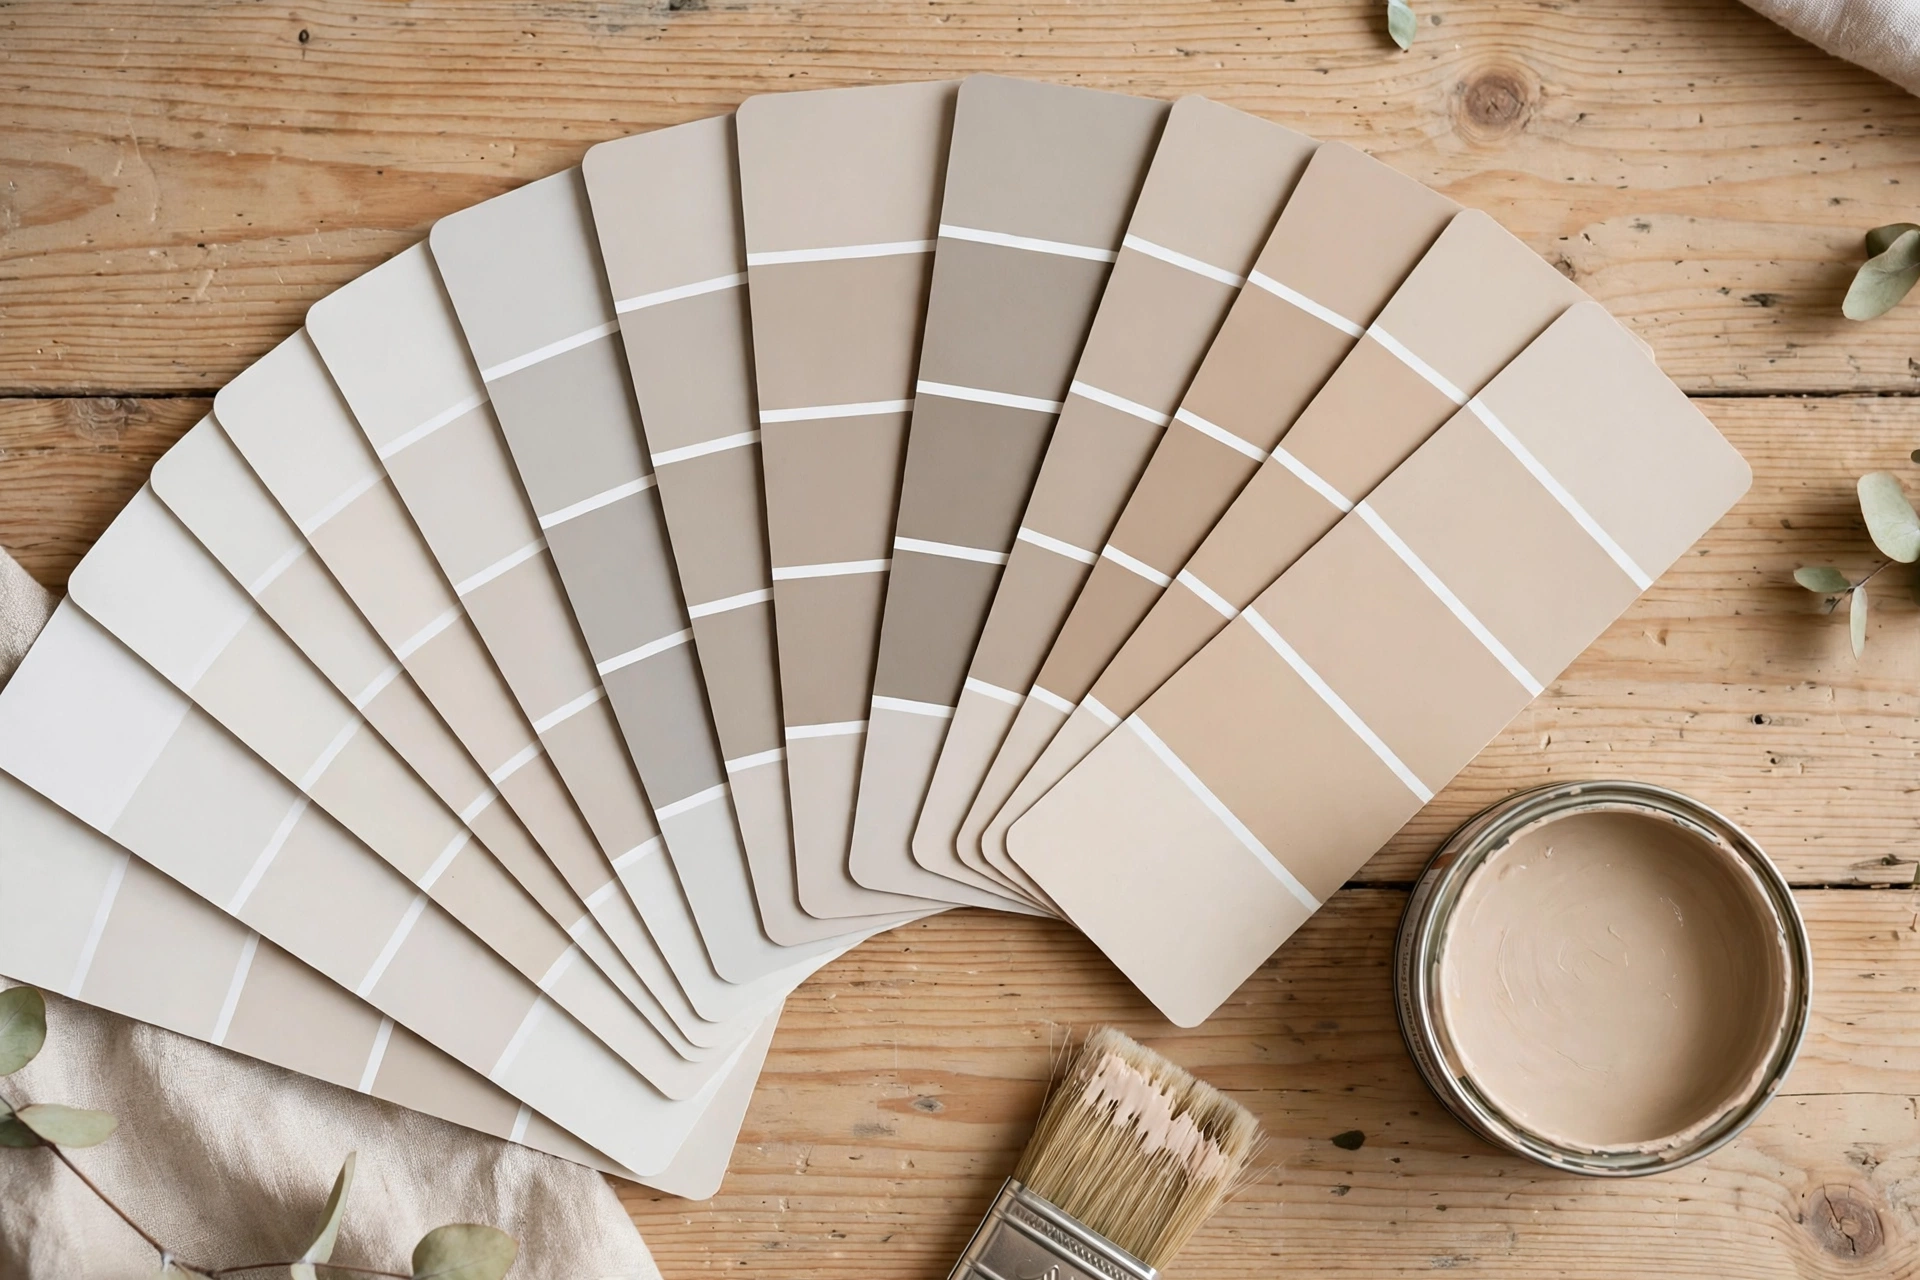
The 12 Best White Paint Colours For Every Light Direction
Choosing a cabinet colour? These twelve whites are sorted by the light your kitchen actually gets, undertones included.
Read more →
The 9 Best Greige Paint Colours, With Undertones Explained
Greige is the cabinet colour readers ask me about most. Here is how the nine favourites lean once they are on a real wall.
Read more →
How To Make A Flat-Pack Wardrobe Look Built-In
The same primer and paint method, this time on a wardrobe. Trim, caulk and paint make flat-pack furniture look made for the room.
Read more →