How To Remove Wallpaper With A Steamer (And Without One)
 By Lisa Ben
·
October 19, 2026
·
10 min read
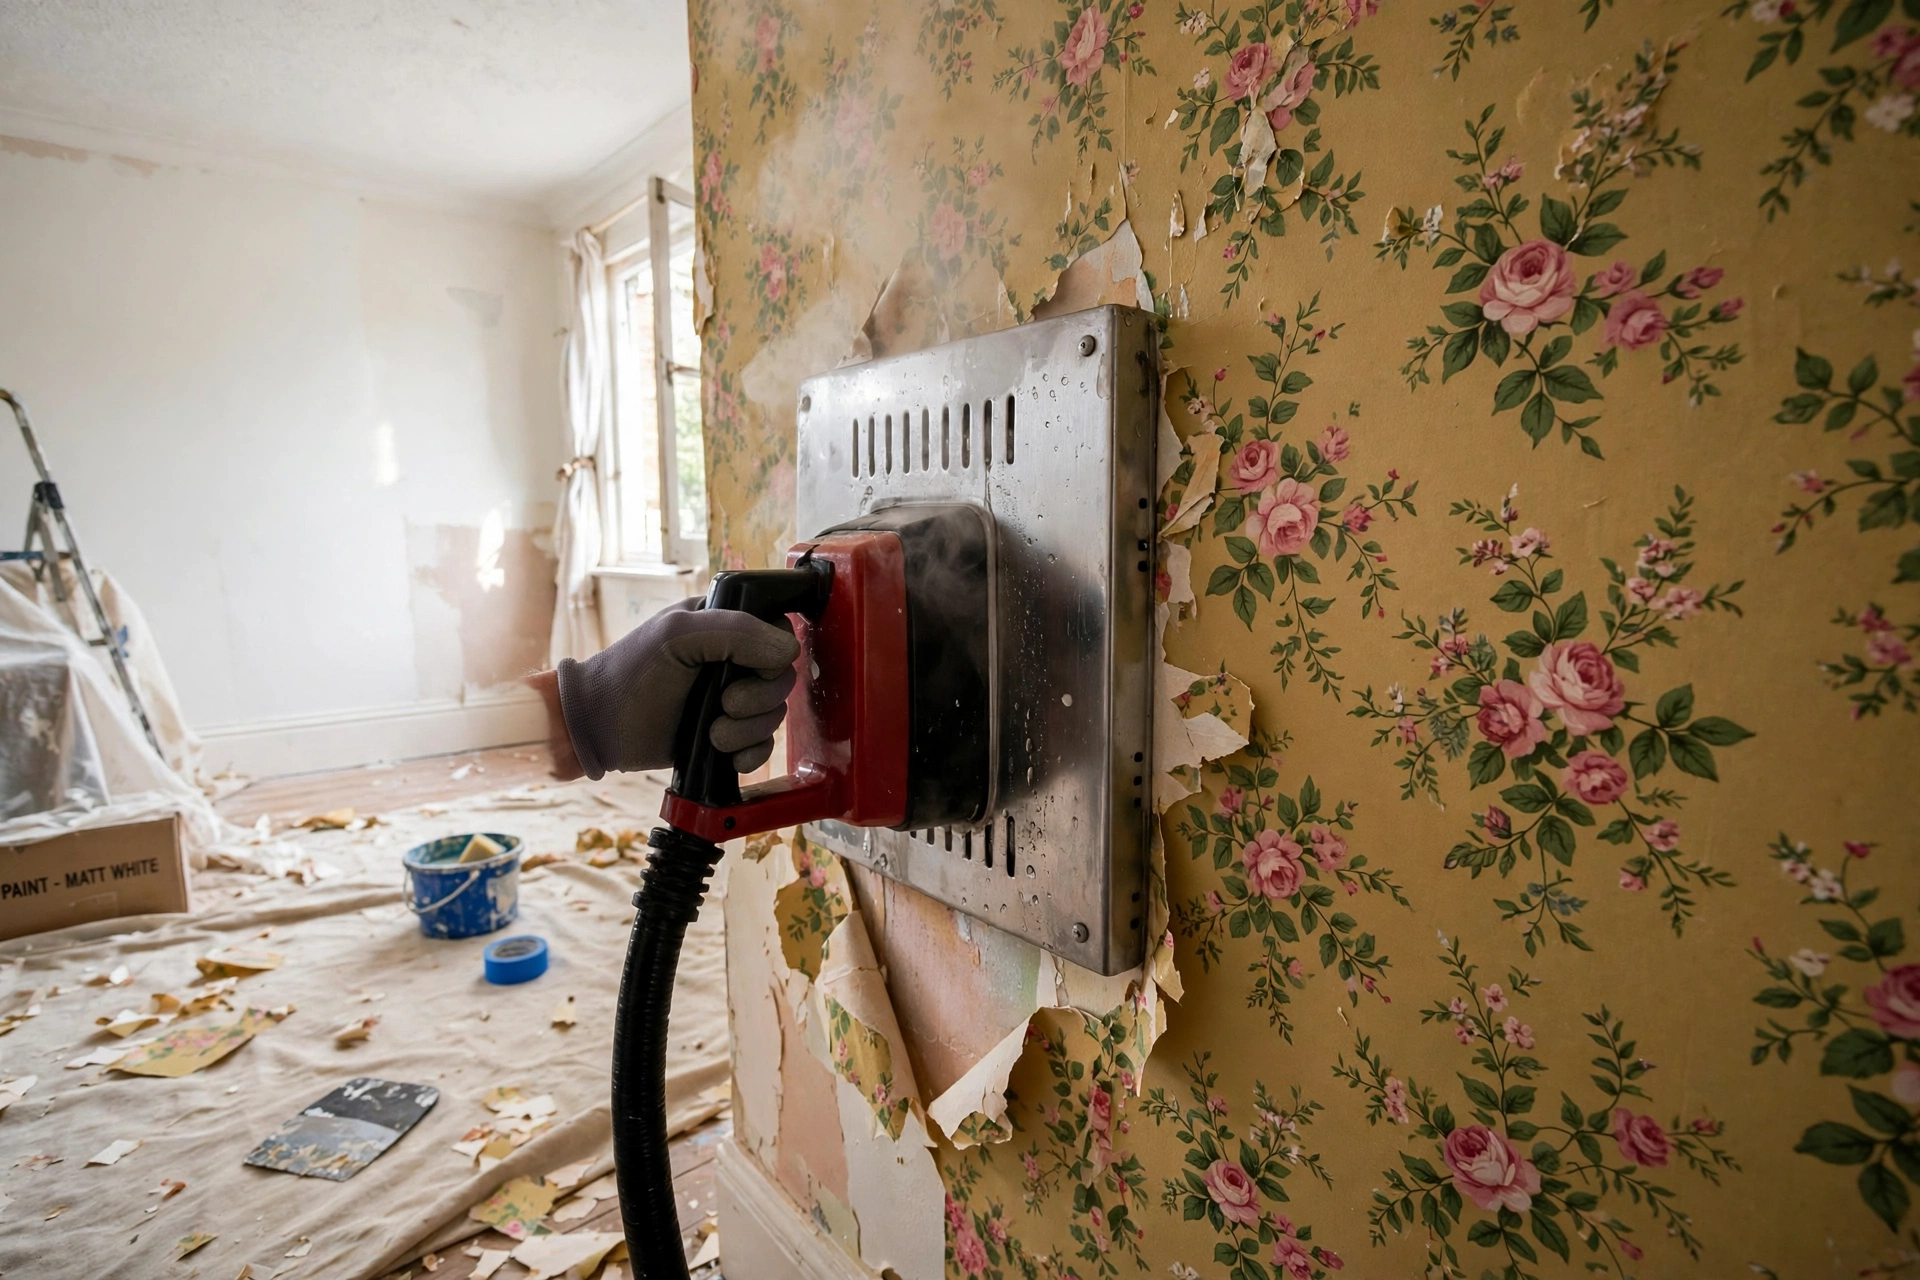
Stripping wallpaper has the worst reputation of any job in this house, and I say that as someone who put off our back bedroom for an entire year because of it. When I finally started, I finished the room in a day and felt faintly cheated. The job is not hard. It is slow, damp and steamy, and it goes wrong in predictable ways when you do it in the wrong order. Get the order right and it is almost satisfying: great sheets of paper sliding off a wall that has not seen daylight in decades.
There are two honest routes. A wallpaper steamer does the heavy loosening for you, and hot water, a sprayer and patience will do the same job for free. Which one you need depends on what is actually on your wall, so that is where we start.
First, work out what paper you are dealing with
Before any water comes out, find a bottom corner behind a door or near the skirting and tease up an edge with your fingernail or the corner of your scraper. The next ten seconds tell you which job you have.
If the top layer peels away dry, in long strips, you have a strippable paper. Many modern papers are made to do exactly this: the patterned face comes off dry, leaves a thin backing behind, and the backing soaks off easily afterwards. Half your job is done, no steamer required.
If the surface feels plasticky and shrugs your fingernail off, it is probably a vinyl-coated paper. That coating is the whole problem: it is waterproof, so soak water sits on top and steam takes forever to reach the paste underneath. Vinyl papers are not difficult, but they must be scored first, tiny holes punched through the coating so water has a way in. Skip the scoring and you can steam one patch for an hour and get nowhere. Painted-over wallpaper behaves the same way, because the paint is the coating.
If the paper feels thin, matt and fused to the wall, it may be paper hung straight onto unpainted plaster, common in older houses. The paste soaked into the plaster when it was hung, so this is the slow case: the backing comes away in patches rather than sheets, and heavy-handed scraping takes plaster with it. It still comes off. It just asks for patience instead of force.
Prep the room like you mean it
Wallpaper removal is a wet trade. Paste turns back into gluey water, and that water runs down the wall and pools at the skirting. Ten minutes of prep saves you an hour of cleaning and possibly a damaged floor.
- Turn the power off at the consumer unit for the sockets and switches on the walls you are stripping. Then tape over each socket so steam and drips cannot get in. Not optional with a steamer.
- Cover the floor properly. Dust sheets alone get soggy and slide. I put plastic sheeting down first, then an old dust sheet on top to catch the paper. Wet paper sticks to whatever it lands on, including varnished floorboards.
- Move furniture out, or into the middle of the room under a sheet. You need clear runs at every wall.
- Bag as you go. Stripped paper is heavy when wet and somehow expands to fill a room. I keep a bin bag beside me and tie it off before it gets too heavy to carry.
The test patch rule
Whatever the corner test suggested, prove it before you commit the whole room. Pick one square metre somewhere it will not show; behind where the door opens is ideal. Try the dry peel. If that fails, score it if it needs scoring, then soak it or steam it, and see how it behaves. Does it sheet off, or come in scraps? Does the plaster underneath look sound?
Twenty minutes of testing feels like a delay. It is not. It is the difference between choosing your method once and fighting the wrong method all weekend, and most wallpaper horror stories start with somebody steaming an unscored vinyl wall for six hours.
Method one: with a wallpaper steamer
A steamer is a simple thing: a tank that boils water and a flat plate on a hose that you hold against the wall. Steam passes through the paper, heat and moisture get into the paste, and the paste softens back into the glue it started as. Once the paste gives up, the paper slides. Fill the tank, switch on, and wait until steam is coming steadily from the plate before you start.
Work in small sections, roughly the size of the plate, from the top of the wall down, because the water running down pre-soaks the paper below you. Hold the plate flat until the patch darkens and softens, usually twenty to thirty seconds. Then move the plate to the next patch with one hand and, with the other, slide your stripping knife under the edge of the patch you just steamed. If the paste has softened properly, the paper lifts in a sheet and pulls down slowly while the knife follows.
Two technique points matter more than anything else. Keep the knife almost flat against the wall, sliding at a shallow angle, so it glides under the paper instead of digging into the plaster. And keep the plate moving. A steamer parked on one spot can blow the skim coat of plaster behind the paper, turning a stripping job into a plastering job. Short holds, steady movement.
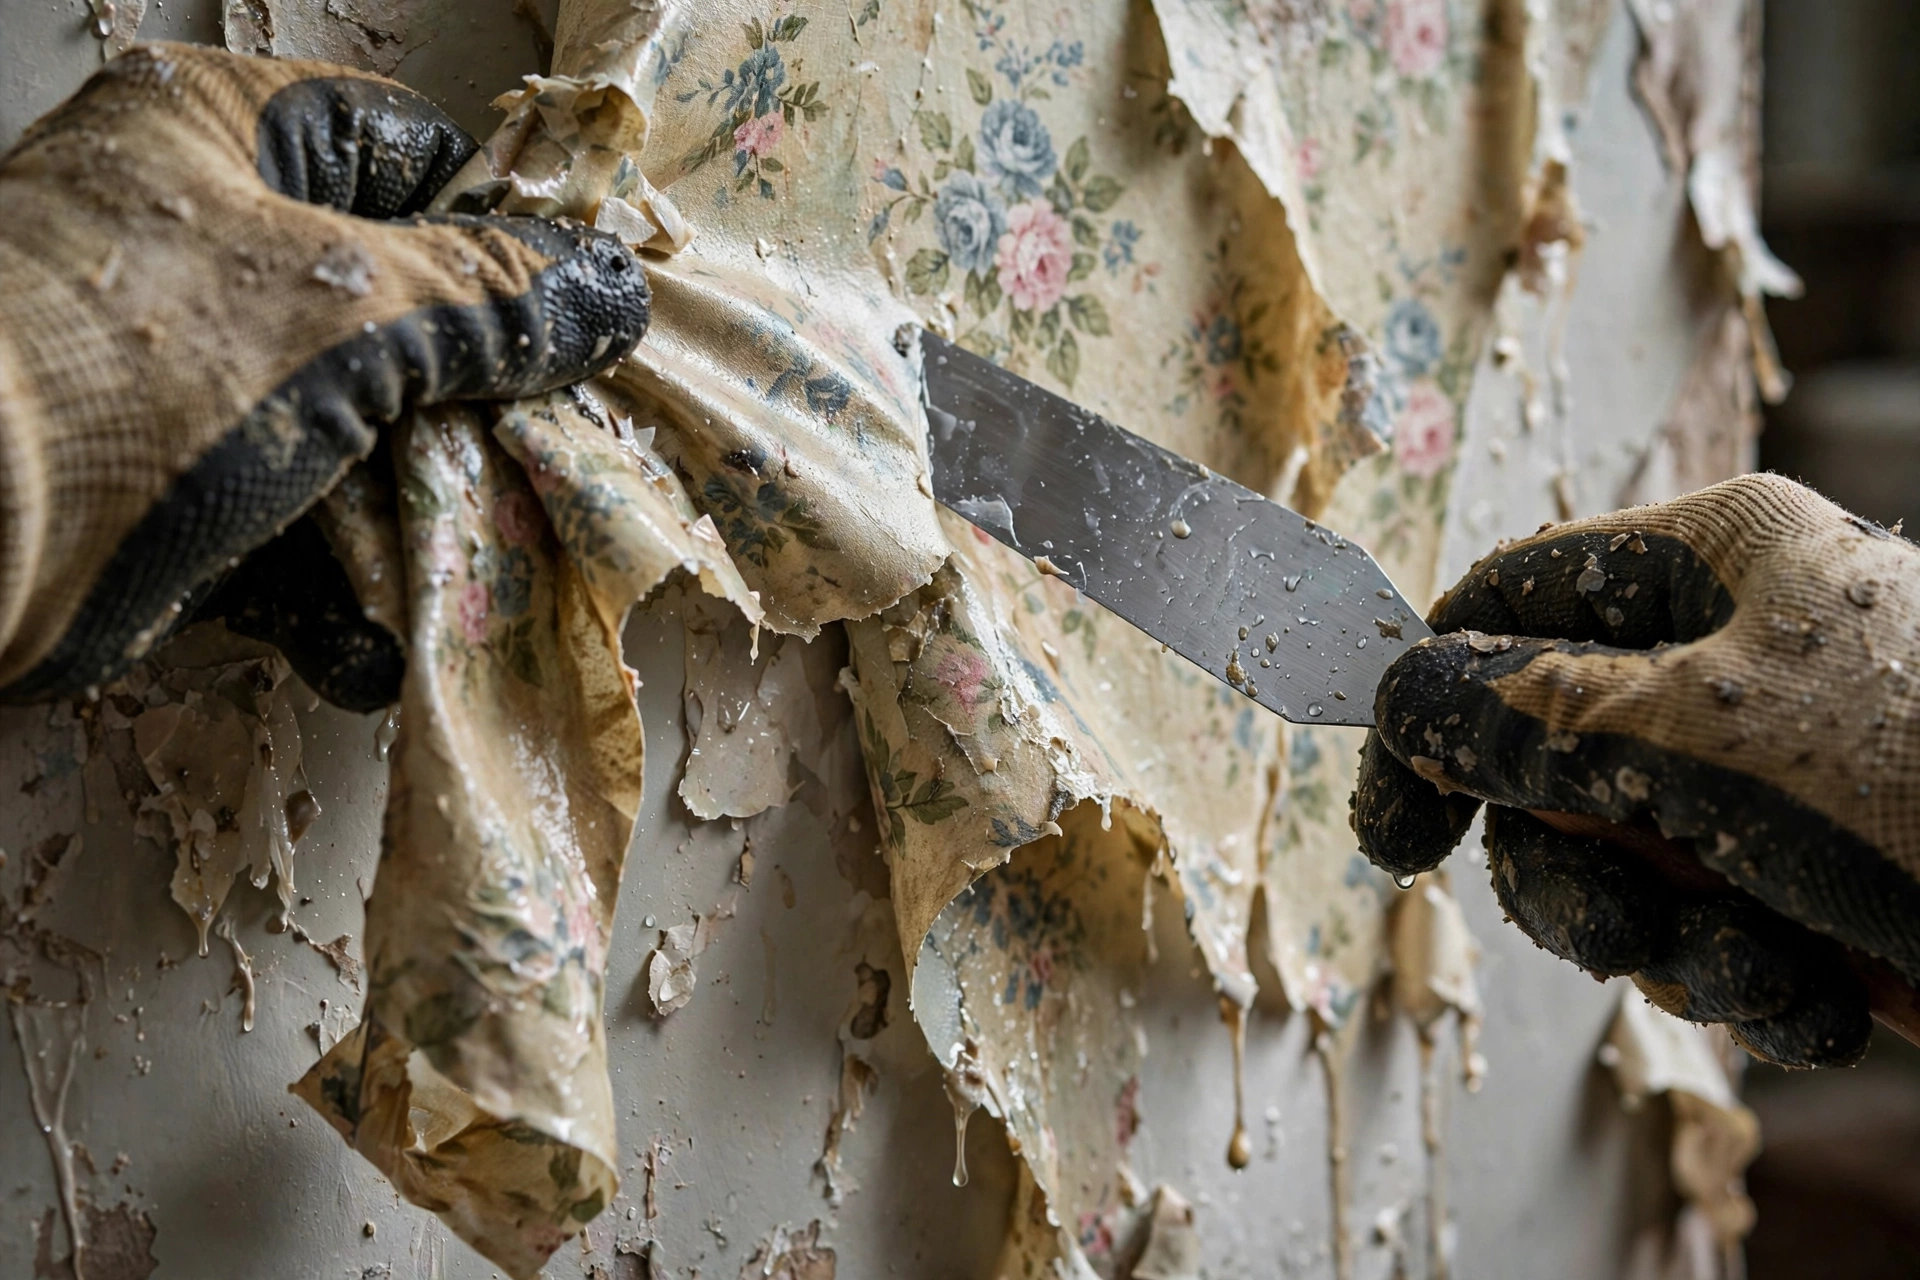
As each patch comes off it leaves a smear of wet paste behind. Wipe it off straight away with a sponge and hot water: five seconds now, or dried glue you will meet again in the washing stage. Wipe as you go and the wall is half washed already.
One caution for newer houses: on plasterboard, keep your steaming times shorter. The board's paper face can soften and bubble if it soaks through.
Steamer safety, quickly and seriously
Steam burns are worse than people expect, and a steamer plate is easy to grab wrong. Wear gloves, ideally long ones, and keep sleeves down. Never rest the plate face-down on the floor or furniture while it is hot; prop it face-up on its stand. To refill, switch off, let it cool a few minutes, and refill away from the wall. And keep the plate away from sockets and switches entirely, taped or not. Steam plus electrics is a combination you simply do not make.
Method two: hot water, no steamer
No steamer, no hire shop, no problem. This older method works on everything except the most stubborn vinyl, as long as you give the water time to do its work. That last part is where most people go wrong.
Score first, if your paper has a coating. If the test patch showed vinyl or painted paper, run a scoring tool over the whole wall before any water touches it. It is a small roller with spiked wheels that punches rows of tiny holes through the surface. A fork or the corner of a utility knife does the same job on a small wall: many light scratches in a crosshatch, with genuinely light pressure. You are piercing the paper, not carving the plaster, and every deep scratch is a line you will have to fill later.
Mix your soak. Very hot water with a good squirt of washing-up liquid, or a capful of fabric softener. Either helps the water spread and soak instead of beading. A garden pressure sprayer keeps a whole wall evenly wet; a hand spray bottle works for one small wall, a big sponge for a patch.
Then soak, wait, and soak again. Spray until the wall is dripping. Wait ten to fifteen minutes. Spray again, thoroughly. The second soak is the actual trick: the first wets the paper, the second reaches the paste. Paper that has had two proper soaks darkens, bubbles slightly, and peels from a seam or bottom edge in long, heavy sheets. Stubborn patches get a third soak, or a soaked cloth held against them for ten minutes. If a corner fights you, it is not a strength problem. It is a water problem. Give it more time, not more force.
Two layers? One at a time. Plenty of old rooms are paper over paper, sometimes three deep. Take the top layer through its full soak cycle first, then treat the layer underneath as a fresh wall: score it if it is coated, soak it twice, strip it. Forcing both off together is how plaster comes away in chunks.
The hidden job: washing off the paste
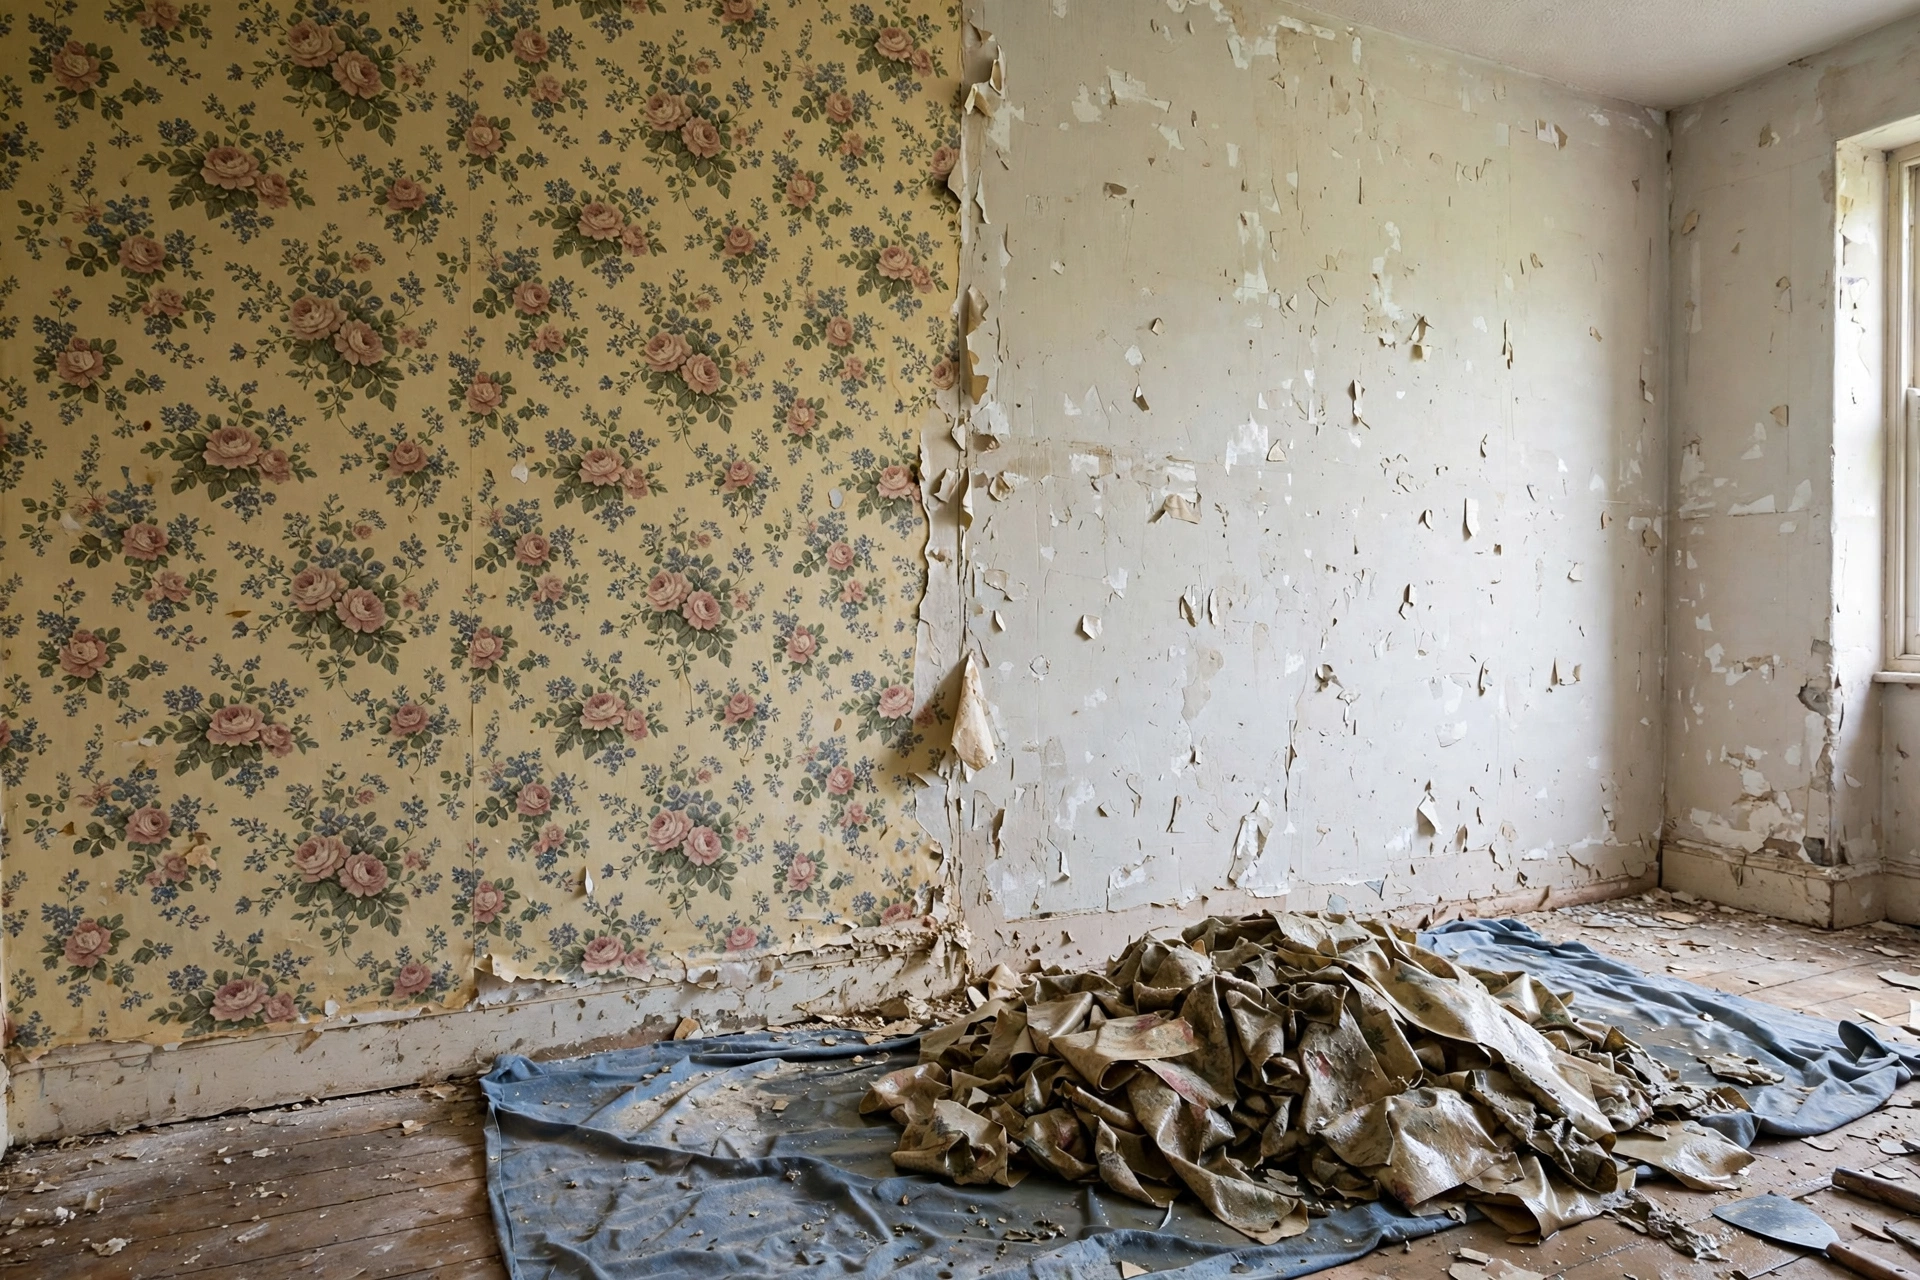
Here is the part nobody warns you about, and it matters more than the stripping. When the last sheet is in the bag, run your hand over the bare wall. If it feels slippery or slimy, and it will, that is old paste still sitting on the plaster. Leaving it there is the most common reason the next stage fails.
Wash the whole wall with hot water and a big sponge, rinsing the sponge and changing the water often, because you are dissolving glue and do not want to just spread it thinner. Keep going until a clean wet palm squeaks on the wall instead of sliding. That squeak tells you that you have reached plaster.
Why does it matter? Because paint cannot bond through paste. Paint over the residue and it looks fine for a few weeks. Then moisture starts waking the paste up again, and the finish bubbles, cracks and peels away in sheets, taking your new paint with it. I learned this the expensive way, on a hallway I will not describe. Wash the wall. Then let it dry properly, a day or two, before any filling or paint goes near it.
My order of work, taped to the door: corner test, prep, test patch, then small sections all the way round: steam (or soak twice), scrape, wipe. Wash the wall last, once, properly. Steam the whole room first and scrape second, and you will be re-steaming dry paper at 9pm.
The mistakes I see again and again
- Steaming unscored vinyl forever. If the coating is waterproof, the steam never reaches the paste. Score it first and the same wall strips easily.
- Attacking with the knife at a steep angle. A blade dug in gouges plaster with every stroke, and every gouge is a filling and sanding job later. Flat knife, shallow angle, slide.
- Steaming the whole room before scraping anything. By the time you reach the third wall, the first is dry and set again. Small sections, start to finish.
- Skipping the wash. The wall looks clean, so the paste gets painted over, and the new paint fails within the year. The squeak test takes five minutes.
- Painting a wall that is still damp. Stripped walls drink a lot of water. Give yours a day or two to dry first.
Questions I get asked about stripping wallpaper
I rent my home. Can I remove the wallpaper?
Only with your landlord's permission, asked for in writing before you start. Stripping wallpaper counts as altering the property in most tenancy agreements: it changes the wall itself, and it can uncover plaster problems hidden underneath. Get a yes first. If the answer is no, your options are the removable kind: peel-and-stick paper over the top, or covering ground with art and furniture instead.
How long does a room honestly take?
Plan on a full day for a small bedroom: a couple of hours to prep and strip if the paper is kind, more if it is not, then the wash, then drying time before paint. A strippable paper can halve that. Three layers on old plaster can turn it into a weekend. What it is not, whatever the videos suggest, is an hour.
Can I paint straight over wallpaper instead?
Sometimes. If the paper is a single layer, dead flat, with tight seams and no lifting edges, painting over can look respectable. But know the trade-offs: moisture in the paint can bubble the seams, pattern texture often shows through, in steamy kitchens and bathrooms it usually fails, and you are storing up a worse stripping job for whoever comes next. Sound paper and no time? A fair compromise. Lifting anywhere? Strip it.
Bits of plaster are coming off with the paper. What now?
Switch to shorter holds or the soak method on that spot. Old skim plaster that has already blown will come away whatever you do; the gentler you are, the less you lose. Small patches are a normal filling job once the wall is washed and dry. If large areas are crumbly or hollow-sounding across whole walls, stop and have a plasterer look before you go further. That is a wall problem now, not a wallpaper problem.
That is the whole job: test, prep, small sections, flat knife, and a proper wash at the end. Tell me in the comments what is on your walls, especially if you have found paper over paper over paper. Three layers is my house record, and I would love somebody to beat it.
Lisa Ben
Lisa paints, builds, thrifts and rearranges her way through one very patient house, then writes down everything she learns here on Wazala. White paint is her favourite argument. New projects land every Tuesday, Thursday and Saturday, and the Sunday Letter rounds them up once a week.
You might also like
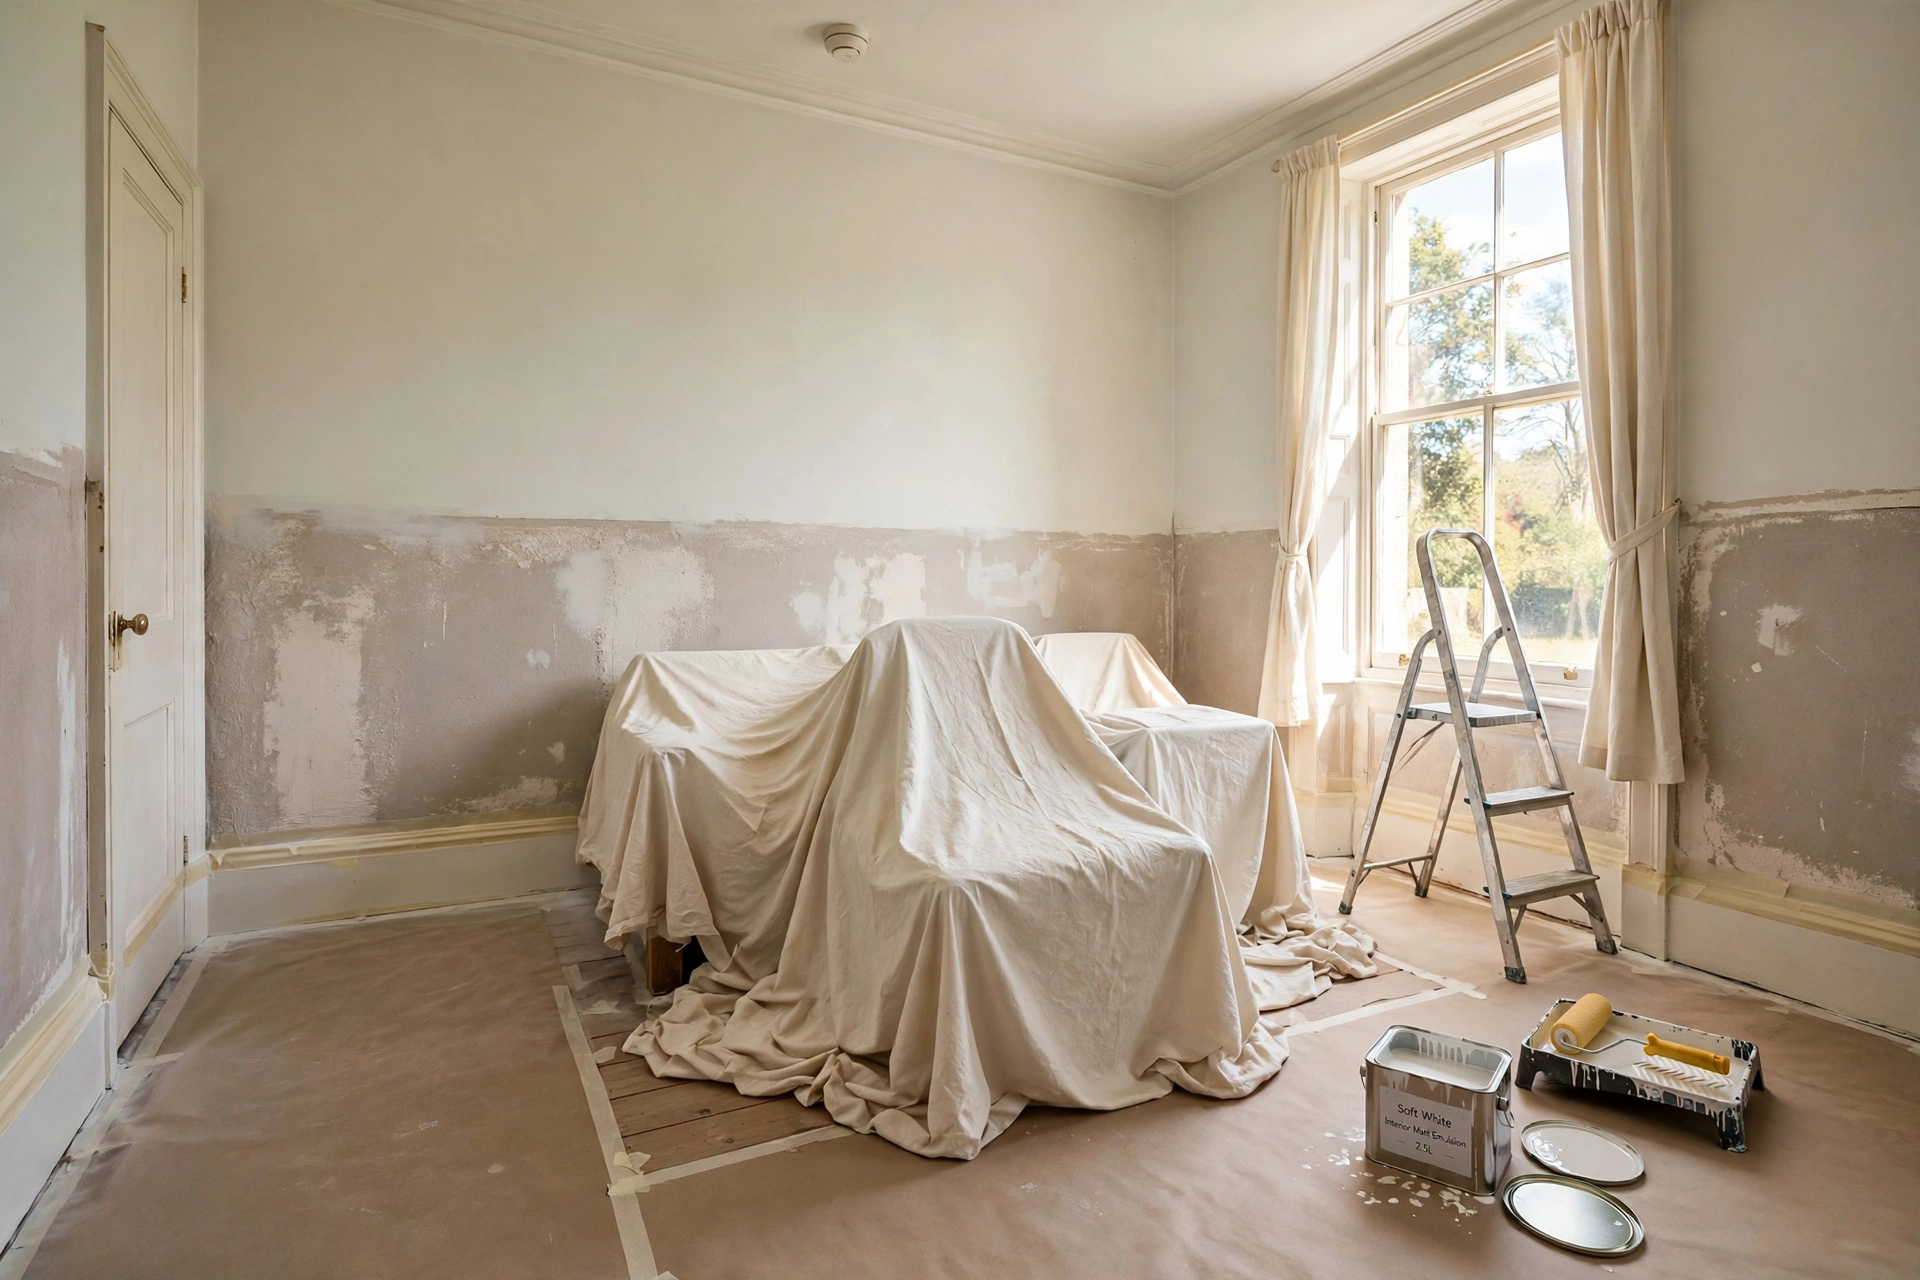
Painting A Room Start To Finish: Prep, Two Coats, Done
Your wall is stripped, washed and dry. Here is the full paint job that follows it, from filling to the second coat.
Read more →
How To Clean Grout So It Looks New Again (Mostly)
The honest grout methods: bicarbonate paste, oxygen bleach, and why chlorine bleach mostly fakes it.
Read more →
Board And Batten Wall: The Weekend Project That Makes A Plain Room Look Built
Once the paper is off, a plain wall is a blank canvas. The grid, the battens, the caulk and the paint, step by step.
Read more →