Painting A Room Start To Finish: Prep, Two Coats, Done
 By Lisa Ben
·
October 13, 2026
·
15 min read
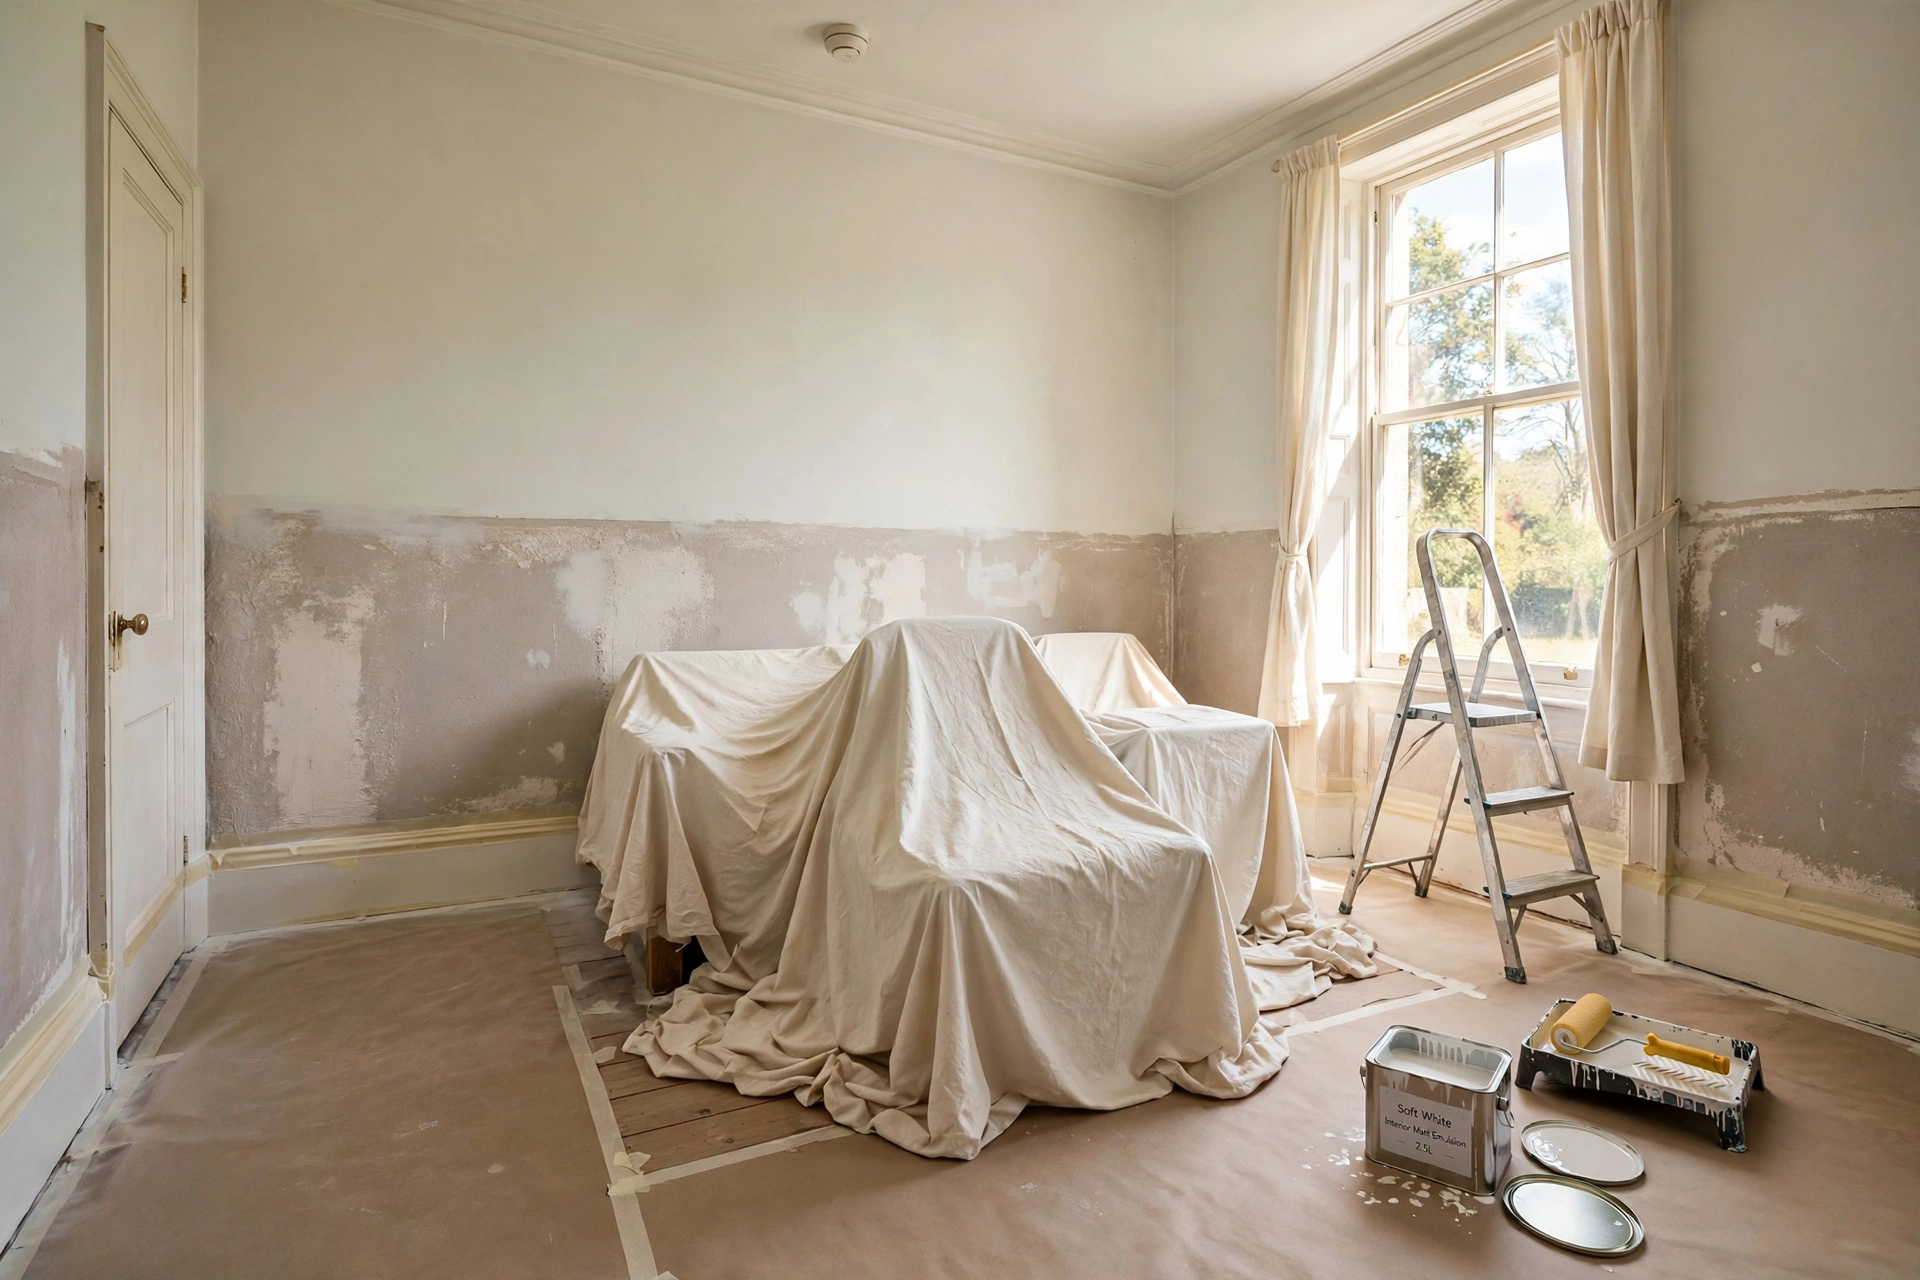
Painting a room is the job I hand to people who swear they are not DIY people. No power tools, nothing that can flood the house. Open the tin, follow an order, and a tired room looks new by Sunday. But it only goes that smoothly if you work in the right order, and most bad paint jobs, including two of my own, went wrong before the roller ever touched the wall.
So here is the whole job, start to finish, the way I do it now: work out the paint, gather the kit once, prep properly, then ceiling, walls and woodwork, two coats each, with the timings in between. One ordinary room, one weekend, no drama.
How much paint do you actually need?
Guessing at the paint counter is how you end up with four spare litres in the shed or, worse, a wall and a half left when the tin runs dry. The maths is simple. Measure the length of each wall, add them together, then multiply by the height of the room. That gives you the wall area. Knock off roughly 2 square metres for each standard door and about 1.5 for an average window. You do not need to be precise, just close.
Most wall paints cover somewhere between 10 and 13 square metres per litre per coat, depending on the brand and how thirsty your walls are. Two coats is the standard, so double your wall area, then divide by the coverage figure on the tin. Worked example: a room 4 metres by 3.5, with a 2.4 metre ceiling, has 15 metres of wall times 2.4, so 36 square metres. Minus a door and a window, call it 32. Two coats makes 64 square metres of painting, which at about 12 square metres per litre comes to just over 5 litres. One 5 litre tin plus a 1 litre for luck, and you are covered.
Buy a little extra on purpose. Leftover paint is not waste, it is your touch-up supply for the next three years of scuffs and picture-hook holes. Two honest warnings: paint from different batches can vary by a hair, so buy the whole job in one trip, and keep the receipt until the second coat is on. And if the colour is new to you, test a sample pot on a big board first. My white paint colour guide shows the testing method I use, board and all.
The kit list, gathered once
Nothing kills painting momentum like a mid-coat trip to the shop with wet edges drying behind you. Everything below fits in one tray and one bucket, and most of it you will use on every room from now on.
- Roller frame, tray and sleeves. A 23cm roller with a medium-pile sleeve suits most walls. Buy decent sleeves; cheap ones shed, and I will come back to that.
- An angled brush, about 5cm. This is your cutting-in brush. The slanted tip is what draws the straight line.
- An extension pole. Screws into the roller handle and saves your shoulders, your ladder trips and your neck.
- Dust sheets. Canvas grips the floor better; plastic is cheaper and fine underneath.
- Painter's tape. For skirting tops, sockets and floor edges, not as a substitute for a steady hand everywhere.
- Filler and a filling knife. Ready-mixed fine filler handles nearly every crack and picture hole.
- Sandpaper, around 120 grit, plus a block. For flattening filler and keying shiny patches.
- Sugar soap, a bucket and a sponge. Walls carry more grease than you think, especially near doors and switches.
- A step ladder, stir sticks and a flat screwdriver for opening tins without mangling the lid.
- A damp cloth and a bin bag, within arm's reach, for the drips that will definitely happen.
Prep: the order that actually works
People say prep is 90 percent of a paint job. I would put it at 60, but it is the 60 that decides whether the finish looks flat and clean or patchy and tired by the end of the month. Do these steps in this order and the painting itself becomes the easy part.
1. Clear the room, then cover what is left
Small things out completely: lamps, pictures, plants, the rug. Big furniture goes into the middle of the room in a pile you can walk right around, then gets sheeted over and tucked in at the floor. Lay floor protection wall to wall and tape its edges down, because a sheet that creeps exposes a strip of floor exactly where the roller drips. Loosen the light switch and socket covers too, so you can paint behind the edge. Two minutes, and the finish looks twice as neat.
2. Wash the walls
Sugar soap in warm water, sponge on, clean water rinse, then let everything dry. Kitchens and hallways are the worst offenders: cooking grease, handprints at kid and dog height, a film around the switches you only notice once new paint refuses to stick there. Paint over grease and you get dull patches showing through both coats, like the wall is bruised. Twenty minutes with a sponge is cheaper than a third coat.
3. Fill, wait, sand
Work around the room with the light behind you and press filler into every crack, dent and old picture hole. Overfill very slightly, because filler shrinks as it dries. When it is properly dry, and the tin will tell you how long that is, sand it flush with the block. Run a hand over each patch: if your fingers can feel an edge, your eyes will see it under paint. Then brush or wipe the dust off the wall. All of it. This is the step people skip, and it is the one that puts grit in the finish.
4. Tape the edges, or learn to cut in
Honest answer: I use both. Tape goes on skirting board tops, around sockets and along the floor edge, anywhere a clear physical line helps. But the ceiling line I cut in freehand, and I would encourage you to try: tape on a slightly textured ceiling bleeds underneath and can peel paint off when it comes away. A decent angled brush and two practice metres on the least-seen wall teach your hand faster than you expect, and the skill stays with you for every future room. If your hand shakes at the top of a ladder, tape the line, press it down hard with a fingernail, and accept a tiny bleed now and then.
5. Prime the patches that need it
Filler and bare plaster drink paint at a different rate to the wall around them, so they flash through as dull spots if you go straight in with your colour. Spot-prime every filled patch and bare area with thinned wall paint, or a proper primer if you have one. Brand-new plaster needs more: a mist coat over the whole wall, which is simply your first coat of emulsion thinned with water, roughly a quarter water to three quarters paint unless the tin says otherwise. Plaster is so absorbent that neat paint sits on the surface and can peel later; the mist coat soaks in, seals the surface, and gives the two real coats something to grip.
The painting order: ceiling, walls, woodwork
Always work top down, because drips and roller spray only travel one way. The ceiling goes first, even when it feels backwards to start with the bit you are not changing. Ceiling paint is usually a flat matt that spatters happily onto walls you have not painted yet, and that is fine, because the walls are next. Walls second, with your colour. Woodwork last: skirting, door frames and the door itself. Trim paint takes the longest to go off, and a busy, dusty room is no place for slow-drying satin. Woodwork at the end also means your wall colour is already dry enough to tape against if you need to.
If the ceiling is staying as it is, keep the order anyway and just cut in extra carefully at the top of the walls.
Cutting in: the skill that makes it look professional
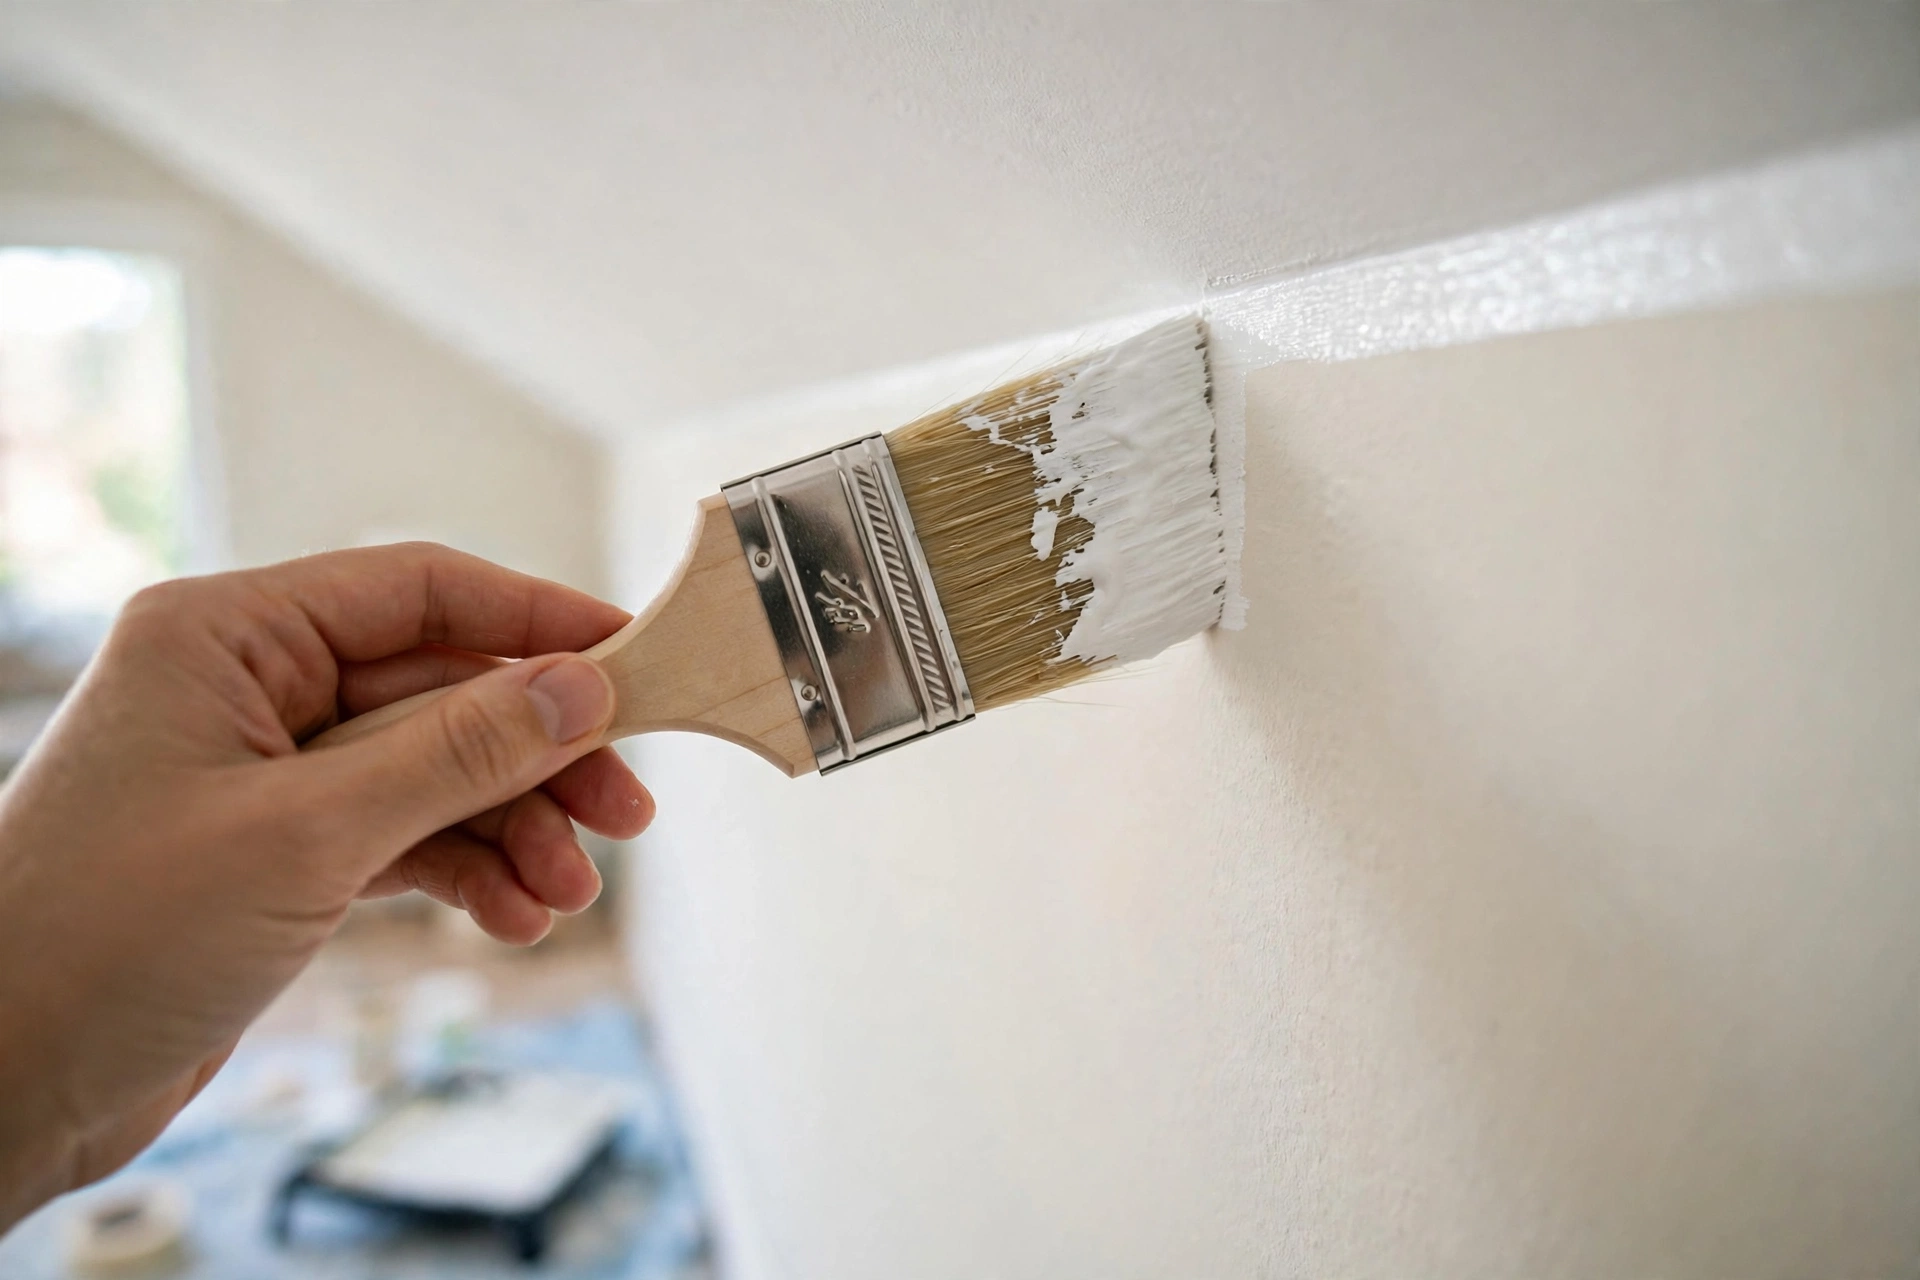
Cutting in is painting the neat band around every edge the roller cannot reach: ceiling lines, corners, around sockets and along the top of the skirting. Dip only the bottom third of the brush, then tap off the excess on the inside of the tin. A dripping brush cannot draw a straight line, and a dry one drags and leaves gaps.
Start a couple of millimetres away from the line and let the bristles fan out as you press gently; the fan settles into the edge by itself. Then draw one long, smooth stroke, moving your whole arm rather than flicking your wrist. Paint a band about 5 to 8 centimetres wide, reload often, and do not try to stretch the paint: thin, stretched cut-in shows through the rolled coat as a picture frame around the room. Cut in one wall at a time, then roll that wall straight away while the band is still wet. That wet-into-wet join is what makes the edge disappear.
Rolling: load it, W it, keep the wet edge
Rolling is where the speed is, and it is mostly about loading. Roll the sleeve through the paint in the tray well, then roll it back up the ribbed part to spread the load evenly. The roller should be full but not dripping: saturated all over, with no dry patches and no paint running off it.
On the wall, work in sections about a metre wide. Roll a big W (or an M, same idea) to spread the paint, fill in the gaps with straight vertical strokes, overlapping each pass a little, then finish the section with one long, light top-to-bottom stroke to lay everything flat. Move on and roll straight back into the edge of the section you just did. That is keeping a wet edge, and it is the whole secret to avoiding stripes: let the previous section dry before you blend into it and the overlap line stays visible forever. Never stop mid-wall for lunch. Stop at a corner, or do not stop.
Two more habits that pay off: stand so the window light falls across the wall, because raking light shows up every miss while you can still fix it, and use the pole. Rolling a full wall from the floor is faster, kinder on your back, and the even pressure beats stretching from a ladder.
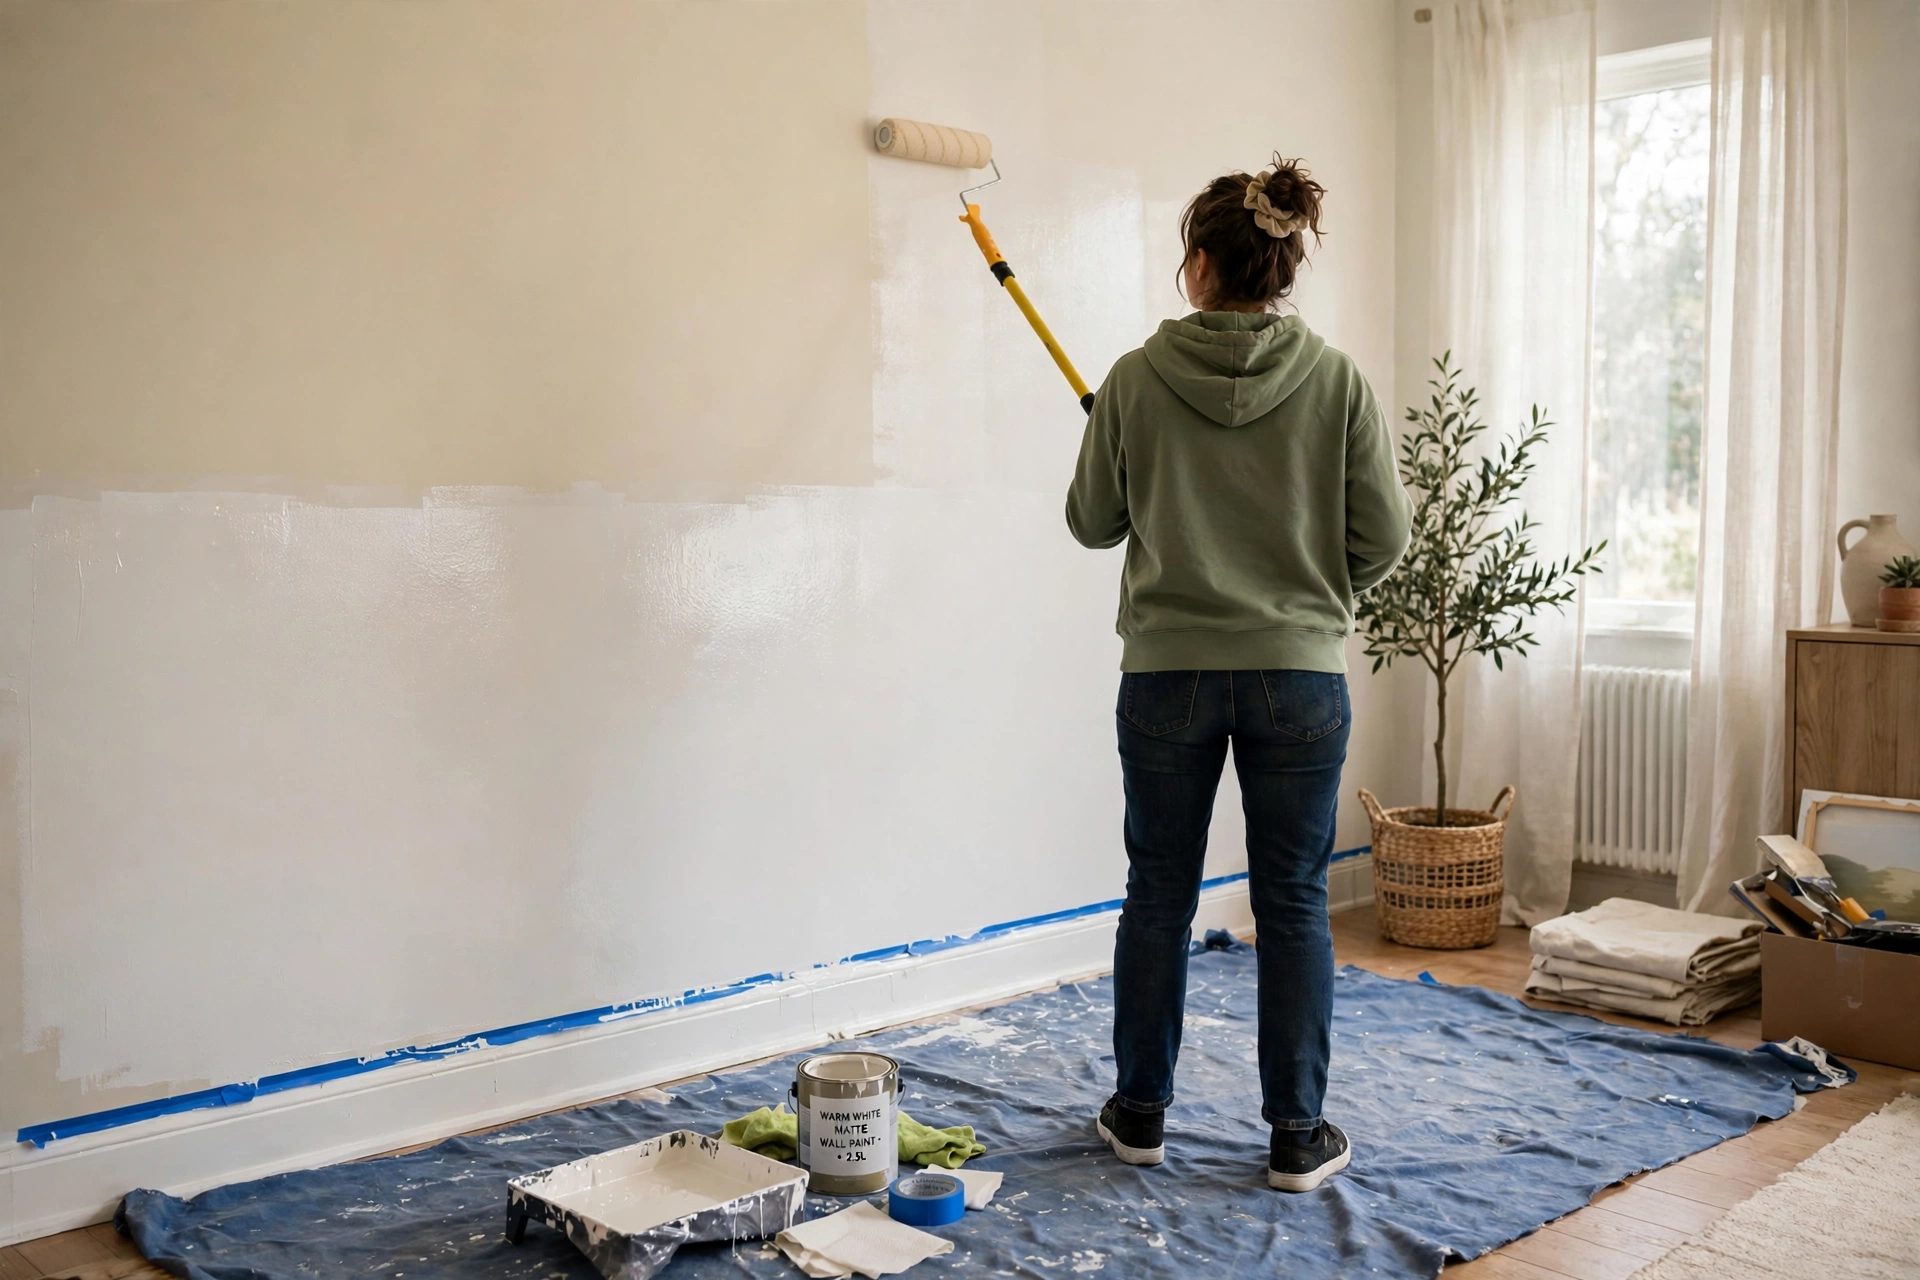
Break trick: if you need to pause between coats, do not wash the roller out. Wrap the loaded sleeve tightly in cling film or a plastic bag, squeeze the air out, and it stays workable for hours, overnight if the wrap is tight. Same for the brush in a zip bag. One wash at the end beats three in the middle.
Drying times and the second coat
Every tin prints its own recoat time, and the tin wins any argument with this article. As a general guide for water-based wall paint, expect it to be touch-dry in one to two hours and ready for a second coat after two to four, but cold rooms and humid days stretch those numbers, and painting the second coat too early makes the roller drag and tear the half-dry film underneath. It is genuinely hard to wait when the first coat looks patchy. It nearly always looks patchy. Wet paint is darker, shinier and more translucent than dry paint, so judge nothing until the first coat is fully dry.
The second coat is a repeat performance: cut in, then roll, keeping the wet edge. The wall drinks less this time, so it goes faster and the colour settles into its real depth. When it is dry, do the daylight check: stand in the doorway, look along the wall towards the window, then switch the room lights on and look again. Misses and roller lines each show up under a different light. A palm-sized touch-up with the brush, feathered out at the edges, fixes a miss; a whole striped wall means a calm third coat, thin and even, once everything is properly dry. Deep colours sometimes need that third coat however careful you were, and that is the paint, not you.
The finishing jobs: tape off, room back
Here is the tape rule that saves finishes: pull it while the last coat is still very slightly tacky, at a low angle, slowly, away from the painted surface. Fresh paint is a film, and tape left until the film is fully dry becomes part of it; rip it off and it tears a ragged line. If everything is already dry, run a sharp craft knife gently along the tape edge to score the film first, then peel. Two minutes of patience beats touching up a torn line along the whole skirting.
Then it is just reversal: sheets folded paint-side in, socket covers back on, furniture back to the walls. Move things carefully for a couple of days: water-based paint feels hard quickly but keeps curing for a week or two, so a heavy bookcase shoved against a fresh wall can stick and tear a patch off. Felt pads under anything that touches the wall are cheap insurance.
Clean-up, and storing the leftover paint properly
Water-based paint washes out with water and a drop of washing-up liquid. Work the roller under the tap until the water runs clear, squeeze, and stand it on its end to dry so the sleeve keeps its shape. Brushes get the same treatment, then a comb or your fingers to pull the bristles straight. Wrap a good brush in paper once it is dry and it will keep its edge for years.
Now the leftover tin, the bit everyone skips and regrets in two years. Wipe the rim clean so the lid seals fully, tap the lid down evenly, and write two things on it in marker: the room and the date. Future you, facing four identical white tins, will be so grateful. Store it somewhere frost-free, because frozen paint goes lumpy and never recovers. If the tin is nearly empty, decant the rest into a clean, well-sealed jam jar instead: less air in the container means the paint keeps far longer, and a small jar is all you need for scuffs anyway.
Five mistakes I see, and have made myself
- Painting over dust. Sanding dust left on the wall sets into the finish like grit in jam. Brush the wall down, then wipe it with a slightly damp cloth, before any paint comes out.
- Rushing the second coat. Rolling over half-dry paint drags it into wrinkles and tears. Respect the recoat time on the tin, make tea, check again.
- Cheap rollers that shed. Bargain sleeves leave fibres all through the finish, and picking fluff out of wet paint is misery. Buy a decent sleeve, and before its first use, wrap it in tape and peel, or give it a quick wash and spin, to pull the loose fibres out.
- Skipping the wash. Grease does not care how good your paint is. If the wall is not clean, the finish will not last, especially in kitchens and busy hallways.
- Judging the colour at midnight. Wet paint under warm bulbs lies twice over. Dry paint, daylight, then decide. If you still hate it, it is a colour problem, not a technique problem, and the swatch-testing method will help you pick the replacement.
Questions I get asked about painting a room
Do I really need two coats?
Almost always, yes. One coat over a similar colour can look fine wet and turn ghostly as it dries, because paint shrinks back slightly and shows the old colour through. Two coats build the full depth and the durable finish. Strong colour changes, and going pale over something dark, may need a primer coat plus two of colour.
Can I just paint over wallpaper?
You can, if the paper is genuinely sound and stuck fast everywhere, but the seams will show through and the water in the paint can lift loose edges into bubbles. In nine rooms out of ten, stripping is slower on day one and better forever. If stripping reveals sorry plaster, the mist coat in this guide is your friend.
How long before I can use the room again?
With water-based paint, the room is walk-through usable the same evening and furniture can go back, gently, once the walls are dry to the touch. Give it a day or two of good ventilation for the smell to fade, use felt pads on anything touching the walls, and remember the paint keeps hardening for a week or two before it reaches full toughness.
Matt or eggshell on the walls?
Matt hides lumpy old walls best and looks soft and modern, but scuffs show and some matts cannot be wiped. A washable or durable matt is the sweet spot for hallways and family rooms. Save eggshell and satin for woodwork, where the slight sheen shrugs off knocks and makes the trim look deliberate next to flat walls.
That is the whole job: measure honestly, prep patiently, paint top down, two coats, tape off while it is tacky. None of it is hard once the order is in your head, and the order is most of it. Repainting a room this weekend? Tell me the colour in the comments, and if your walls are new plaster, old gloss or something stranger, ask away and I will tell you which step to slow down on.
Lisa Ben
Lisa paints, builds, thrifts and rearranges her way through one very patient house, then writes down everything she learns here on Wazala. White paint is her favourite argument. New projects land every Tuesday, Thursday and Saturday, and the Sunday Letter rounds them up once a week.
You might also like
How To Paint Kitchen Cabinets And Have The Finish Last
The full cabinet process: degreasing, priming, and the drying times nobody tells you.
Read more →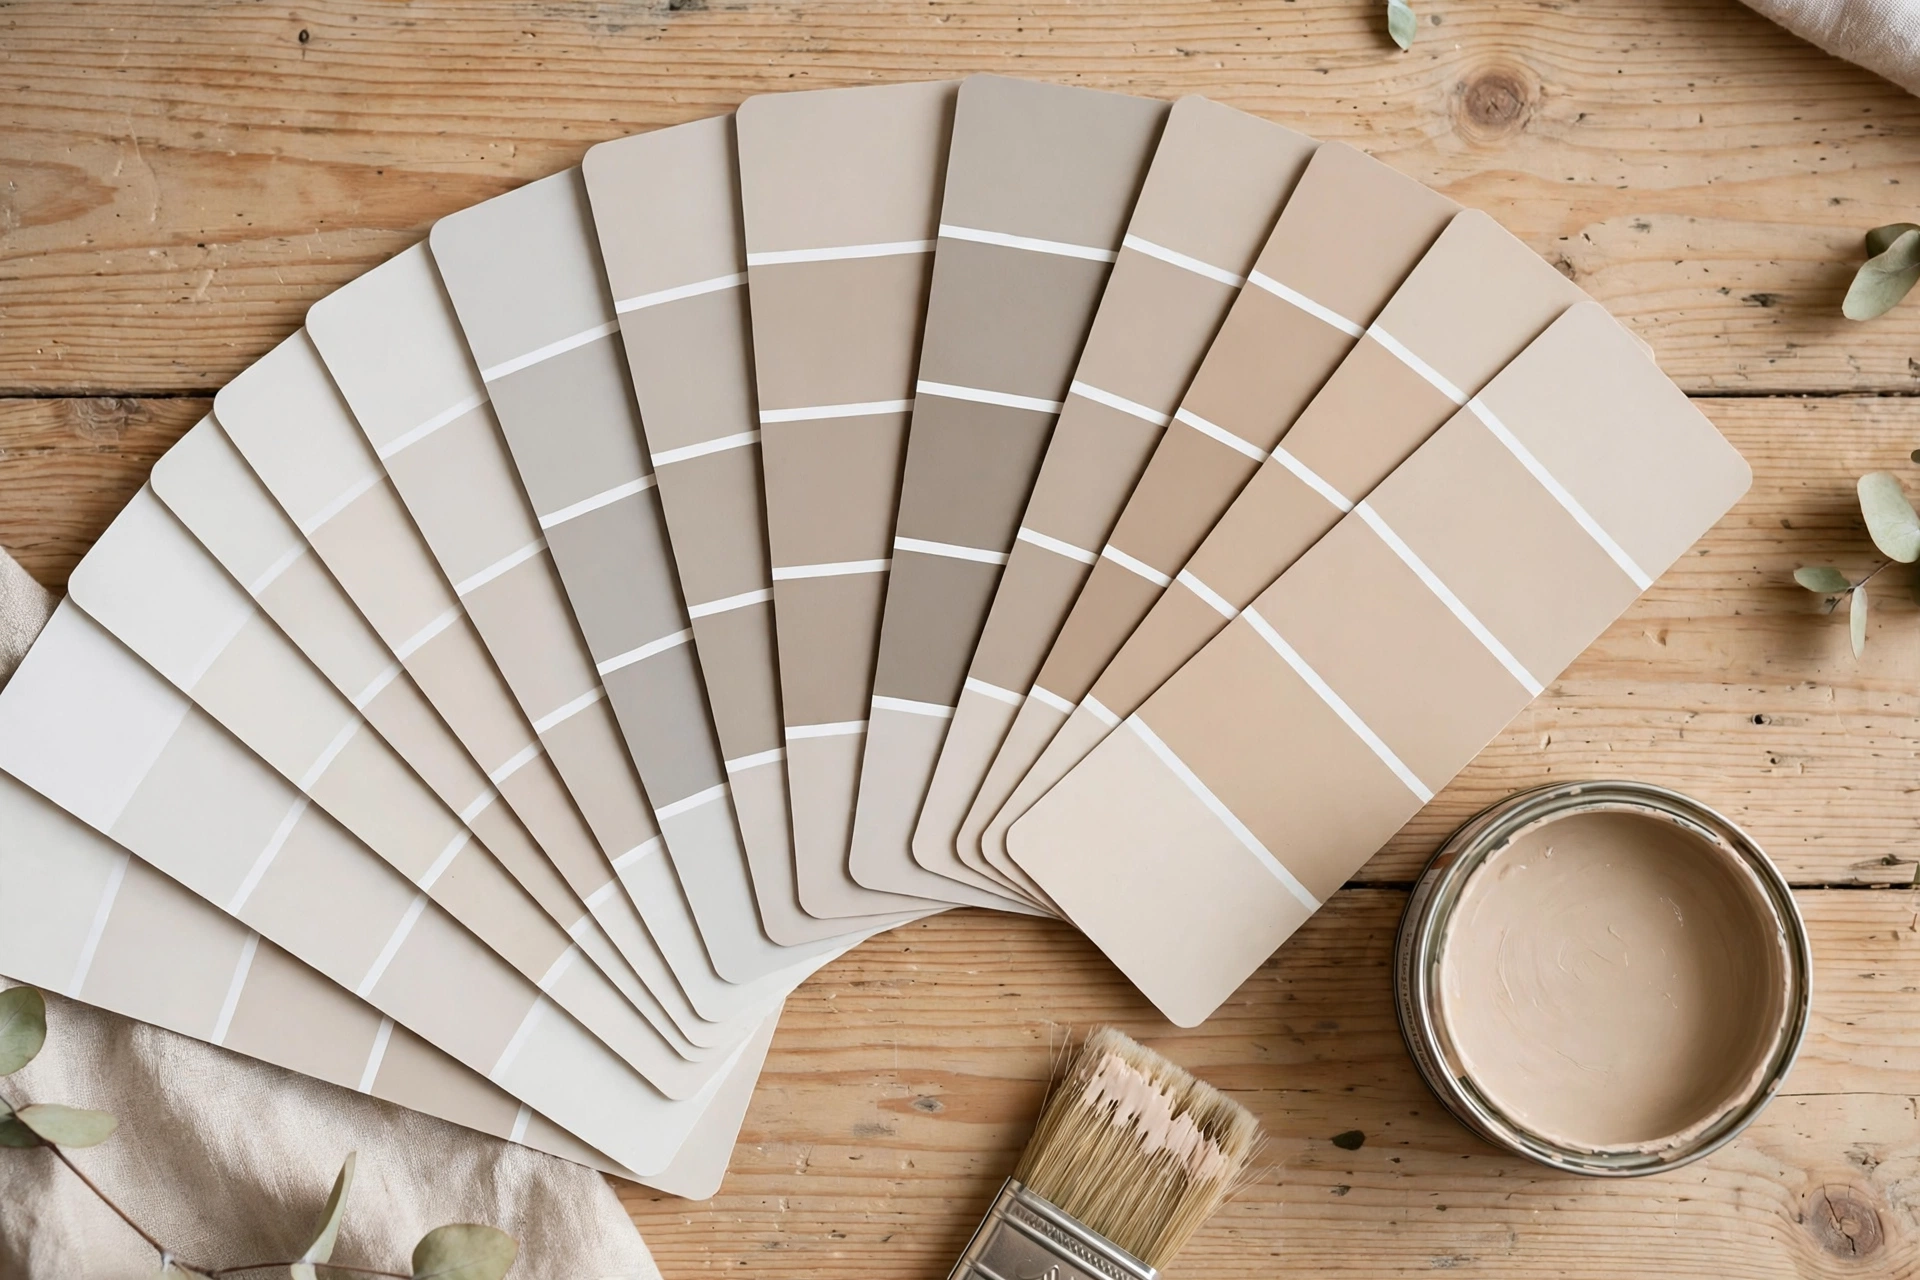
The 9 Best Greige Paint Colours, With Undertones Explained
Grey meets beige: the in-between colours that work in almost any light.
Read more →
How To Paint Your Front Door (And Pick The Colour)
Prep, the finish that survives weather, and testing a bold colour first.
Read more →