Easy Window Plant Shelf For A Sunny Kitchen
 By Lisa Ben
·
October 5, 2026
·
10 min read

My kitchen windowsill used to be a traffic jam. Basil behind the washing-up bowl, a chive pot wedged against the tap, mint slowly taking over the fruit bowl's territory. The sill was deep enough for exactly one row of pots, and I own considerably more than one row of plants.
The fix took me one plank, three brackets and a Saturday morning. A shelf across the window gives your plants the sunniest seat in the house and gives you back your sill. Here is the whole build, the tray that saves your paintwork, and the honest bit most shelf posts skip: what actually grows well up there, and what quietly cooks.
The build, in one line
You are mounting one plank on two or three brackets, either across the window reveal (the recessed sides of the window opening) or on the wall just below the sill. That is genuinely it. No frame to build, no joinery, nothing to glue. If you can hang a picture straight and drill a pilot hole, you can do this before lunch. The skill is not in the building. It is in the measuring, which is where I will spend most of this post, because every wobbly, window-blocking shelf I have ever seen went wrong at the tape measure stage.
Measure first, including the awkward bits
Start with the width. If the shelf sits inside the reveal, measure wall to wall at the height you want it, then measure again six inches higher and lower. Old houses are rarely square, and the smallest measurement is the one your plank has to fit. If it sits below the sill on a flat wall, width is your choice, but a shelf that runs close to the full window width looks deliberate. A short one floating in the middle looks like a mistake.
Depth matters more. Take your biggest pot, put it on its saucer or in the tray you plan to use, and measure the lot. Your plank wants to be that deep, plus a small margin so nothing overhangs the front edge. For most herb pots that lands around 15 to 20 cm. Much deeper and the shelf starts eating the room; much shallower and pots sit with their bellies hanging over the edge, which is how they end up in the sink.
Now the three checks people forget. Open the window fully and watch where the handle and the opening pane actually travel, because a shelf that blocks the handle is a shelf you will curse every single day. Check the blind or curtain path: if your blind drops inside the reveal, the shelf has to sit below its run or in front of it. And check the tap, if your window is over the sink like mine. A tall basil plant and a swan-neck tap need to agree on who gets the middle.
What you need
- The plank. Laminated board or solid wood that has been sealed. A kitchen window is a steamy, splashy place, and raw untreated wood swells, stains and grows tide marks within a month. I used a laminated pine shelf board; exterior-grade varnish on ordinary wood works too.
- Brackets. Two for a short shelf, three for anything over about a metre, sized so the horizontal arm supports most of the plank's depth. Simple steel L-brackets are fine and mostly hide behind the pots.
- Fixings. Screws into the timber of the reveal, or proper wall plugs if you are going into masonry. One rule with no exceptions: never drill into the window frame itself. Frames are expensive, hollow in places you would not expect, and not yours to weaken.
- A shallow tray or a saucer per pot. Non-negotiable, and I will explain why in a moment.
- The basics. Tape measure, spirit level, pencil, drill, a drill bit for pilot holes, and a screwdriver.
The build, step by step
1. Find your fixing points
Decide exactly where each bracket will land. Into the reveal, you are usually fixing into timber or the wall behind the plaster, so tap along the line and listen for the difference between hollow and solid. On a masonry wall, mark your holes and use wall plugs rated for the weight. This shelf will hold wet soil, and wet soil is far heavier than it looks.
2. Draw a level line
Mark the height, then run your spirit level along it and draw one long, light pencil line. Every bracket top sits on this line. Plants hide a lot of sins, but a sloping shelf announces itself every time you water, because every pot slides its saucer to the low end.
3. Drill pilot holes
Hold each bracket against the line, mark through its holes, and drill pilots. Pilots feel like a faff until the first time a screw splits your reveal timber or wanders off into the plaster. Thirty seconds each. Do them.
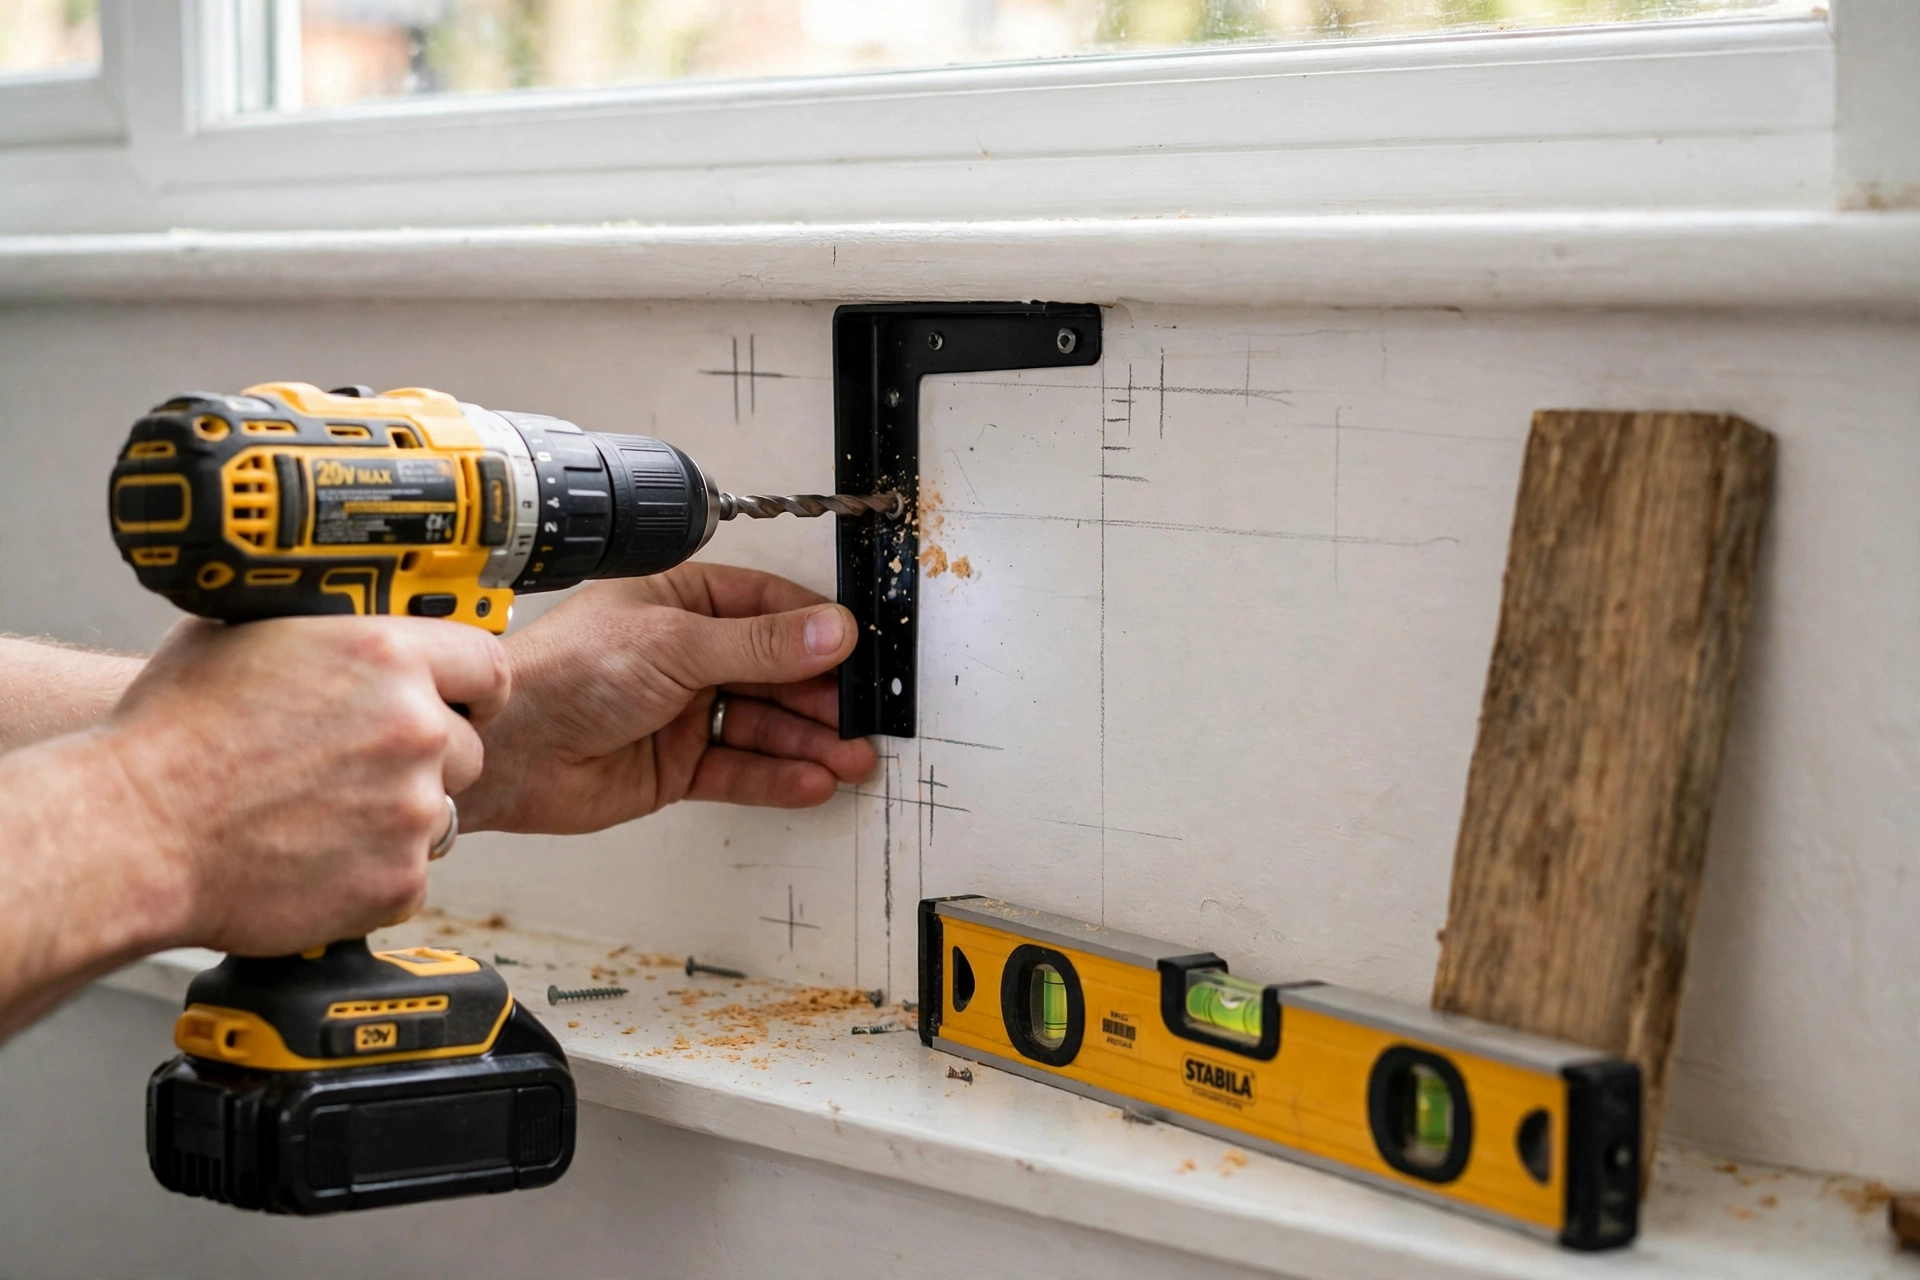
4. Brackets on, then the plank
Fix the brackets to the wall first, firm and flush. Lay the plank across them, centre it, and check with the level again before you screw up into it from underneath. Short screws here: long enough to bite, short enough to never poke through the top of the plank into your tray.
5. The wobble check
Press down on each end and in the middle. A tiny flex on a long shelf is normal; a rock or a rattle is not. Nine times out of ten the culprit is one bracket sitting a whisker off the wall, and a folded piece of card behind it while you retighten sorts it out.
6. Seal the plank edges
If your board is not pre-laminated, seal every edge with varnish or exterior finish, especially the cut ends, which drink water like straws. Even with a tray, a kitchen window shelf lives a damp life. Two thin coats, letting the first dry properly, will add years to it.
The tray that saves the sill: sit every pot on a saucer, or the whole row on one shallow tray. Watering drips are the whole reason windowsills rot, bubble and peel. Catch the water at the pot, and your sill, your shelf and your paintwork all stay dry and sound.
7. Load it honestly
A freshly watered plant in a terracotta pot is a serious little weight, and a row of them adds up fast. Spread the load along the shelf instead of clustering everything in the middle, and park the biggest pots directly over brackets, where the support actually is. If the plank bows when you stand back and squint at it, it is telling you something. Believe it.
What actually thrives up there
A sunny kitchen window is the best light most of us can offer a plant, but it is not gentle light. Glass concentrates the midday sun, and in high summer a south-facing window can scorch tender leaves pressed right up against it. My rule: leaves a few centimetres back from the glass, and a quarter turn of every pot once a week. Plants grow towards the light, so an unturned pot slowly leans into a lopsided question mark. The weekly turn takes ten seconds while the kettle boils.
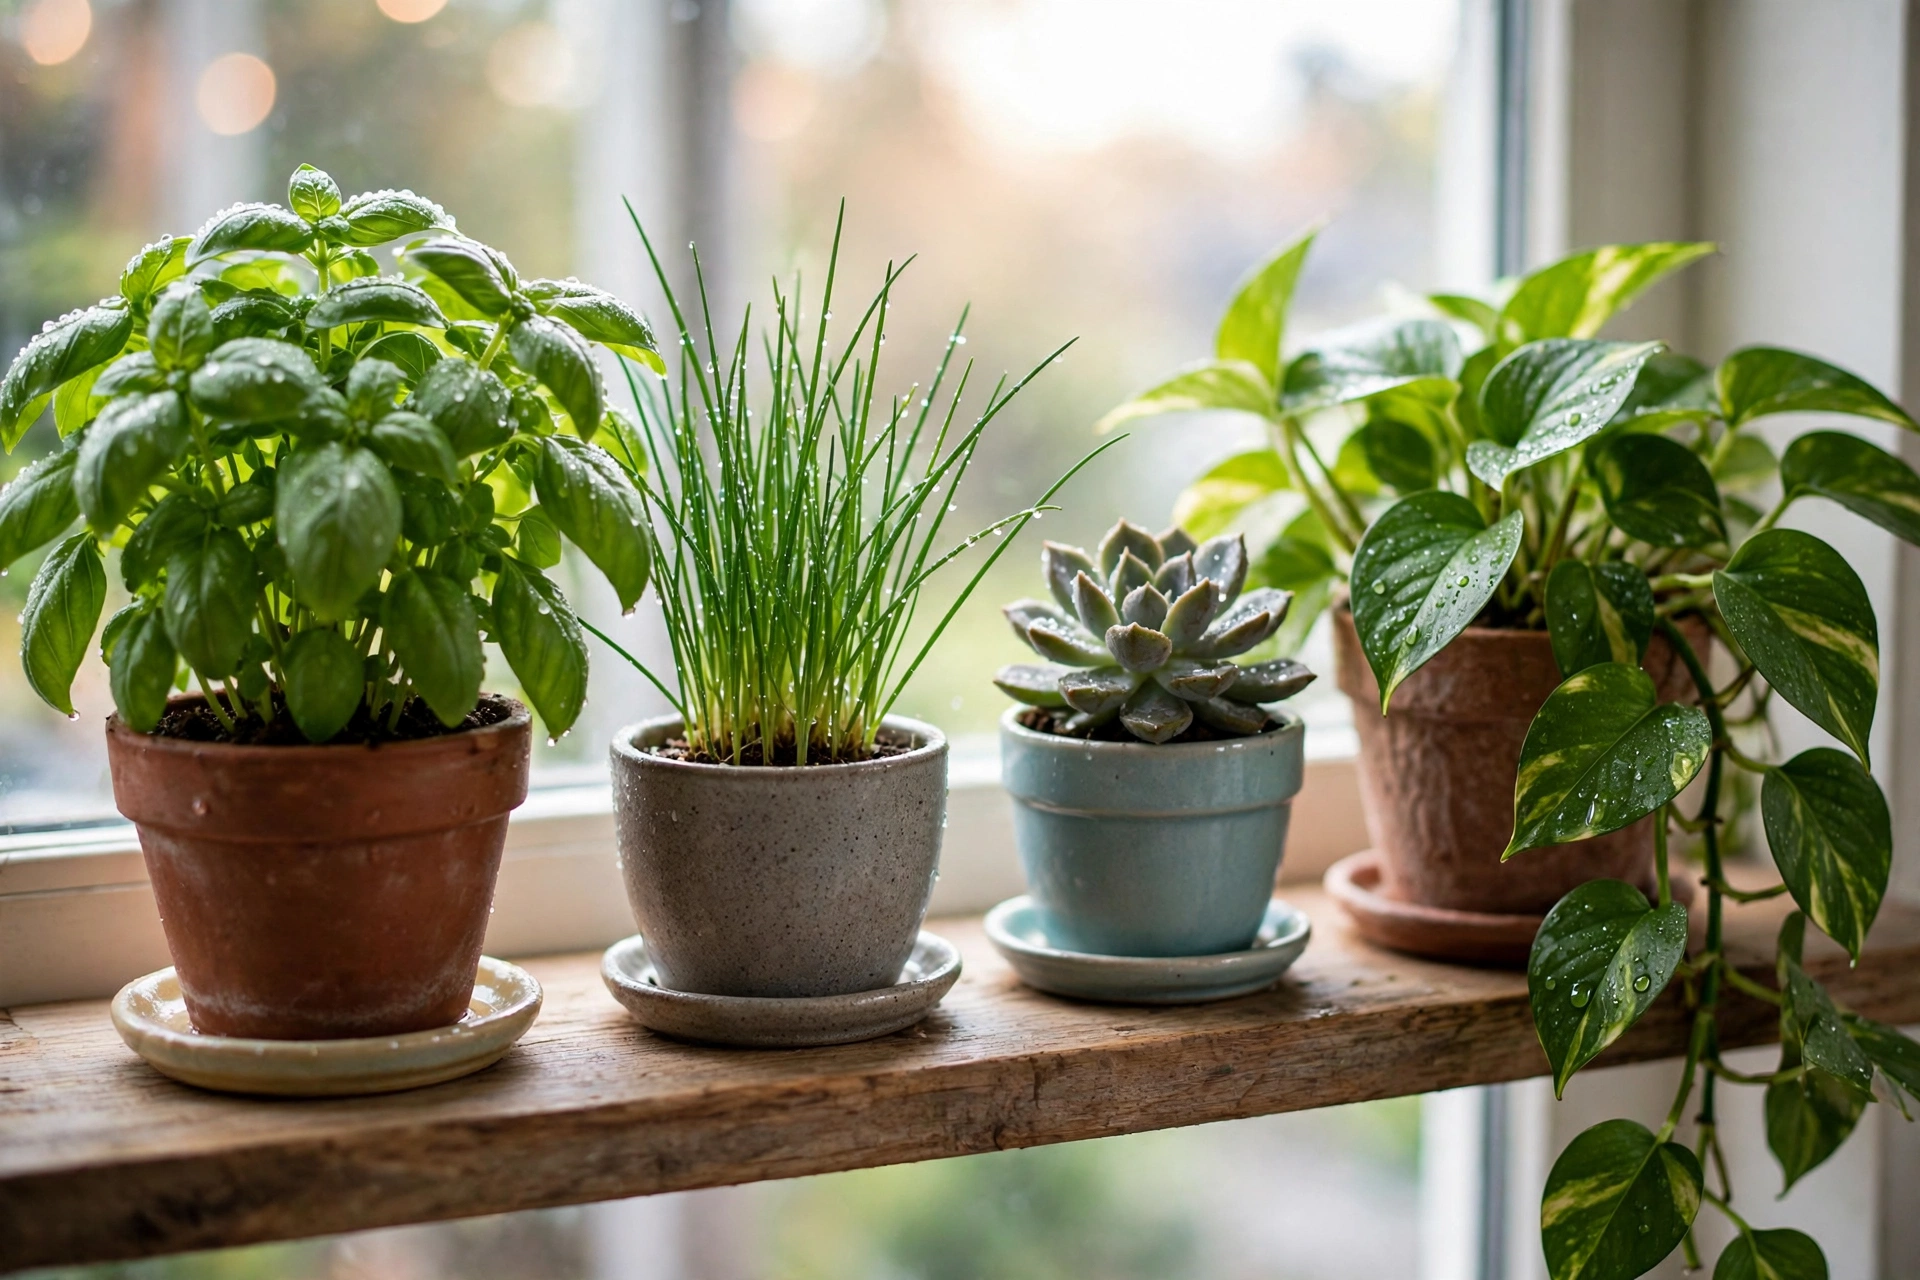
- Basil. Loves this spot more than any plant I know. Sun, warmth and regular pinching keep it bushy instead of leggy.
- Chives. Nearly unkillable, happy in a small pot, and you can snip them straight into the pan.
- Mint. Thrives here, but always in its own pot. Mint spreads like gossip and will muscle every neighbour out of a shared container.
- Small succulents. Built for bright, dry windowsills. They ask for sun and neglect, in that order.
- A trailing pothos. Park one at the end of the shelf and let it fall. It softens the whole window and is close to impossible to kill.
What I no longer put on this shelf: anything that wilts the moment it dries out, like delicate ferns. The window is warm, the pots are small, and small pots in sun dry out fast. Forgiving plants only. This is a working kitchen shelf, not a greenhouse.
The watering routine that keeps it tidy
Water at the sink, never in place. Lift each pot down, water it, let it drain properly, then put it back on its saucer. It takes five minutes once or twice a week and it is the whole secret to a shelf that never drips, stains or smells faintly of swamp. Watering in place with a little can seems quicker. It is, until you are repainting the sill.
Renting? The no-drill version
If holes are off the table, you have two decent options. A tension rod fitted firmly across the reveal can carry a very light, narrow shelf or a row of small hanging pots, and a hanging rail with S-hooks does the same job with the pots suspended instead of standing. Keep the pots small and plastic rather than terracotta, check the rod's stated weight limit and stay well under it, and put nothing heavy or precious over a sink you care about. It is a lighter-duty answer than brackets, and I would not pretend otherwise, but for herbs and a trailer it works perfectly well and leaves the walls exactly as you found them.
Mistakes I have made, so you do not have to
- Fixing into the window frame. Seen it done, winced. The frame is not a wall. Drill the reveal or the wall, always.
- Skipping the tray. One summer of drips and my sill paint bubbled like a blister. Saucers are cheaper than repainting.
- Blocking the window handle. Measure the handle's swing before you drill, not after. Ask me how I know.
- Overloading the middle. A shelf loaded heaviest where it has no bracket will sag, slowly and then permanently. Big pots over brackets.
Questions about window plant shelves
How much weight can a window plant shelf hold?
It depends on your fixings, not the plank. Screws into timber or plugged masonry with three brackets will carry a normal row of herb pots without complaint. The weak points are always the wall fixings, so use proper plugs, keep big watered pots over brackets, and if the plank visibly bows, take that as your answer and lighten the load.
How deep should the shelf be?
As deep as your biggest pot plus its saucer, with a small margin. For most kitchen herbs that is 15 to 20 cm. Deeper shelves catch more light for the plants but steal more of the room and the sill, so let the pots decide rather than going big for the look of it.
Is a south-facing window too hot for plants?
It can be at midday in summer, when glass magnifies the sun and scorches leaves touching it. Keep foliage a few centimetres back from the glass, water a little more often since small pots dry fast, and turn each pot a quarter turn weekly so growth stays even. Basil and succulents will thank you; delicate ferns will not, so keep those elsewhere.
Can I do this in a rental without drilling?
Yes, with lighter ambitions. A tension rod across the reveal or a hanging rail with S-hooks carries small plastic pots of herbs and a trailing plant comfortably. Stay well under the rod's weight limit, keep heavy terracotta off it, and you will hand the kitchen back without a single hole to fill.
That is the whole project: one plank, an honest tape measure, and a tray under the pots. Tell me in the comments what is crowding your sill right now, and whether your window faces the scorching south or the gentle east. It changes what I would plant there.
Lisa Ben
Lisa paints, builds, thrifts and rearranges her way through one very patient house, then writes down everything she learns here on Wazala. Her kitchen window grows more basil than any household reasonably needs. New projects land every Tuesday, Thursday and Saturday, and the Sunday Letter rounds them up once a week.
You might also like
Propagate Pothos: Turn One Plant Into Twelve
Snip, water, wait: the easiest propagation you will ever do, nodes and all.
Read more →
7 Plants That Survive Rooms With Almost No Sun
For the rooms the sun forgot: plants that genuinely cope with low light.
Read more →
How To Protect Plants From A Cold Snap (Before The First Frost)
Fleece, mulch and a watering trick to get tender plants through a frosty night.
Read more →