The Easiest DIY Headboard You Can Make In An Hour
 By Lisa Ben
·
October 22, 2026
·
12 min read
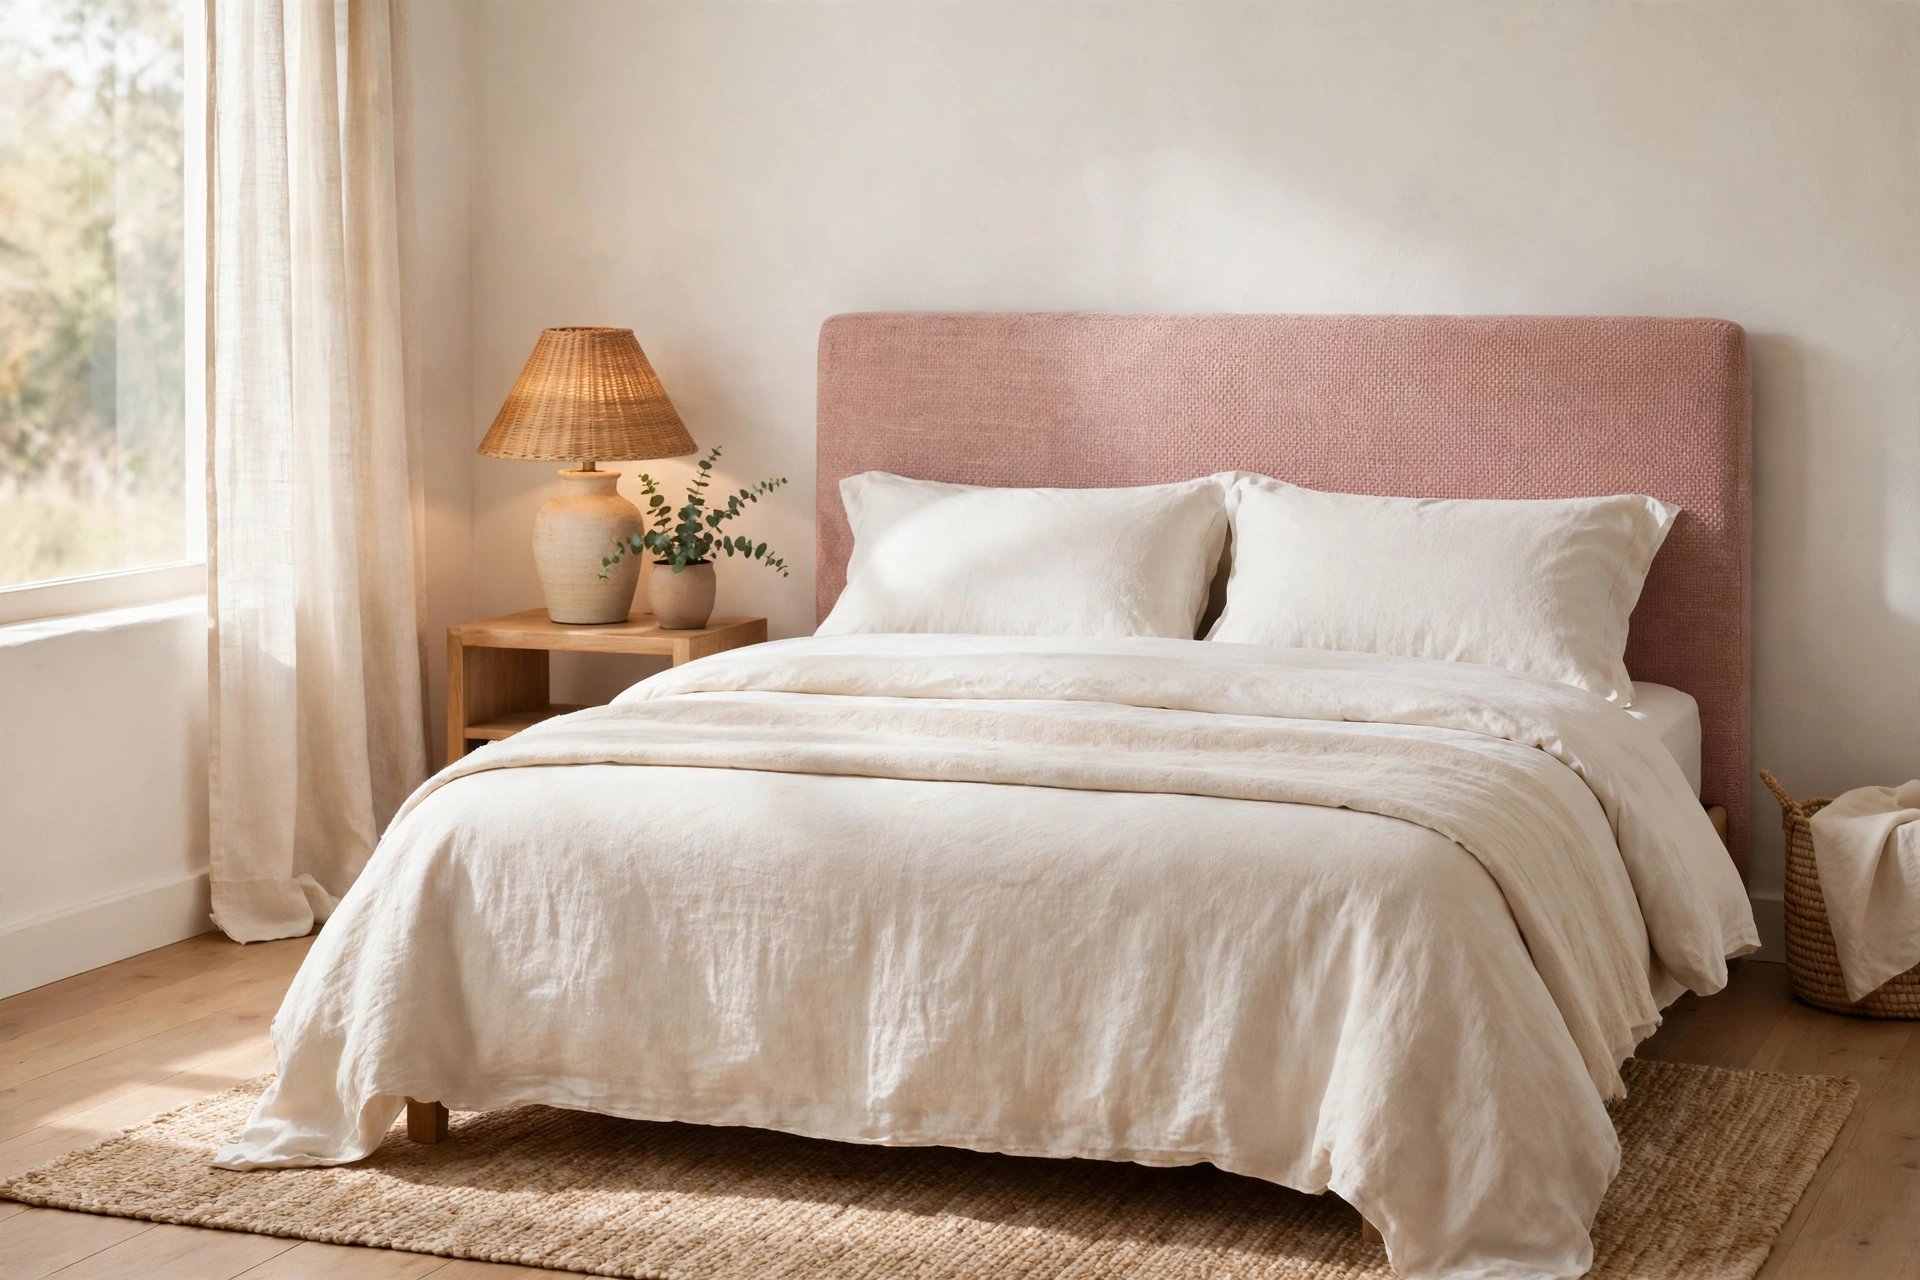
A bed without a headboard always looks slightly unfinished, like the room is still being moved into. The pillows slump into the gap behind the mattress, the wall gets scuffed, and there is nothing comfortable to lean against when you read. I put off fixing ours for months because the upholstered headboards I liked had upholstered prices to match.
Then a friend made one over a weekend and told me the part nobody believes: the stapling itself takes under an hour. This is the simplest version I know how to make. One flat board, a layer of foam, a layer of wadding, and fabric pulled tight and stapled to the back. No sewing. No buttons, no tufting, no piping. If you can wrap a parcel, you can make this headboard.
What you need
The shopping list is short, and every item is easy to find at a timber shop, a fabric shop or online.
- A board. Plywood or MDF, 12 to 18mm thick, cut to your size (sizes are below). MDF is cheaper and smooth; plywood is lighter for the same strength.
- Upholstery foam, about 5cm thick, cut to the same size as the board.
- Polyester wadding (sometimes called batting), enough to cover the board plus a generous wrap to the back.
- Fabric, a tight weave in a plain colour or a small pattern. More on choosing it further down.
- A staple gun and staples. A heavy-duty hand stapler is fine. An electric one is nicer if you are borrowing or buying anyway.
- Spray adhesive to hold the foam, plus scissors, a tape measure, a marker and a screwdriver for mounting.
- Mounting hardware, one of the three options in the mounting step below.
A quick comfort note before you shop: work somewhere with a window you can open or do the spraying part outside. Spray adhesive smells strong for a few minutes, and nobody needs a headache inside their first headboard project.
Sizing the board, in plain terms
Two measurements matter: how wide, and how tall.
Width. Start with the width of your bed and add a margin. For a single bed of about 90cm, a board around 100cm wide works. For a double of about 140cm, go to roughly 150cm. For a king of about 150cm, around 160cm. In practice that means the board runs about 5 to 10cm wider than the mattress on each side, which looks deliberate rather than lost. If your bed has a chunky wooden frame, match the frame width instead of the mattress.
Height. A total board height of 100 to 120cm suits most beds. Once it is mounted and the mattress and pillows take up the bottom half, you want roughly 60 to 75cm of headboard still visible above the mattress. That is enough to lean on, and enough that the pillows do not swallow the whole thing. Before you cut anything, stand the tape against your wall, mark where the top of your mattress sits, then mark 60 to 75cm above that line. If the top mark looks low from the doorway, add a bit. Your eye from the door is the honest test.
My shortcut: most timber shops will cut the board to size for free or for a small fee, and their saw is straighter than mine. Take your two measurements on a scrap of paper and let them do it. This is how the whole project stays inside an hour.
The method, step by step
1. Measure, cut, and soften the edges
Measure your wall space twice and write the numbers down. I say this as someone who once measured once, confidently, and came home with a board 10cm too narrow. If the shop is cutting, hand over the paper and double check the numbers with the person at the saw. At home, run a strip of sandpaper quickly around the edges and corners. You are not shaping anything, just knocking off the sharpness so the fabric wraps over a soft edge instead of a knife edge. Corners that are a touch rounded fold much more neatly.
2. Stick the foam down
Lay the board flat on a table or the floor, good side up. Spray a light, even coat of adhesive over the board, wait the few seconds the tin tells you to wait, then lay the foam on top and press it down firmly with both hands, working from the middle outwards. Trim any foam that overhangs so it sits flush with the board edges. Small bumps get hidden by the wadding in the next step, so tidy matters more than perfect here.
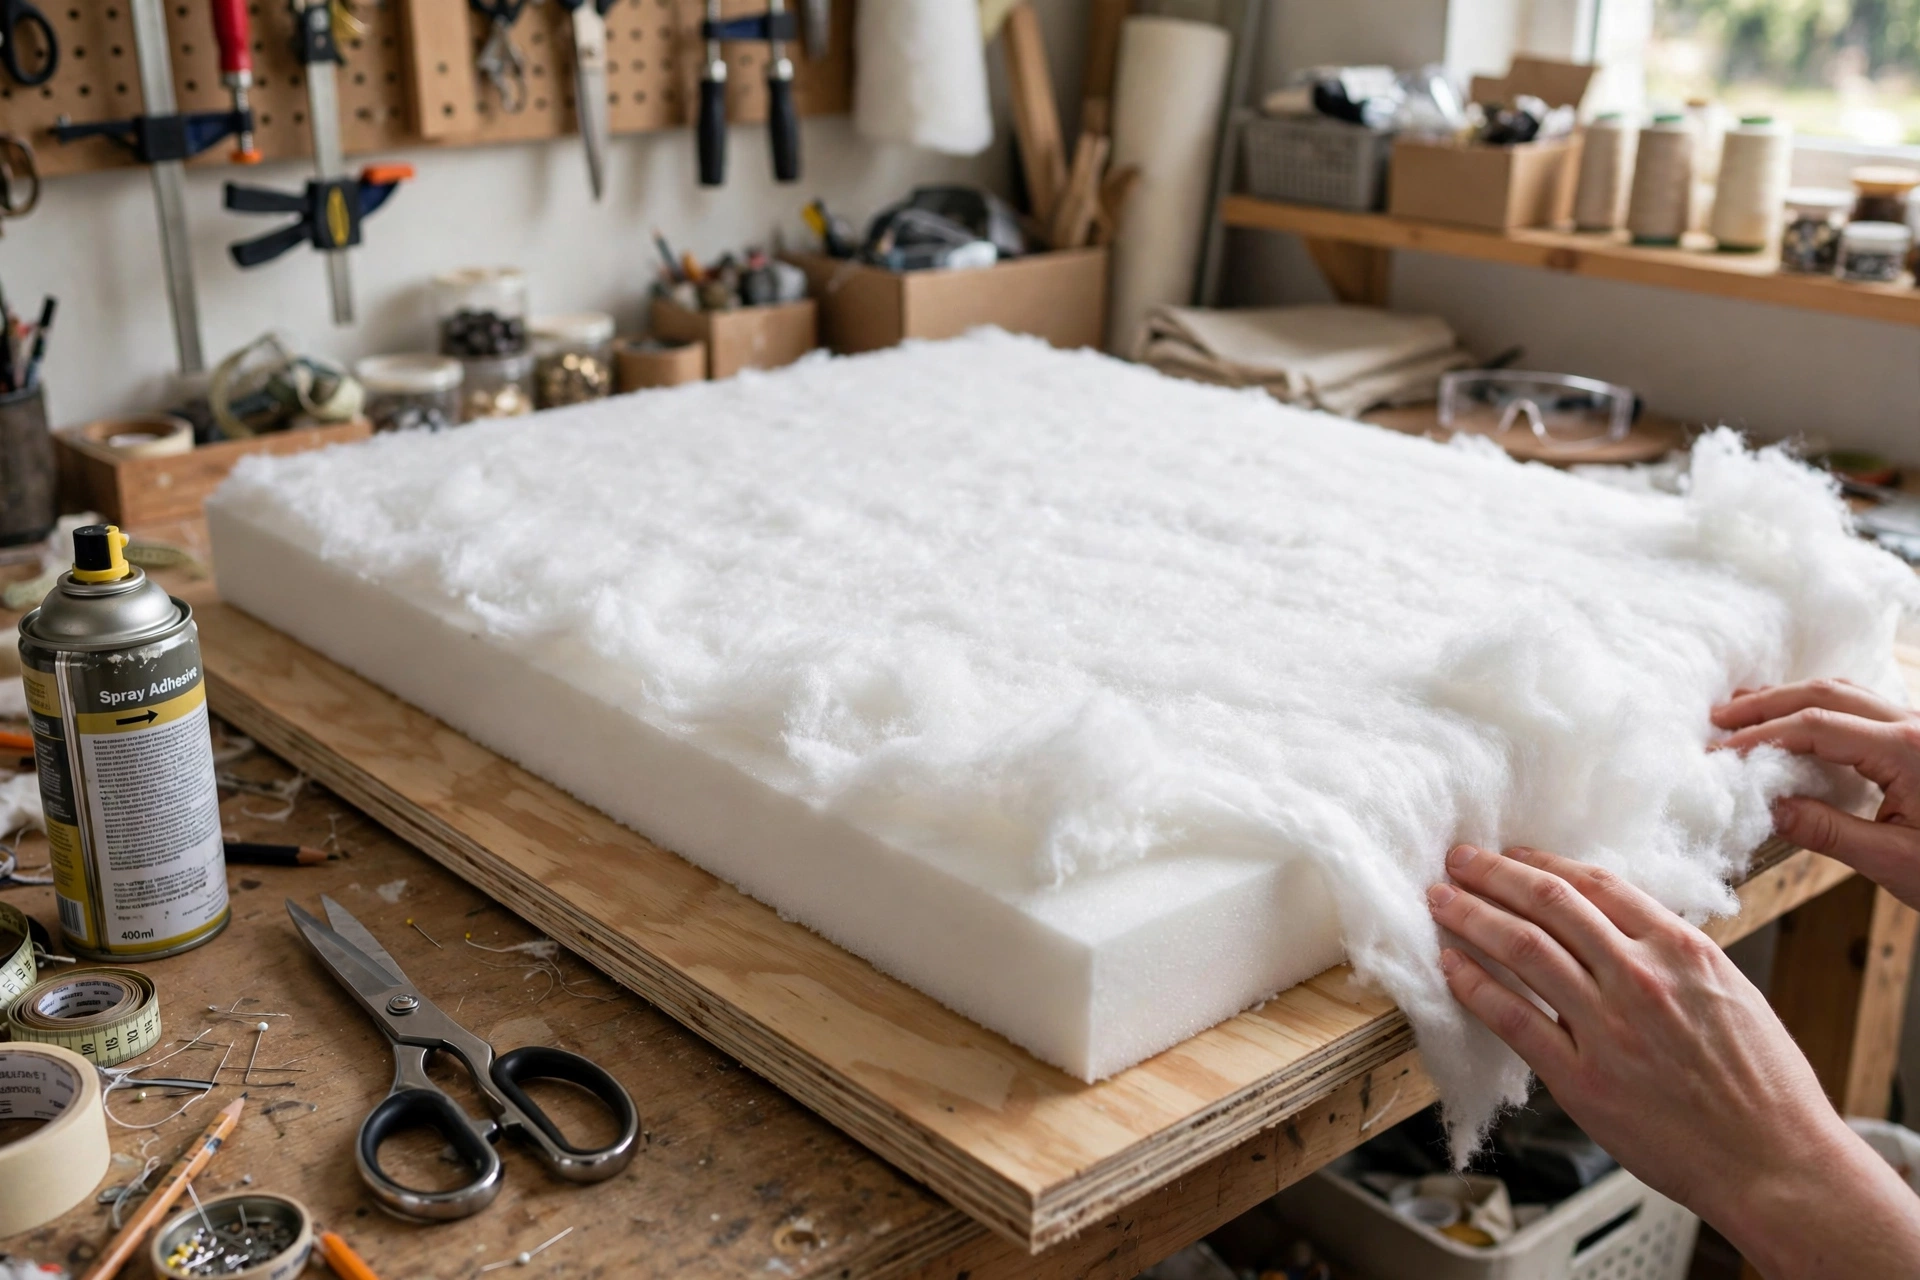
3. Wrap the wadding
Lay the wadding over the foam with enough spare all round to reach the back of the board. Flip the board over, or lift each edge in turn, and staple the wadding to the back, pulling it snug as you go. Trim the bulky corners as you reach them, cutting away the excess rather than folding big lumps in. The wadding does two jobs: it softens the outline of the foam so the front looks plump and smooth, and it stops the foam edges from showing through your fabric as hard lines.
4. Choose your fabric (read this before you buy)
Fabric is where beginners get ambushed, so here is the honest guidance. Pick a tight weave: upholstery-weight cotton, a linen blend, or a sturdy cotton twill. Loose weaves stretch as you staple and keep stretching afterwards. For a first headboard, choose a plain colour or a small, busy pattern. Small patterns forgive slight wonkiness. Big stripes and large repeats have to line up across the board, and matching them means buying extra fabric and stapling very carefully while the pattern tries to drift. Save those for headboard number two. One more check: hold the fabric up against a window. If the light pours through it, the foam colour will pour back out later, and pale yellow foam under white fabric is a special kind of disappointing.
On quantity: standard fabric widths around 140 to 150cm cover most double boards with wrap to spare. Measure your board, add at least 15cm to every side for the wrap to the back, and check that your piece of fabric beats both numbers before you pay.
5. Staple the fabric on
This is the main event, and it is a wrapping job, not an upholstery exam. Lay the fabric face down on a clean surface. Lay the board, wadding side down, in the middle of it. Check your margins are roughly even on all four sides, and if your fabric has any pattern at all, check it is running straight before the first staple goes in.
Work centre out, always. Start with the top edge: fold the fabric over the back of the board at the middle, pull it firm, and staple. Then the bottom edge at the middle, pulling against the first staple. Then the middle of each side. From there, work outwards along each edge, top and bottom first, then the sides, stapling every few centimetres and keeping the tension even. Firm is the goal. Stretched is too far; you will see the foam dimple where you have hauled on it. Stand the board up and look at the front every so often. A ripple is easy to fix by popping one staple now, and a small heartbreak once the thing is on the wall.
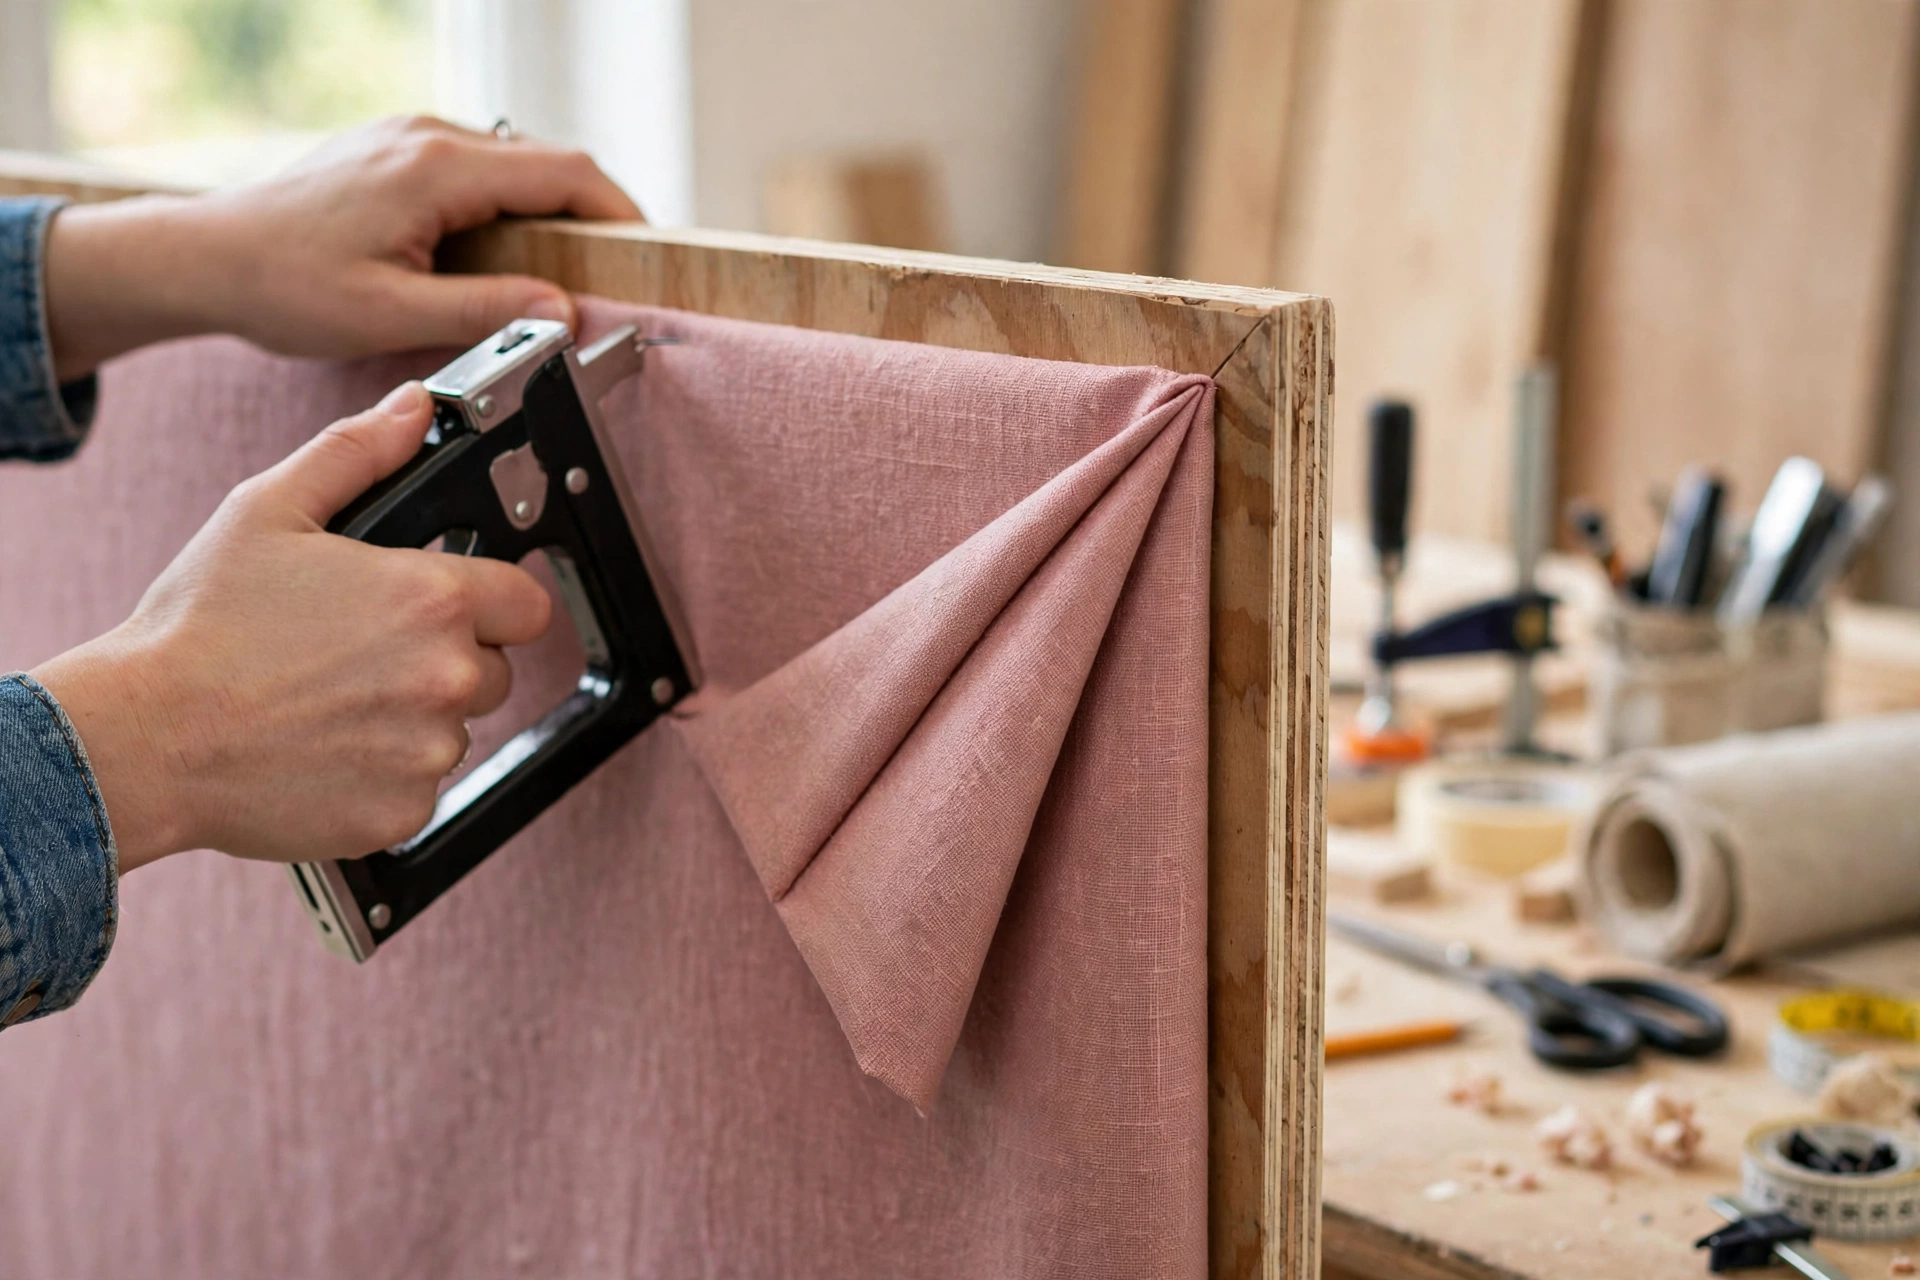
At the corners, fold the fabric the way you would wrap the end of a parcel: tuck one side down flat, then fold the other over it in a neat pleat, trim any real bulk, and staple through the fold. Take your time here. The corners are the only part anyone will ever inspect up close, usually you, at midnight, with a torch. Keep every staple on the back face of the board, a few centimetres in from the edge, so nothing metal can peek around the side.
6. Hang it, three ways
Pick the mounting that suits your walls and your landlord status.
- French cleat (my favourite). Despite the grand name, this is just two battens cut lengthways at a 45 degree angle. One batten is screwed to the wall with the slope facing up and out, the other is screwed to the back of the headboard with the slope facing down. The headboard drops onto the wall batten and hangs flat, strong, and dead level once you have levelled the wall batten. It also lifts off in seconds for cleaning behind.
- Legs on the bed frame. Screw two lengths of timber to the back of the board as legs and bolt or screw those to the bed frame itself. Nothing touches the wall, which makes this the renter-friendly option, and the bed and headboard move as one piece.
- Lean and secure. Some people lean the board against the wall and let the bed hold it in place. If you do this, the board must still be secured, with a strap or bracket fixing it to the wall or the frame, and anti-slip pads where it meets the floor. A padded board is heavy, and a heavy board that can slide or topple is a hazard, full stop.
That last point deserves to be said plainly: fix your headboard, never just lean it, especially anywhere a child could climb, pull or bounce against it. Leaned is a photo. Fixed is furniture.
What it costs, honestly
I am not going to print prices, because a board in one town costs something quite different in another. The shape of the bill is what helps you plan. The board and foam are the cheap part: plain materials, roughly equal to each other, and wadding is pocket money beside them. The fabric is where the money goes, easily the biggest share of the whole project if you fall for something gorgeous, and it is also the part you look at every day. My advice: keep the board simple and spend the difference on fabric you genuinely love. The staple gun is a borrow, not a buy, for most people. Ask around before you open a shopping tab.
Looking after it
Day to day, a headboard mostly collects dust and the odd lean of a head, so a soft brush attachment on the vacuum once in a while is genuinely enough. For marks, spot clean with a barely damp cloth and a drop of mild detergent, dabbing rather than scrubbing, and test on the wrap at the back first. If you sew, there is a kinder variant worth knowing about: make the fabric layer as a simple envelope cover with an opening at the bottom, like a big pillowcase, and staple nothing. Slide it over the foam-covered board and it comes off for washing. It takes longer to make, and I will not pretend otherwise, but it is the version I would choose in a house with small children and jam.
Three mistakes I made so you do not have to
Fabric too thin. My first attempt used a pretty, gauzy cotton because it was on sale. The pale foam glowed through it and the whole thing looked jaundiced. Hold fabric to the light before you buy, and if in doubt, add a plain lining layer under it.
Staples wandering onto the front. On that same headboard, two staples landed close enough to the edge to glint from the front when the evening sun hit them. Keep the staple line well inside the back face, and check from the front before you hang it, not after.
A board too narrow and too short. My most recent lesson. I sized to the mattress exactly, then watched two fat pillows hide almost all of it. The bed looked like it had a rumour of a headboard. Wider than the mattress and taller than feels sensible on paper is right in the room, because pillows eat height.
Questions I get asked about DIY headboards
Can I make one without a staple gun?
Not well, in my experience. Glue alone peels at the corners where the tension lives, and upholstery tacks are slower and harder to get even. A basic hand stapler is cheap, and this is exactly the sort of tool neighbours lend happily. If you truly cannot get one, wait until you can. The staples are what make the hour version work.
Which fabric is easiest for a first try?
A plain, tight-weave cotton or linen blend in a mid tone. Mid tones hide dust and the odd crease. Avoid stretchy jersey, which ripples, anything silky and slippery, which fights every staple, and big patterns, which need matching. Velvet looks wonderful and shows every mark your hand makes while stapling, so it is a second-project fabric too.
How do I hang it if I cannot drill into the wall?
Use the legs option: screw timber legs to the back of the board and fix the legs to your bed frame, so the wall is never touched. I would not trust adhesive strips with a foam-and-board headboard of any real size. They are rated for pictures, and a headboard is furniture, not a picture.
Can I make it washable?
Yes, with the envelope-cover version: cover the board in foam and wadding, then sew a simple cover with an opening along the bottom edge and slide it on like a pillowcase. It adds sewing time, so it stretches the hour, but the cover comes off and goes in the wash. Without sewing, spot cleaning is the honest answer.
That is the whole project: measure twice, let the shop cut once, foam, wadding, fabric, staples, hang it properly. If you make one this weekend, tell me in the comments which fabric you went for. I am collecting courage for a deep green one, and other people's colour choices are how I talk myself into these things.
Lisa Ben
Lisa paints, builds, thrifts and rearranges her way through one very patient house, then writes down everything she learns here on Wazala. She owns more fabric offcuts than she can explain. New projects land every Tuesday, Thursday and Saturday, and the Sunday Letter rounds them up once a week.
You might also like

Small Living Room Layouts: 6 Arrangements For Tight Spaces
Six ways to arrange the furniture when the room gives you very little to work with.
Read more →
How I Made A Flat-Pack Wardrobe Look Built-In
Fillers, trim and paint: the weekend trick that hides every flat-pack seam.
Read more →
How To Hang Curtains High And Wide (So The Window Looks Bigger)
The measuring trick that makes ceilings look taller and windows look twice the size.
Read more →