How To Hang Curtains High And Wide (So Windows Look Twice The Size)
 By Lisa Ben
·
October 29, 2026
·
10 min read

For years I hung curtains the way most of us do: a rod screwed up just above the window frame, curtains the width of the glass, hem somewhere around the sill. The windows in my living room looked fine. They also looked small, and I could not work out why, because the glass itself was a perfectly decent size.
Then I moved the rod. That is the whole trick, and it costs nothing but an afternoon and possibly a longer rod: hang the curtains higher than the window and wider than the window, and your eye quietly accepts the new, bigger outline as the real one. Here is exactly how I measure it, fit it, and the mistakes I made the first two times so you can skip them.
Why it works: your eye reads the curtain, not the glass
Nobody walks into a room and measures a window with their eyes. Instead, your brain takes a shortcut: it reads the edge of the curtain as the edge of the window. If the fabric stops at the frame, the window feels frame-sized. If the fabric starts near the ceiling and lands well outside the frame on both sides, the window feels ceiling-high and broad, even though the glass underneath has not changed by a single centimetre.
There is a second, practical win. Curtains hung wide stack back onto the wall when they are open, instead of covering the outer edges of the glass. That means the whole window is uncovered in the daytime, and the room gets all the light it was supposed to have. Hung at frame width, a chunk of glass stays hidden behind bunched fabric forever. High and wide is not just prettier. It is measurably brighter.
The two moves, in one sentence each
High: the rod goes up into the empty wall space above the window, much closer to the ceiling than to the frame. Wide: the rod stretches past the frame on both sides, so the open curtains sit mostly on wall, not on glass. Everything below is just measuring those two moves properly, because guessing is how you end up with a rod that looks drunk.
How high should the rod go?
My working rule: mount the rod roughly 10 to 15 cm above the top of the window frame, or halfway between the frame and the ceiling, whichever looks better in your room. If you have tall ceilings and a lot of bare wall above the window, halfway up can look lost. In that case I push the rod higher, so only about 10 to 15 cm of wall is left between the rod and the ceiling or coving. The curtains then draw your eye all the way up, and the ceiling feels taller too.
Two exceptions. If there is a ceiling beam, a pelmet, or coving right above the window, work with it rather than against it and mount just below it. And if your ceilings are low and the gap above the frame is tiny, take every centimetre you can get. Even 8 cm of extra height changes how the window reads. What you are avoiding is the halfway-nowhere look: a rod floating in a sea of wall with long curtains dangling under it.
How wide should the rod go?
Extend the rod about 15 to 25 cm beyond the frame on each side. That extra length is where the open curtains will live. On a wide window, or with thick fabric that bunches a lot, go to the bigger end of that range. On a narrow window in a tight corner, 15 cm might be all the wall you have, and that is still enough to make a difference.
Before you commit, stack the fabric test: hold your curtain bunched in your fist at the side of the window and see how much wall it eats. Chunky lined curtains can take up 20 cm or more of stack space per side. Your rod extension needs to be at least that generous, or the bunched curtain will still creep over the glass and you will have done the work without getting the light.
Getting the length right (this is where most people slip)
Height and width get the glory, but length is where curtain jobs quietly fail. You have three good options and one bad one. The good ones: the hem just kisses the floor, skimming it with a whisper of contact; the hem breaks slightly and puddles a little, a few centimetres of fabric pooling softly, which suits linen and relaxed rooms; or, in kitchens and bathrooms where floors get wet and mopped, a hem that ends just below the sill.
The bad one is the hover: curtains ending 5 to 10 cm above the floor, floating in no-man's-land. It reads as a mistake even to people who cannot say why, like trousers that are too short. If your ready-made curtains hover, you have three honest fixes: let the hem down if there is fabric in it, hang them from clip rings, which buys you a few centimetres because the curtain hangs below the rod, or move the rod down a touch. Yes, that trades away a little height. A kissing hem beats a higher rod with hovering curtains every time.
Measure for length after the rod is up, not before. Hang the rod, then measure from the underside of the rod down to the floor, and add or subtract for your rings or header style. Floors slope, especially in older houses like mine, so measure at both ends of the window and work to the shorter drop, or one side will drag while the other hovers.

Fullness: how much fabric you actually need
Flat curtains look mean, however good the fabric is. For gentle, even gathers, the combined width of your curtains should be roughly 1.5 to 2.5 times the span of the rod they hang on. Pencil pleats and other gathered headings sit happily around 2 times. Eyelets and wave-style headings use fabric more efficiently and look right closer to 1.5 times, because the folds are built into how they hang. Lined, heavy curtains bunch thicker, so if you are between sizes, take the wider panel. Skimping here is the one saving that shows from across the street.
Remember that this span is your new, wide rod, not the window. This is the step people miss: they upgrade the rod, keep the old curtains, and wonder why everything looks stretched and thin. Wider rod, wider curtains. Budget for both or wait and do them together.
What you need, and the fitting, step by step
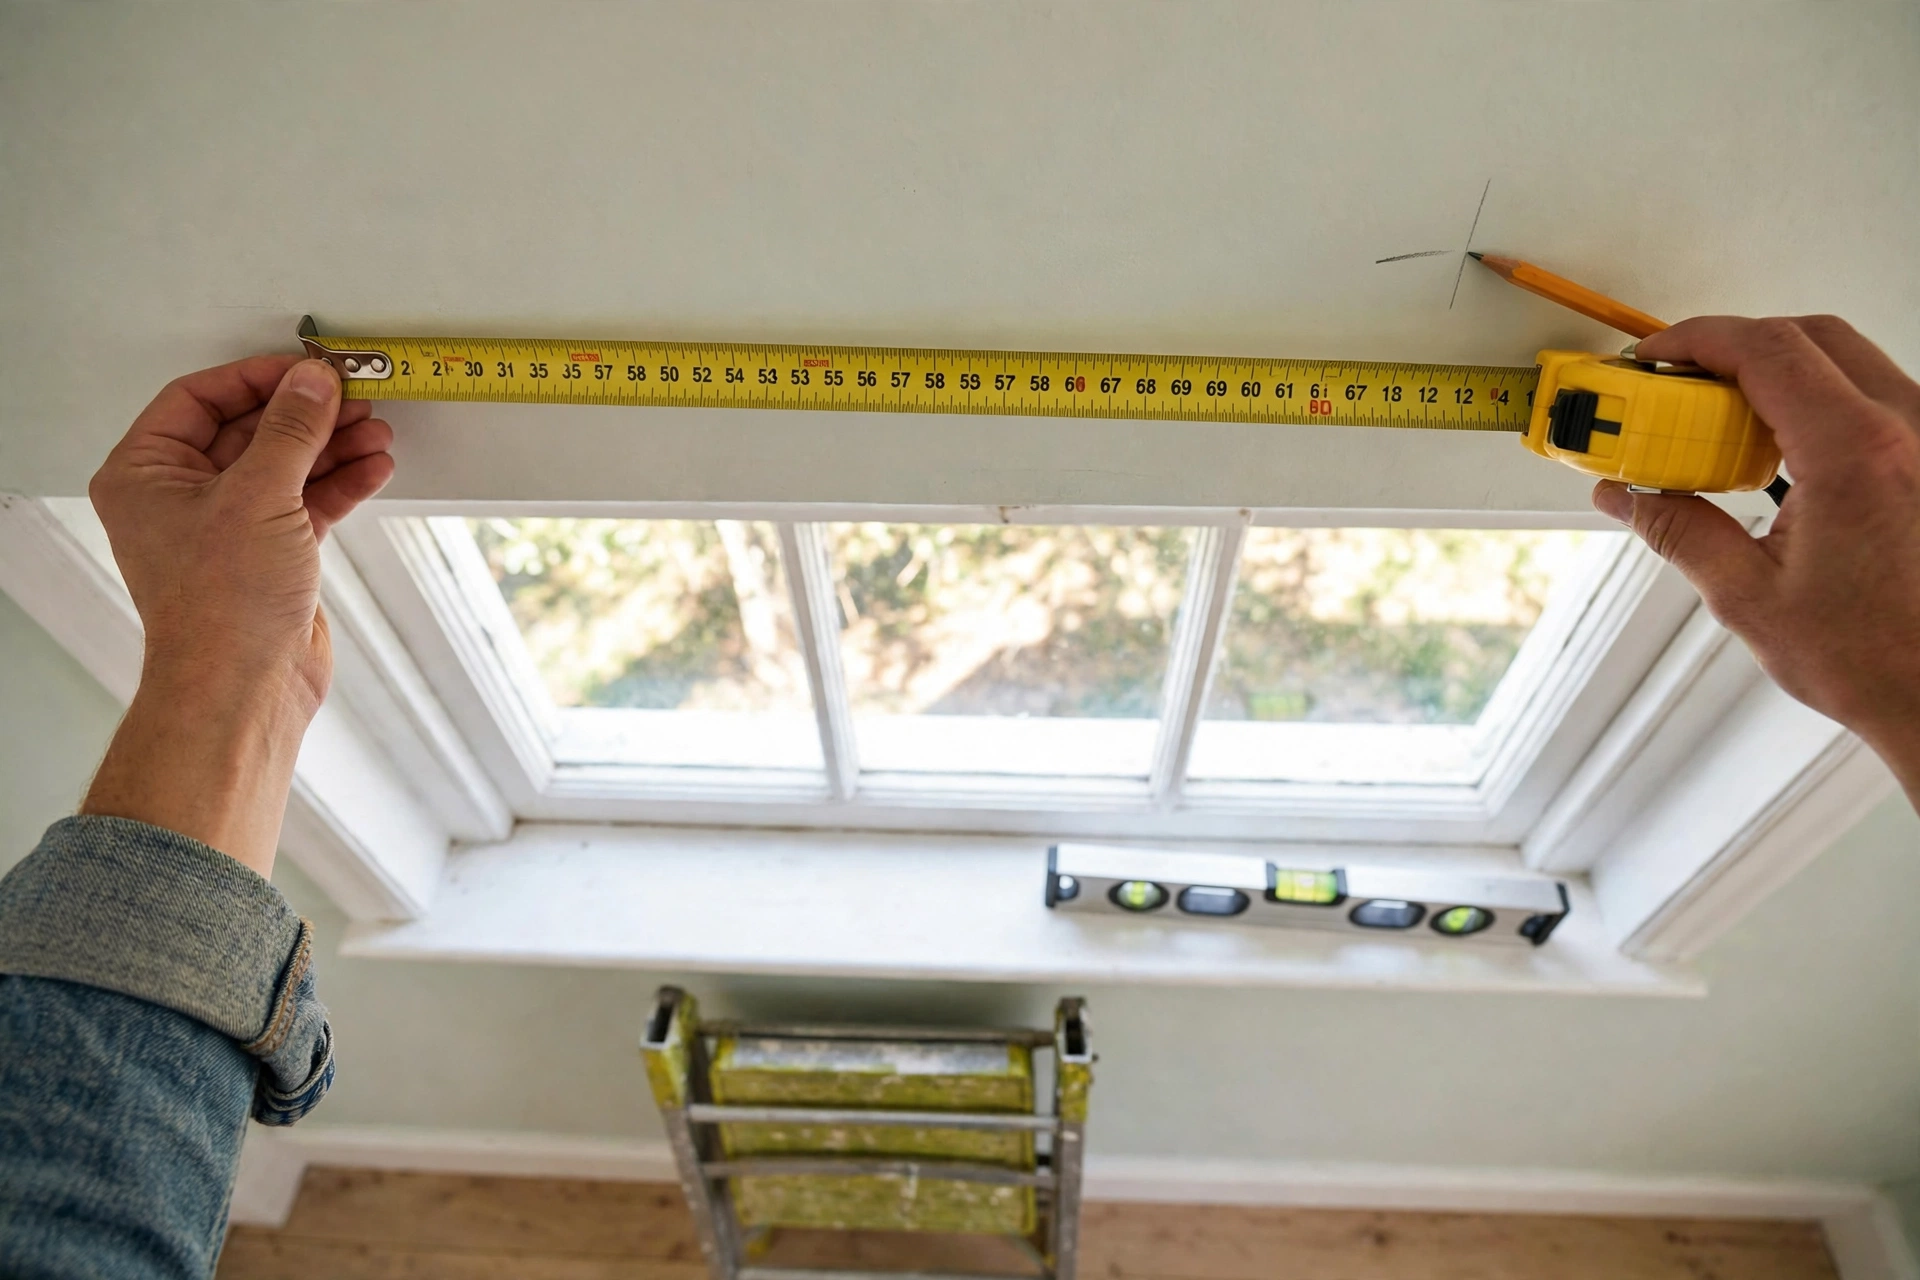
You do not need much: the rod and brackets, a tape measure, a pencil, a spirit level (a long one makes this far easier), a drill, wall plugs matched to your wall, a screwdriver, and a step ladder you trust. Curtains, rings or gliders if your heading needs them, and a handheld steamer if you own one. Here is the order I do it in.
- Find the real edges. Measure the window frame, outside edge to outside edge, top and sides. Write it down. All your other numbers hang off this one.
- Decide height and width. Add your chosen height above the frame and your extension on each side, using the ranges above. Mark the two bracket positions in pencil.
- Level the marks, twice. Check the marks against each other with the spirit level, not against the ceiling or the frame, because both of those can slope without telling you. A rod level with a wonky ceiling looks right; a rod parallel to a wonky ceiling looks wrong.
- Drill and fix for your wall. On masonry or brick, drill, plug, and screw firmly. On drywall or plasterboard, either hit a stud or use proper plasterboard anchors rated for the weight. Curtains are heavier than they look, lined ones especially, and a bracket pulling out of plasterboard at 2am is a special kind of heartbreak.
- Hang the rod and thread the curtains. Get the fabric on before the finials go on. Check the drop on both sides against the floor before you tighten everything.
- Steam the creases out. New curtains arrive with fold lines that can survive for months. Ten minutes with a steamer once they are hanging, working from the top down, makes them fall in soft folds instead of zigzags. No steamer? Hang them and let a hot, steamy bathroom do some of the work, or iron on the setting the fabric label allows.
Stand back at the doorway when you finish, because that is the view everyone actually gets. If the window looks bigger from the door, you nailed it.
My shortcut: before drilling anything, tape the whole plan on the wall. Painter's tape where the rod will sit, tape lines down both sides where the curtain edges will fall, then live with it for an evening. Your eyes will tell you in one glance whether the proportions are right, and tape never needs filling.
Rods, finials and the bits people forget
A quick word on hardware, because it changes your measurements. Finials count in the width. The decorative ends of the rod stick out beyond the brackets, sometimes 5 to 8 cm a side. If your wall space is tight, measure the whole rod including finials before you buy, or choose simple end caps. Also check the rod's projection: brackets hold the rod a few centimetres off the wall, and your curtains need to clear the frame, the sill and any handles that stick out. Window handles are the classic catch. If the curtain keeps bumping into a handle, longer brackets or extenders fix it.
One honest exception to this whole article: tiny windows, dormers and windows tucked under sloping ceilings sometimes look best with an inside-mounted blind or a short café curtain instead. Forcing a grand high-and-wide treatment onto a small attic window can swamp it. The rule serves the window, not the other way round.
Layering sheers behind
If you need privacy in the daytime, layer a sheer behind the main curtains on a second rod or a simple wire, mounted closer to the glass. The main curtains keep the high-and-wide job; the sheer just does the privacy shift, softening the light and stopping the room feeling exposed. Keep the sheer plain and light, and let it run sill length or full length to match the outer curtains. A double bracket on one rod can hold both layers neatly if wall space is short.
Mistakes I see (and have made) again and again
- The rod screwed to the frame itself. It caps the window at frame height and the curtains eat the glass. The rod belongs on the wall, above and beyond the frame.
- Curtains that end mid-wall. The hover, covered above. It shrinks the room more than any other curtain error.
- One skinny panel per side. Not enough fabric for fullness, so the curtains pull flat and tight like a sheet on a line. If in doubt, size up or double up.
- Ignoring radiators and window seats. A full-length curtain draped over a radiator pours your heat behind the fabric instead of into the room, and one pooling onto a window seat just looks untidy. In those spots, sill-length or just-below-sill curtains, or a blind, are the right call. High and wide still applies; the length adapts.
- Matching the rod to the floor instead of the eye. Levelling against a sloping floor or ceiling. Level is level. Trust the spirit level, not the room.
Questions I get asked about hanging curtains
How far above the window should a curtain rod go?
A good starting point is 10 to 15 cm above the frame, or halfway between the frame and the ceiling. With lots of wall above the window, go higher and leave only 10 to 15 cm below the ceiling. The closer the rod sits to the ceiling, the taller the window and the room feel.
Can curtains be too wide for the window?
The rod can, yes. Extending 15 to 25 cm past the frame each side is the sweet spot. Go much further and the proportions look odd, and you pay for the extra fabric the fullness needs. The curtains themselves are hard to overdo: generous fullness, around twice the rod span, almost always looks better than too little.
My curtains are too short now the rod is higher. What can I do?
Let the hem down first; many curtains hide a few centimetres in the hem. Clip rings buy you a little drop, and adding a band of contrast fabric at the bottom is a proper design move, not a patch. If none of that reaches the floor, drop the rod a few centimetres. A kissing hem wins over maximum height.
Should curtains touch the floor or hover just above it?
Touch, ideally just kissing it, or puddle slightly if you like the softer look. The one length to avoid is the hover a few centimetres above the floorboards. It reads as an accident, and it visually cuts the wall, and your new tall window, short.
That is the whole method: rod up, rod out, fabric with room to breathe, hem kissing the floor. One afternoon, no new window required. If you try it, tell me in the comments how much higher your rod went. The before-and-after from the doorway is the best bit.
Lisa Ben
Lisa paints, builds, thrifts and rearranges her way through one very patient house, then writes down everything she learns here on Wazala. Curtain rods were her longest-running decorating argument, until the tape measure settled it. New projects land every Tuesday, Thursday and Saturday, and the Sunday Letter rounds them up once a week.
You might also like

How To Hang A Gallery Wall Around The TV
Spacing, templates and hanging order for a wall of frames that includes the telly, not fights it.
Read more →
Small Living Room Layouts: 6 Arrangements For Tight Spaces
Six ways to arrange the furniture when the room is small and the sofa is not.
Read more →
The 12 Best White Paint Colours For Every Light Direction
Twelve whites sorted by the light your room actually gets, undertones explained.
Read more →