How To Make Picture Frames From Trim Moulding
 By Lisa Ben
·
October 1, 2026
·
10 min read
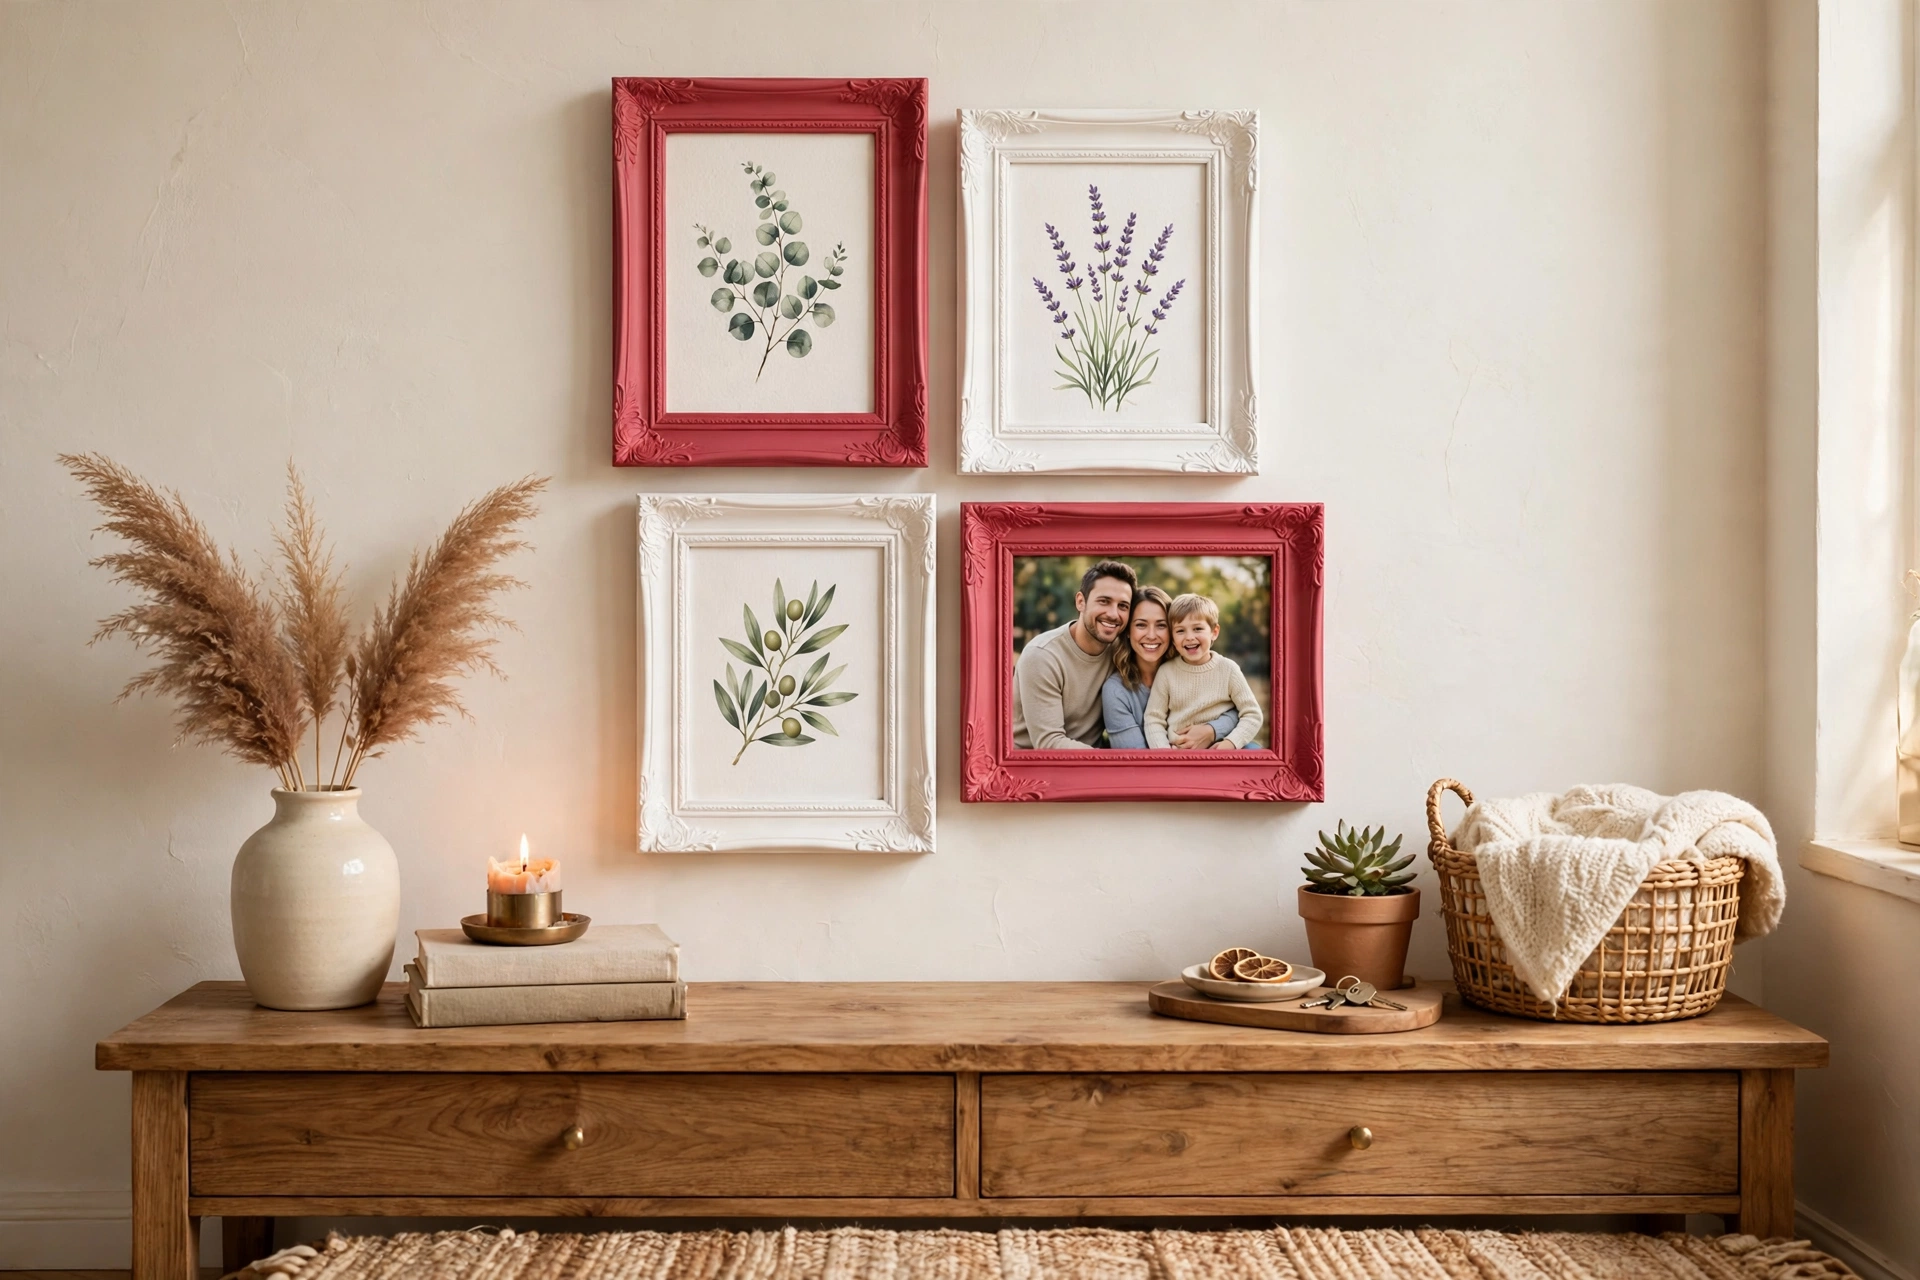
For years my prints lived in a drawer. Not because I did not love them, but because every time I priced up frames for my odd sizes, the framing cost more than the art. Then I found myself in the timber aisle holding a length of architrave, realising I was holding a picture frame that had not been cut up yet. Picture frame moulding and trim moulding come from the same wood. One is priced for framing. The other is priced by the metre.
My first attempt took one long evening, two wrong cuts and a corner I filled three times. It still hangs in the hall. It also taught me everything in this post.
Why trim moulding makes such good frames
Turn a piece of proper picture frame moulding over and you will find a step cut into the back edge. That step is the rebate. The glass sits down into it, the picture and backing sit behind it, and the small lip at the front hides every raw edge of the stack. Decorative trim does the same job: the raised bead or curve along one edge works as that lip, and the flat back gives the glass a ledge to sit on. You are not forcing the wrong material into service. It was always shaped for this.
The second reason is price. A length of pine trim costs about the same as a sandwich and cuts down into a medium frame, with offcuts for a small one. And because you finish it yourself, the frame can match the room, the picture, or the skirting board, instead of arguing with all three, the way shop frames in fake walnut do.
Choosing a profile that forgives beginners
The trim aisle runs from plain architrave to cornice with swirls. For your first frames, stay at the plainer end. Flat and gently rounded profiles are kinder for two reasons: the saw sits steady against them in the mitre box, and the two halves of a mitre meet along a simple line, so small errors show less. Deeply carved profiles have to match pattern to pattern at every corner, and a half millimetre slip reads like a crack across the design.
The one measurement that matters is at the back. Stack up everything the frame has to hold: the glass at about 2 mm, a print on mount board at 2 to 4 mm, and the backing board at 2 to 3 mm. Most stacks come to 6 to 9 mm. The moulding needs enough depth at its back edge to swallow that stack, with the lip overlapping the front of the glass by a few millimetres. Take a scrap of glass, an offcut of mount board and a bit of hardboard to the shop and test the stack against the profiles on the shelf. It settles the question in ten seconds.
Buy one extra length. Every frame maker plans for one spoiled piece per frame. The return trip to the shop costs more in an evening than the wood costs in money.
Start with a standard size, even if the art is not
Build your first frame to a standard photo or paper size, so the glass is easy. Ready cut glass and acrylic are sold cheaply for the sizes everyone uses: 13 by 18 cm (5 by 7 inches), 20 by 25 cm (8 by 10), A4 at 21 by 29.7 cm, and 30 by 40 cm. If your print is an odd size, a mount board with a standard outside edge and a window cut to fit bridges the gap, Odd sized glass, cut to order, is exactly where the savings on this project go to die.
What you need
Nothing exotic, and half of it is probably in your house already:
- Trim moulding, one length more than your maths says
- A mitre box and a fine toothed hand saw (a tenon saw works well)
- Tape measure, sharp pencil, and a try square if you have one
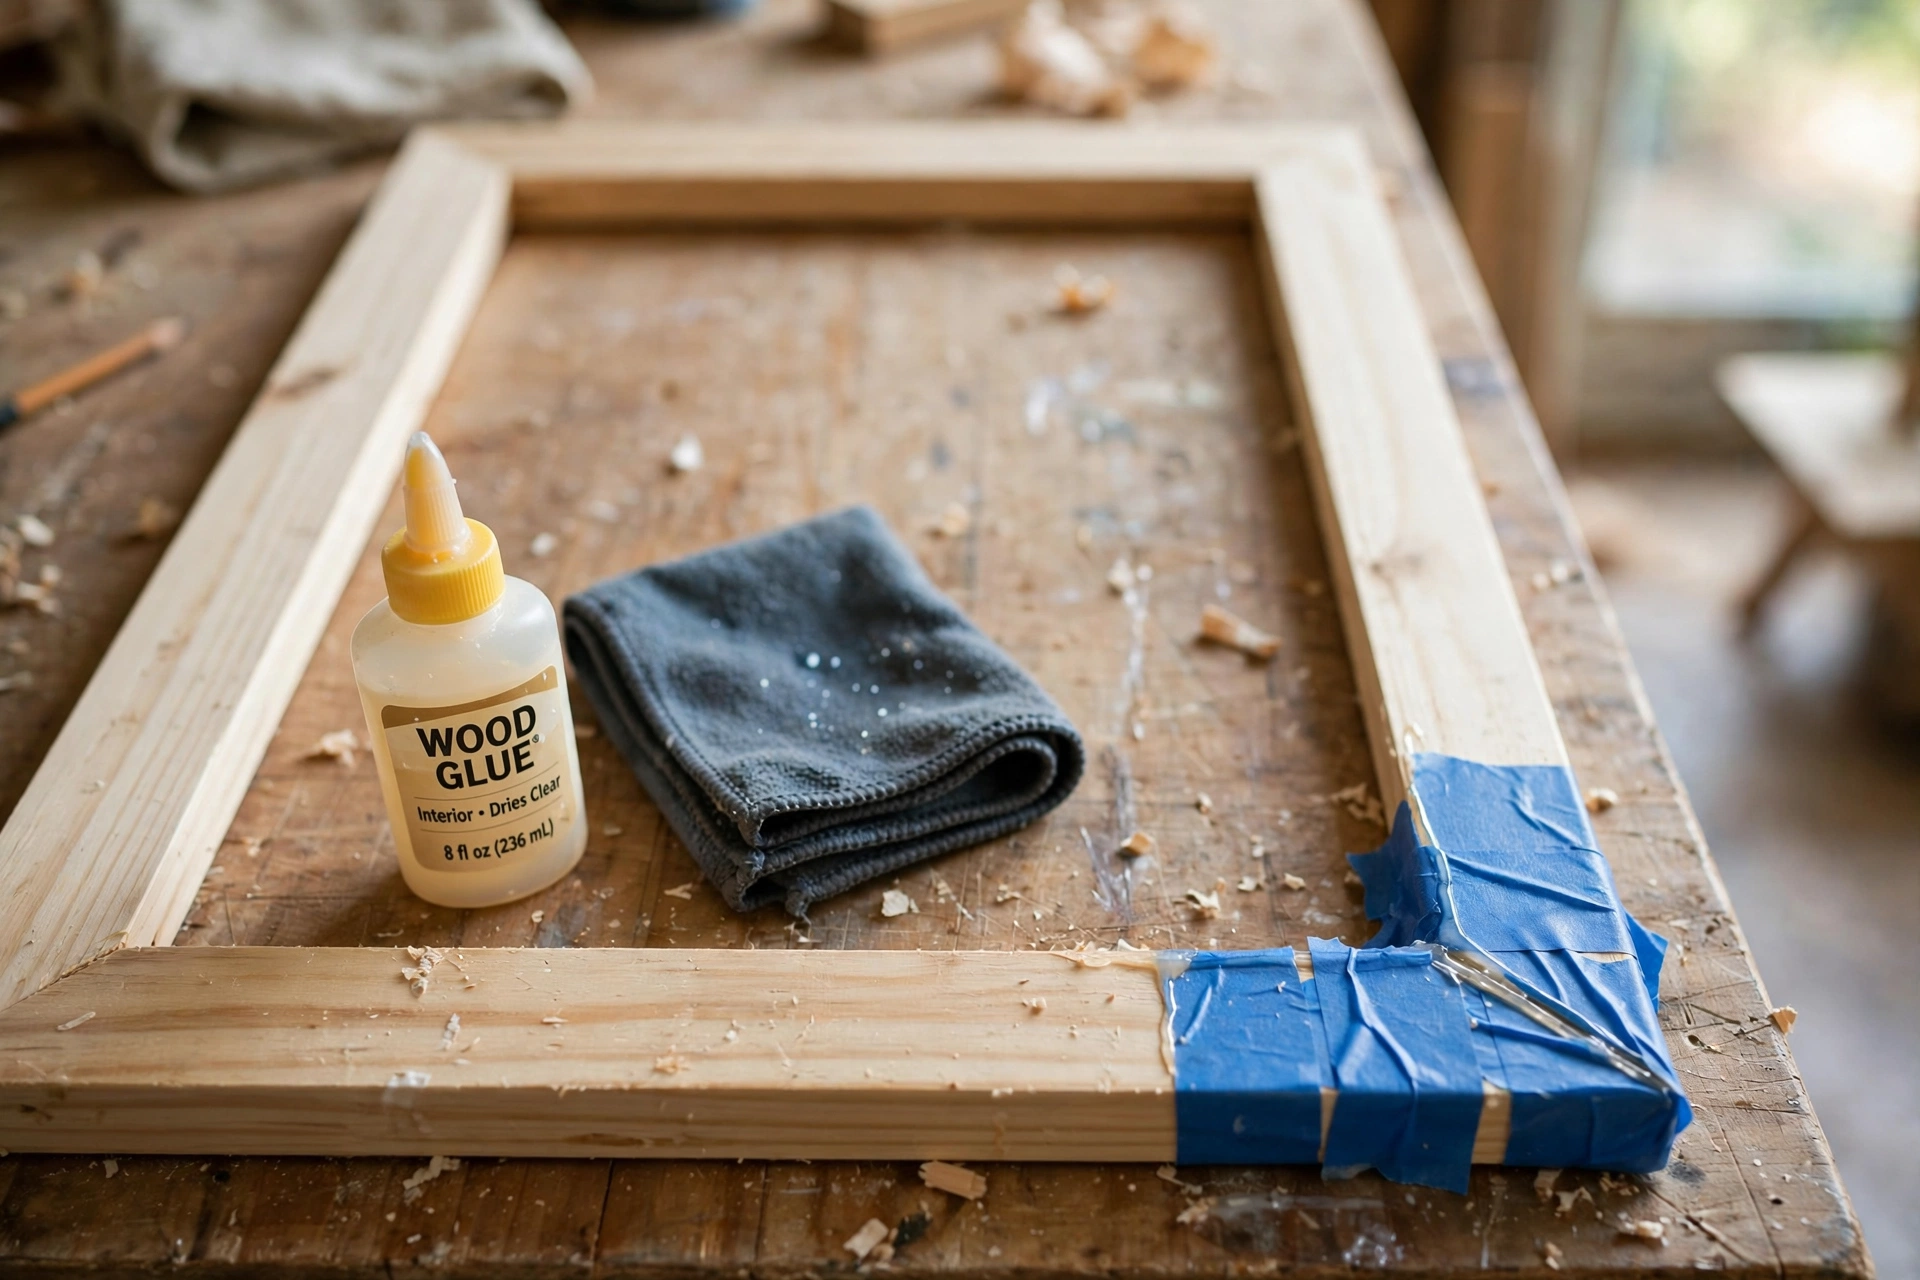
- Wood glue, painter's tape, and a damp cloth
- Wood filler, white for painted frames or tinted for stained ones
- Glass or acrylic sheet, cut to your chosen standard size
- Thin hardboard or MDF for the back, 2 to 3 mm
- Small panel pins or glazier points, plus tape for sealing the back
- Hanging hardware: D-rings and picture wire, or a sawtooth bar for small frames
- Primer and paint, or stain and wax, for the finish
Measure the inside of the rebate, never the outside
This is the mistake that ruins more first frames than bad sawing ever will. The number that decides everything is the inside measurement: the opening at the back of the frame where the glass sits. Say your glass is 20 by 25 cm. The short inside point of each mitre must come to exactly 20 cm on the short sides and 25 cm on the long ones. Measure to that short point, every time, twice.
Measure the outside edge instead and the frame comes out too big by twice the width of the moulding, and the stack rattles inside like a pea in a drum. My first frame did exactly that. I packed the gap with cardboard and called it character. Mark the inside point on the back of the moulding with your pencil, then draw the 45 degree line outwards from it, through the profile. The pencil point is the corner that survives; the saw takes the wedge beyond it.
Cutting the mitres: slow is accurate
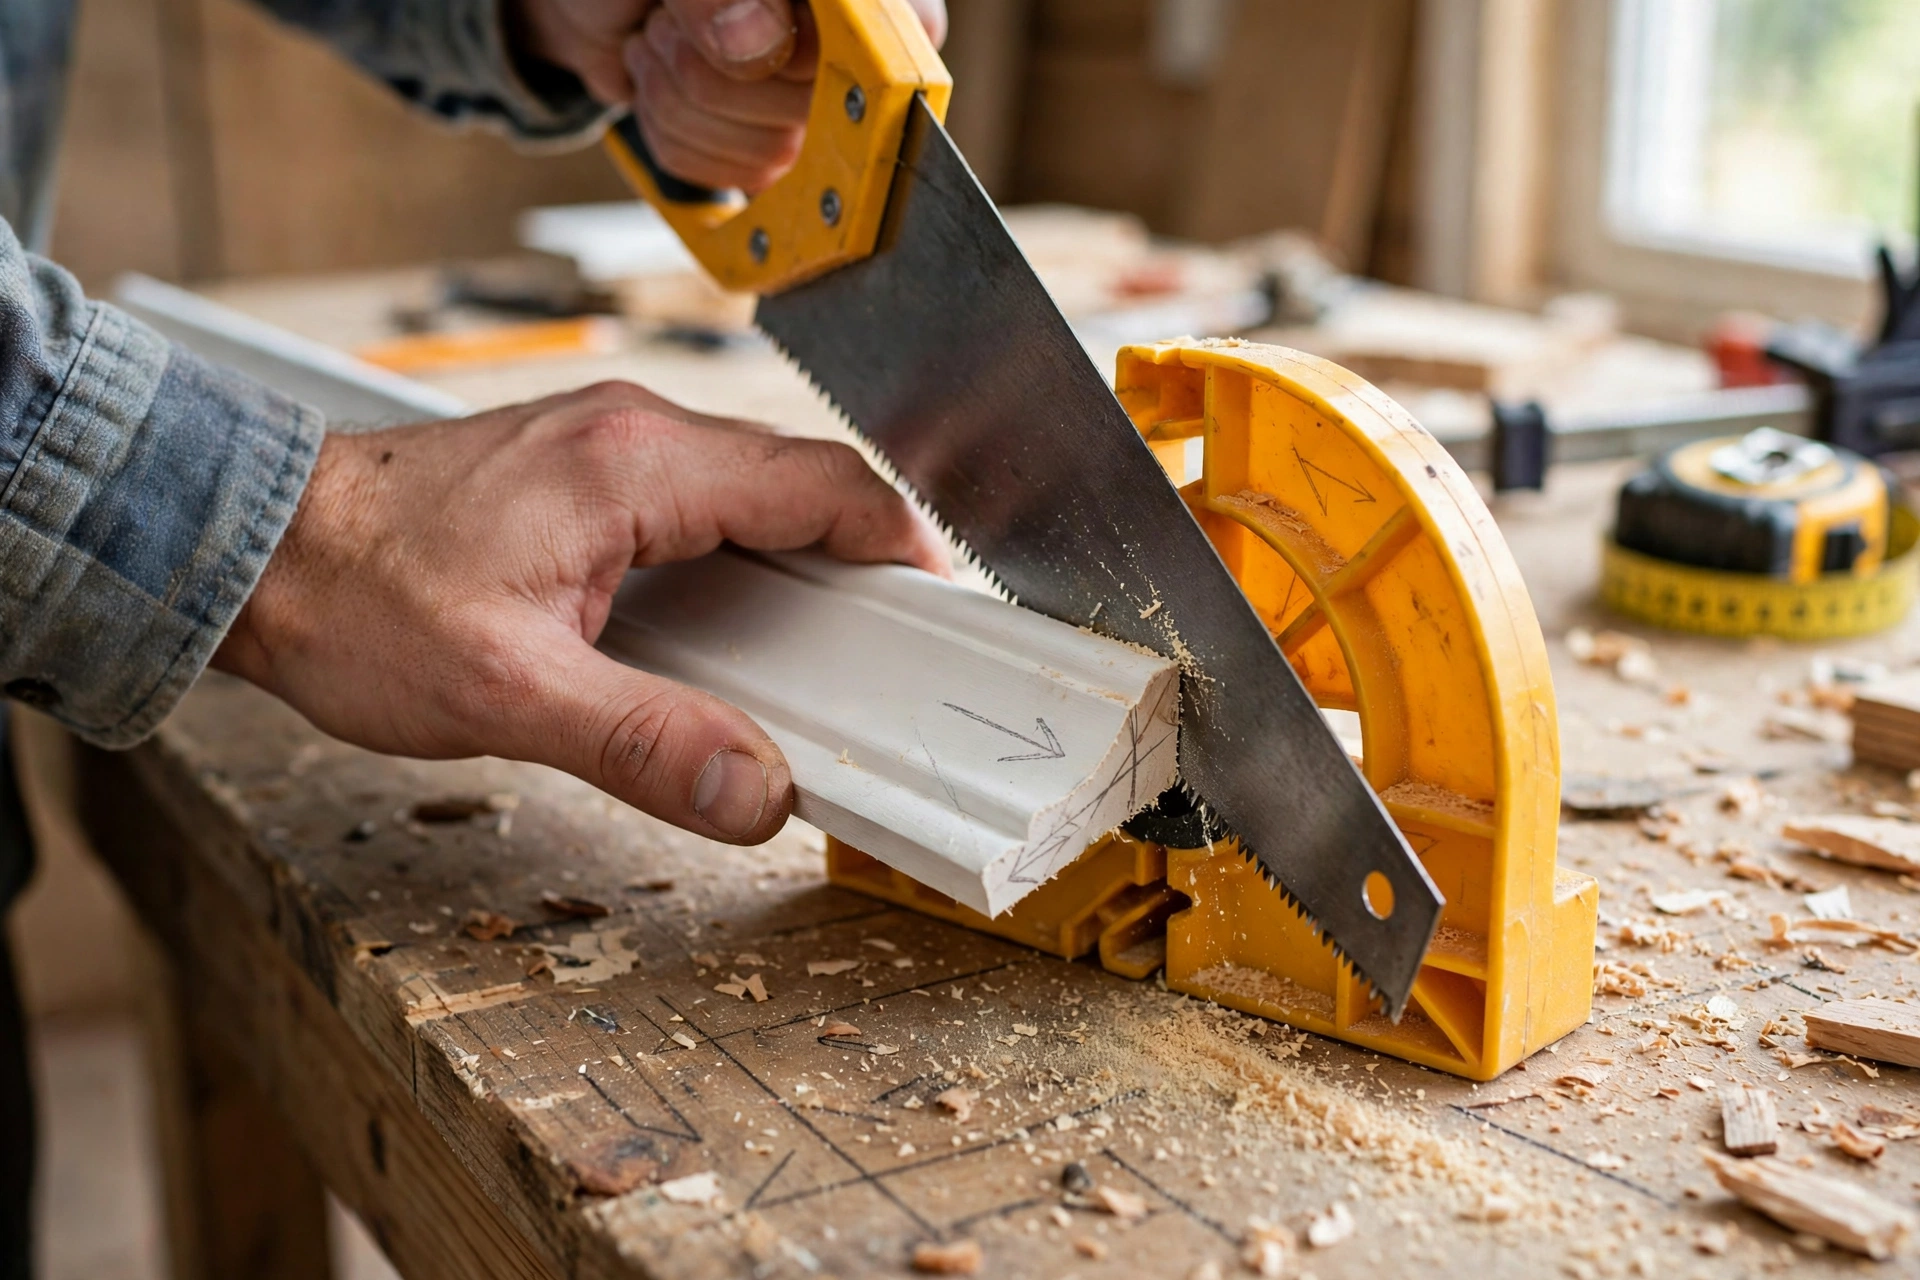
A mitre box and a hand saw are genuinely enough. Seat the moulding flat against the back fence of the box, face side up, as it will sit in the frame, and press it down and back so it cannot creep. Saw with long, light strokes and let the teeth work. Pushing down hard bends the blade in its slot and leaves you a corner that rocks.
Before each cut, draw a pencil arrow on the piece showing which way the mitre slopes, and an X on the waste side. It feels fussy until the cut where you flip a piece, saw its twin, and make two lefts and no right. Mitres come in pairs that lean opposite ways, and the arrow is how you never mix them up.
Cut long, then sneak up on the line. Leave the first cut a pencil width too long, hold the piece against its partner, and shave the end down in thin passes until the pencil line just disappears. Corners that close with a hairline you can feel but barely see are a win. Perfection is not on the list of materials.
Dry fit everything before the glue comes out
Assemble the full rectangle dry, corners held with loose tape, and lay it face down on a flat surface. Check two things. The corners should meet without a gap you can push a fingernail into, and the two diagonals should measure the same: equal diagonals mean the frame is square. A corner that gapes at the front but closes at the back is a fraction off square; a few flat strokes with the saw usually cure it.
Happy with the dry fit? Now glue. Spread a thin film on both faces of each mitre, press the corner together, and wipe the squeeze out at once with the damp cloth, because dried glue shows under paint as a shiny patch. Hold each corner with two strips of painter's tape pulled tight across it, or run a strap clamp around the frame if you own one. On thicker moulding, add a small pin through the corner once it is sitting right. Then leave it flat and untouched for the full time the glue bottle asks for.
When it is dry, check the corners in hard light. A hairline gap on a frame you plan to paint is a non-event: press in a little filler, let it set, sand it flush with fine paper, and it disappears under primer. Tinted filler does the same job on a stained frame. A gap you can see from across the room is a different animal. That one means a recut, and it is kinder to recut now than after painting.
Backing and glazing: glass versus acrylic
With the frame face down, the stack goes in like this: glass first, then the print face down against it, then the backing board. Cut the hardboard to the same size as the glass, not to the size of the opening minus a guess. Hold the stack in with small panel pins or glazier points pushed into the moulding around the back, then run tape around the back edges to keep the dust out. Clean the glass before it goes in. I say this as a woman who sealed a thumbprint inside a frame and looked at it for six months.
Real glass or acrylic? Glass is clearer, shrugs off scratches, and gives a frame a satisfying weight, but it is breakable and heavy. Acrylic sheet is much lighter and survives being dropped, but it scratches more easily and builds up static that pulls dust to the inside face. My rule: glass for small frames in quiet corners, acrylic for big frames, children's rooms, and anything hanging over a sofa, a bed or a desk chair.
Finishing, and hanging it properly
Raw pine takes paint best over primer, which also seals the filled corners so they do not flash through the topcoat. Two thin coats of your colour beat one thick one. Stain suits plainer profiles, finished with a coat of wax buffed soft. One small refinement for a print you truly care about: run a strip of acid free tape, or a little clear wax, along the inner edge of the rebate where the paper sits, so raw wood and paint never touch the artwork. It takes a minute, and it is the difference between framing and just surrounding.
For hanging, small frames are happy on a sawtooth bar nailed across the top rail. Anything bigger gets two D-rings on the side rails, a third of the way down, with picture wire strung between them. Hang the wire over two wall hooks, not one, on wide frames: two hooks keep it level, spread the load, and stop the sideways creep that tilts every frame in the house by Christmas.
A word on safety, since saws and craft knives are involved. Cut away from your body, keep the hand that is not sawing well behind the blade, and clamp small offcuts rather than holding them. When you trim backing board with a knife, use a metal ruler and make three light passes instead of one heavy one. And weigh the finished frame before choosing its wall fixing. The fixing should be rated well past the frame, not just past it.
The mistakes I have already made for you
- Measuring the outside edge. The frame fits nothing and the glass rattles. Inside of the rebate, always.
- Cutting two mitres that lean the same way. You now own two left sides. Pencil arrows on every piece, every time.
- Skipping the dry fit. Glue is not the moment to discover a corner is wrong. Tape it together dry, check the diagonals, then reach for the bottle.
- One small hook under a heavy frame. It holds for a month and lets go at 3am. Two hooks, a proper fixing, weight checked first.
- Filling before painting in the wrong order. Filler goes on after gluing and before primer. Under paint it vanishes. Over paint it announces itself.
Questions I get asked about making frames
Can I use MDF trim instead of pine?
Yes, if the frame will be painted. MDF trim is cheaper, dead flat, and takes paint beautifully. Its corners are softer than pine, so handle the cut pieces gently and do not expect it to hold pins as well. For a stained finish, stick with real wood, because MDF has no grain to show off.
My mitres have a small gap. Is the frame ruined?
Almost never. A hairline gap on a painted frame fills, sands and disappears under primer. On a stained frame, a pea of tinted filler does the same job. Only worry if the gap is wide enough to see from standing distance, or if the corner rocks. That one needs a recut, and it is a five minute fix at this stage.
Does every frame need glass?
No. Posters, children's art and anything you will swap often can go in unglazed, or under acrylic if sticky fingers are a factor. Glass earns its place over prints you want to keep for years, because it keeps dust, damp air and fingerprints off the paper. Canvas prints need neither, which is why they are so forgiving to frame.
How long does one frame actually take?
About an hour of hands-on time for a medium frame once your pieces are measured, plus drying time for glue and paint that mostly happens while you do something else. If you are making several, batch them: cut everything for all the frames first, then glue them all, then paint them all. Four frames take barely longer than one, and your saw arm will tell you that is the kindest way to learn.
One length of trim, four honest cuts, and a print comes out of the drawer and onto the wall where it belonged. Start with the plainer profile and the standard size, forgive yourself the first filled corner, and by the second frame you will be measuring other people's pictures with your eyes. Show me your first one in the comments, gaps and all. I will show you mine.
Lisa Ben
Lisa paints, builds, thrifts and rearranges her way through one very patient house, then writes down everything she learns here on Wazala. She would rather make a frame than buy one. New projects land every Tuesday, Thursday and Saturday, and the Sunday Letter rounds them up once a week.
You might also like
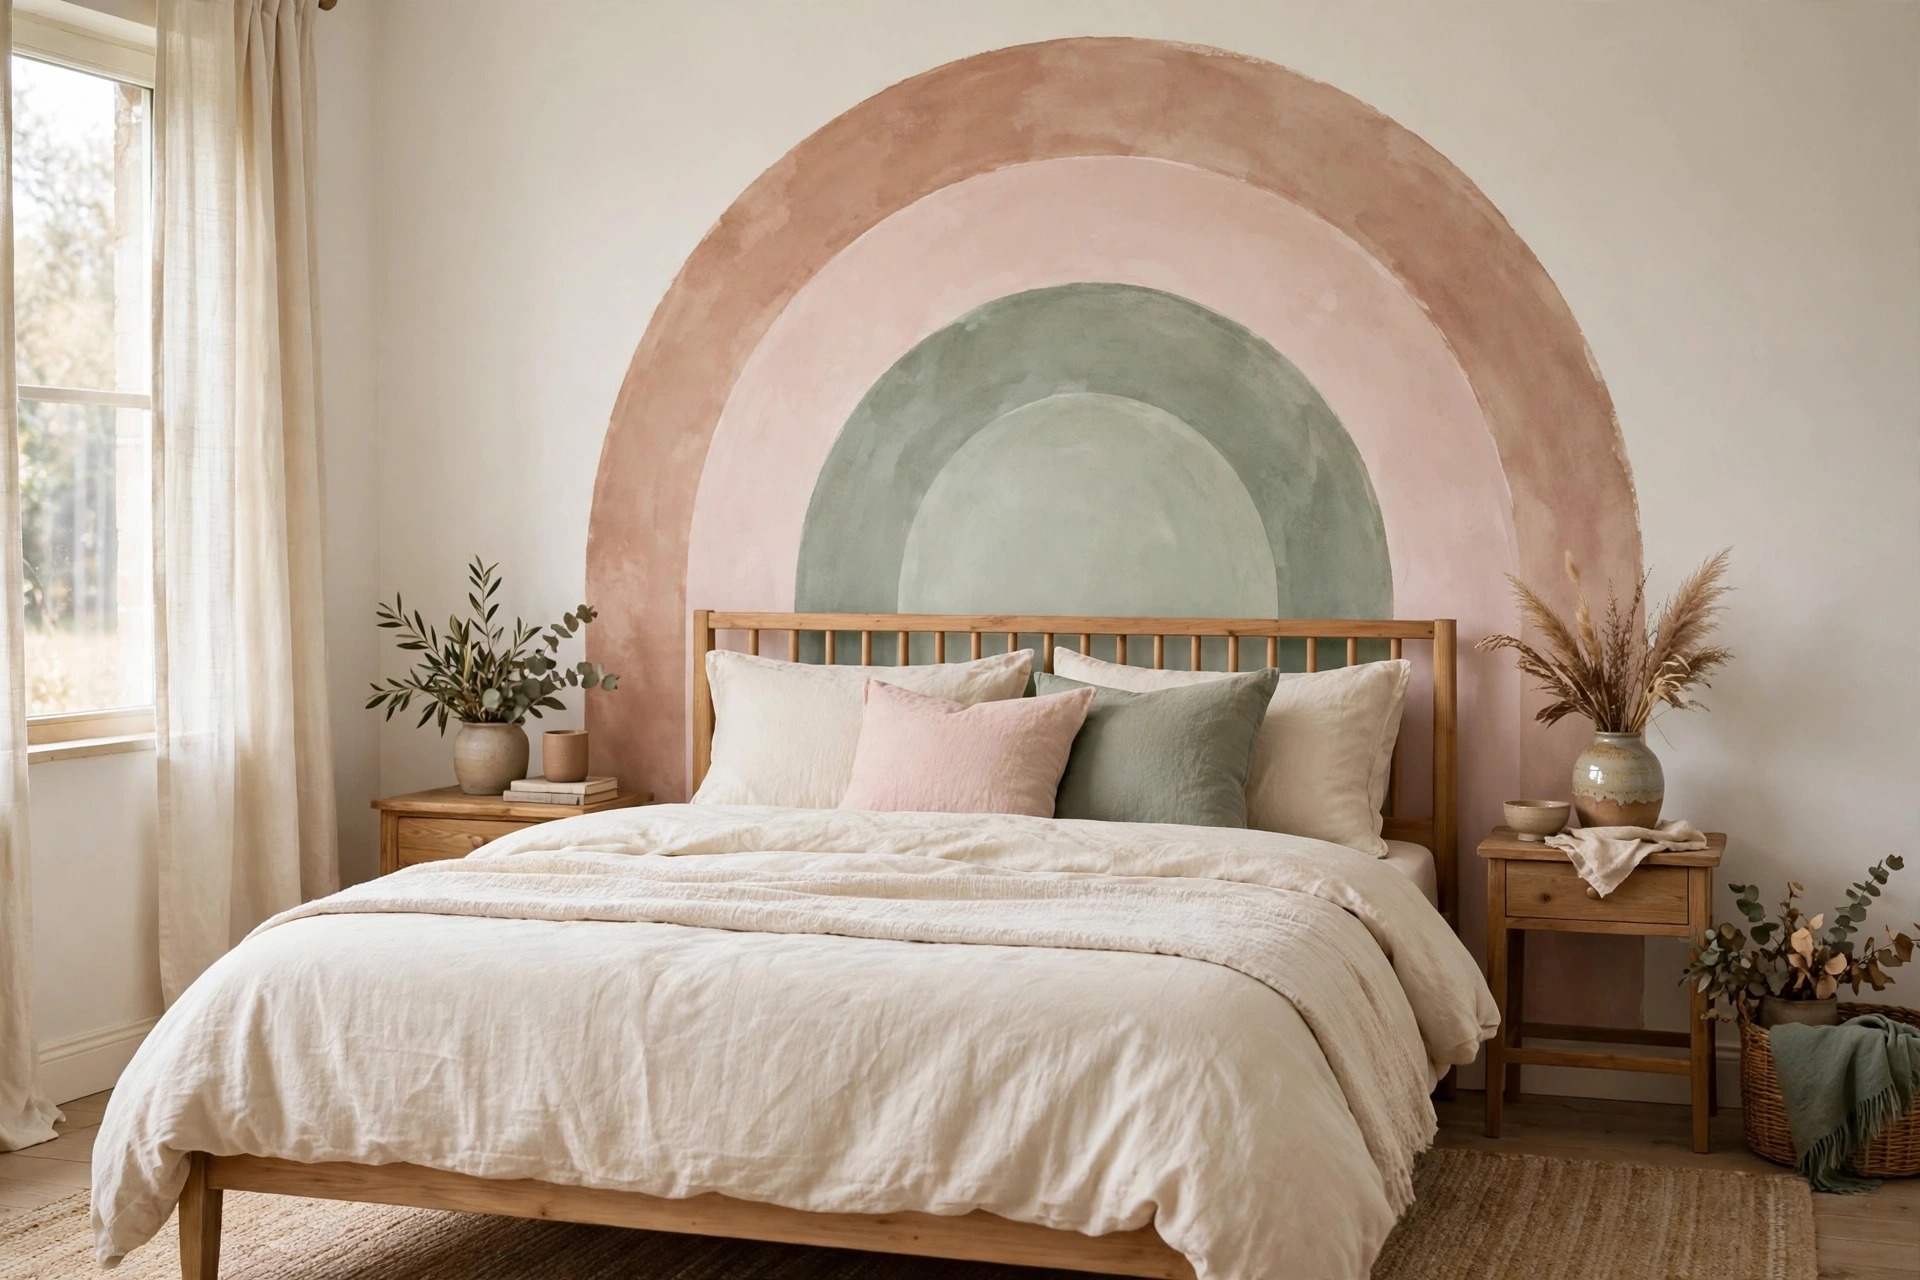
Painting A Simple DIY Wall Mural (Arch And Colour-Block Styles)
One arch, two colours, a free afternoon. The cheapest way I know to give a plain wall a focal point.
Read more →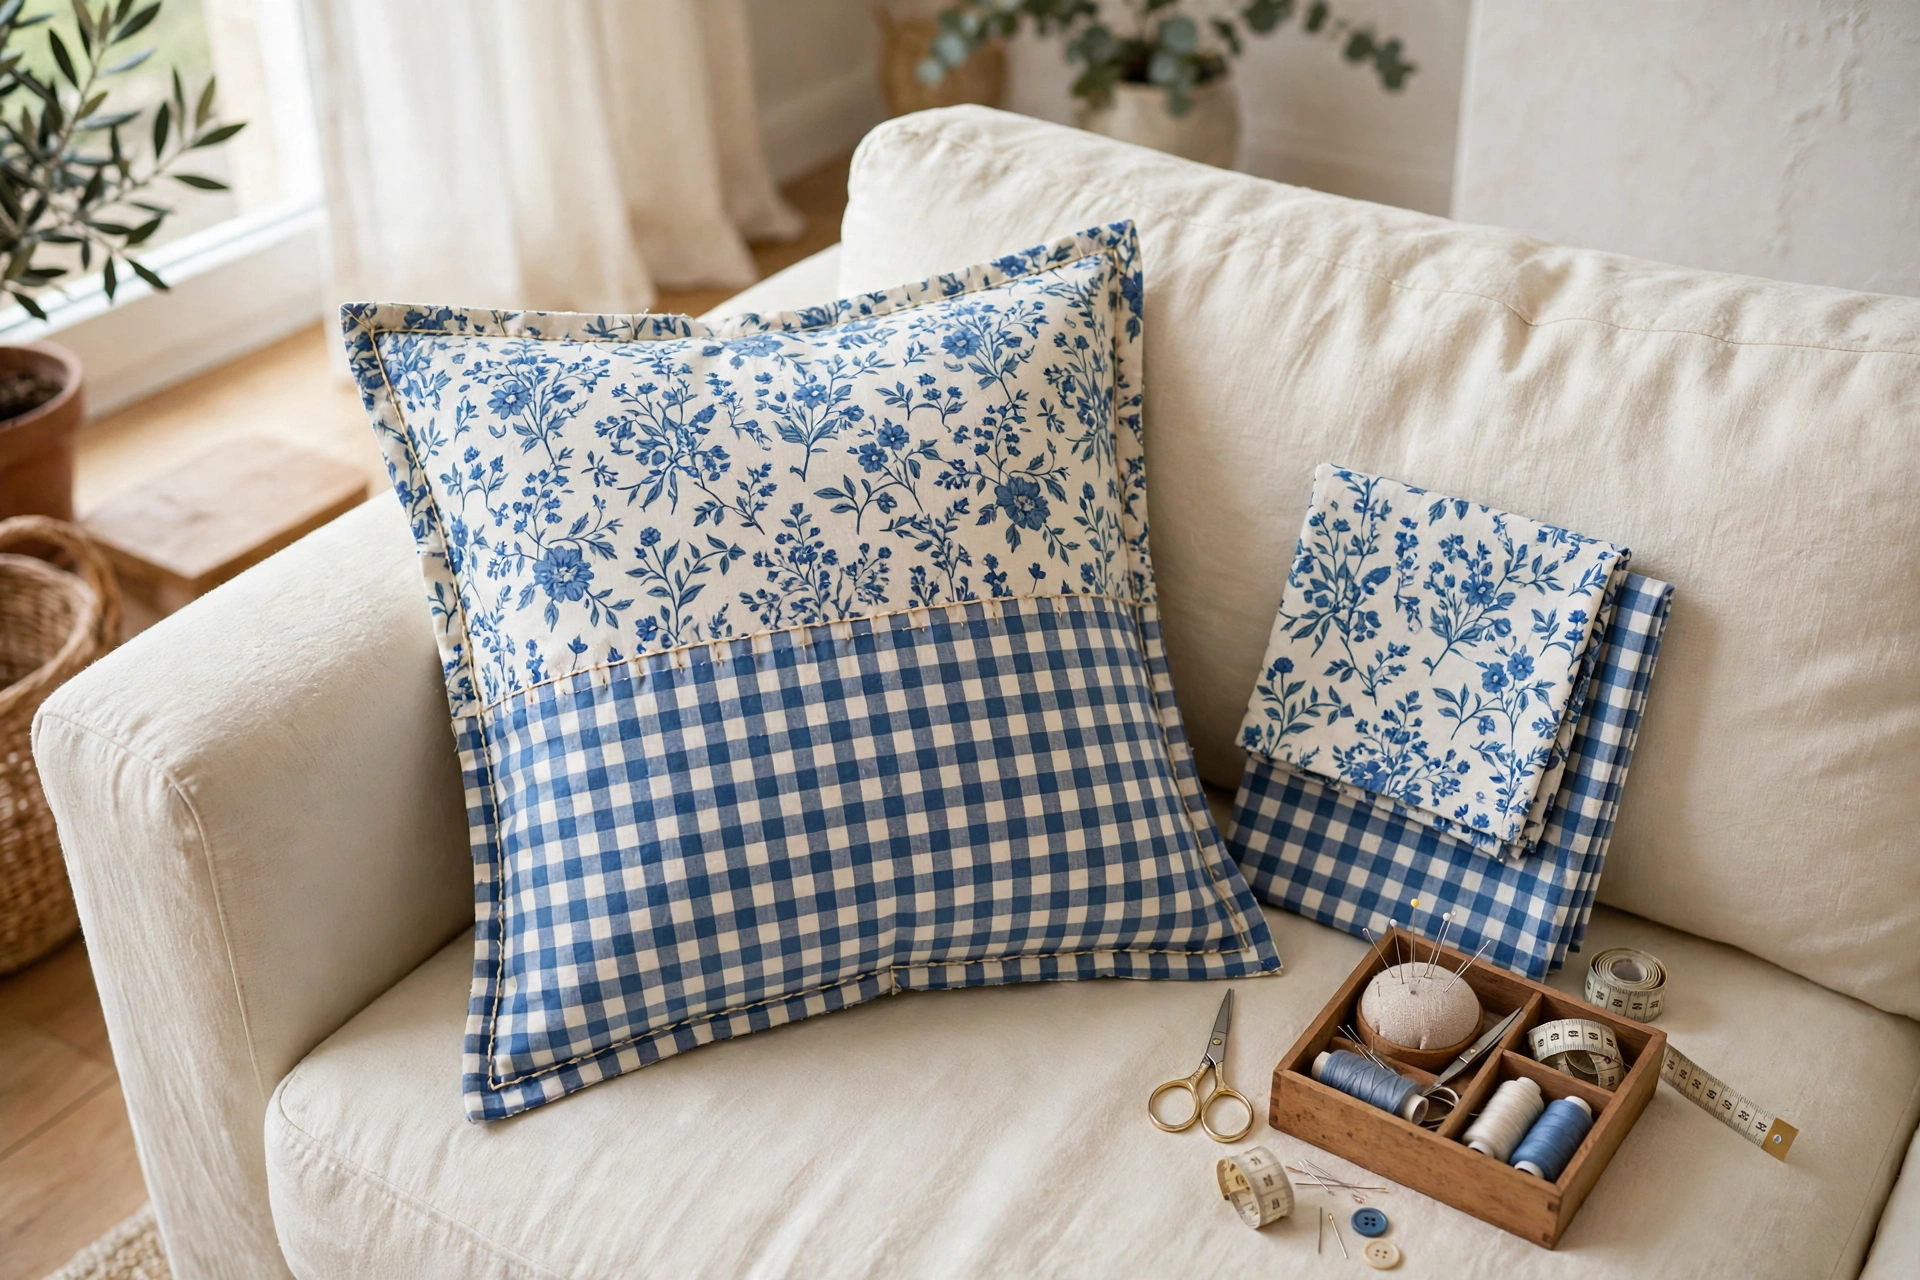
How To Make A Pillow From Two Cloth Napkins
Two cloth napkins, one straight seam and a cushion pad. That is the whole project.
Read more →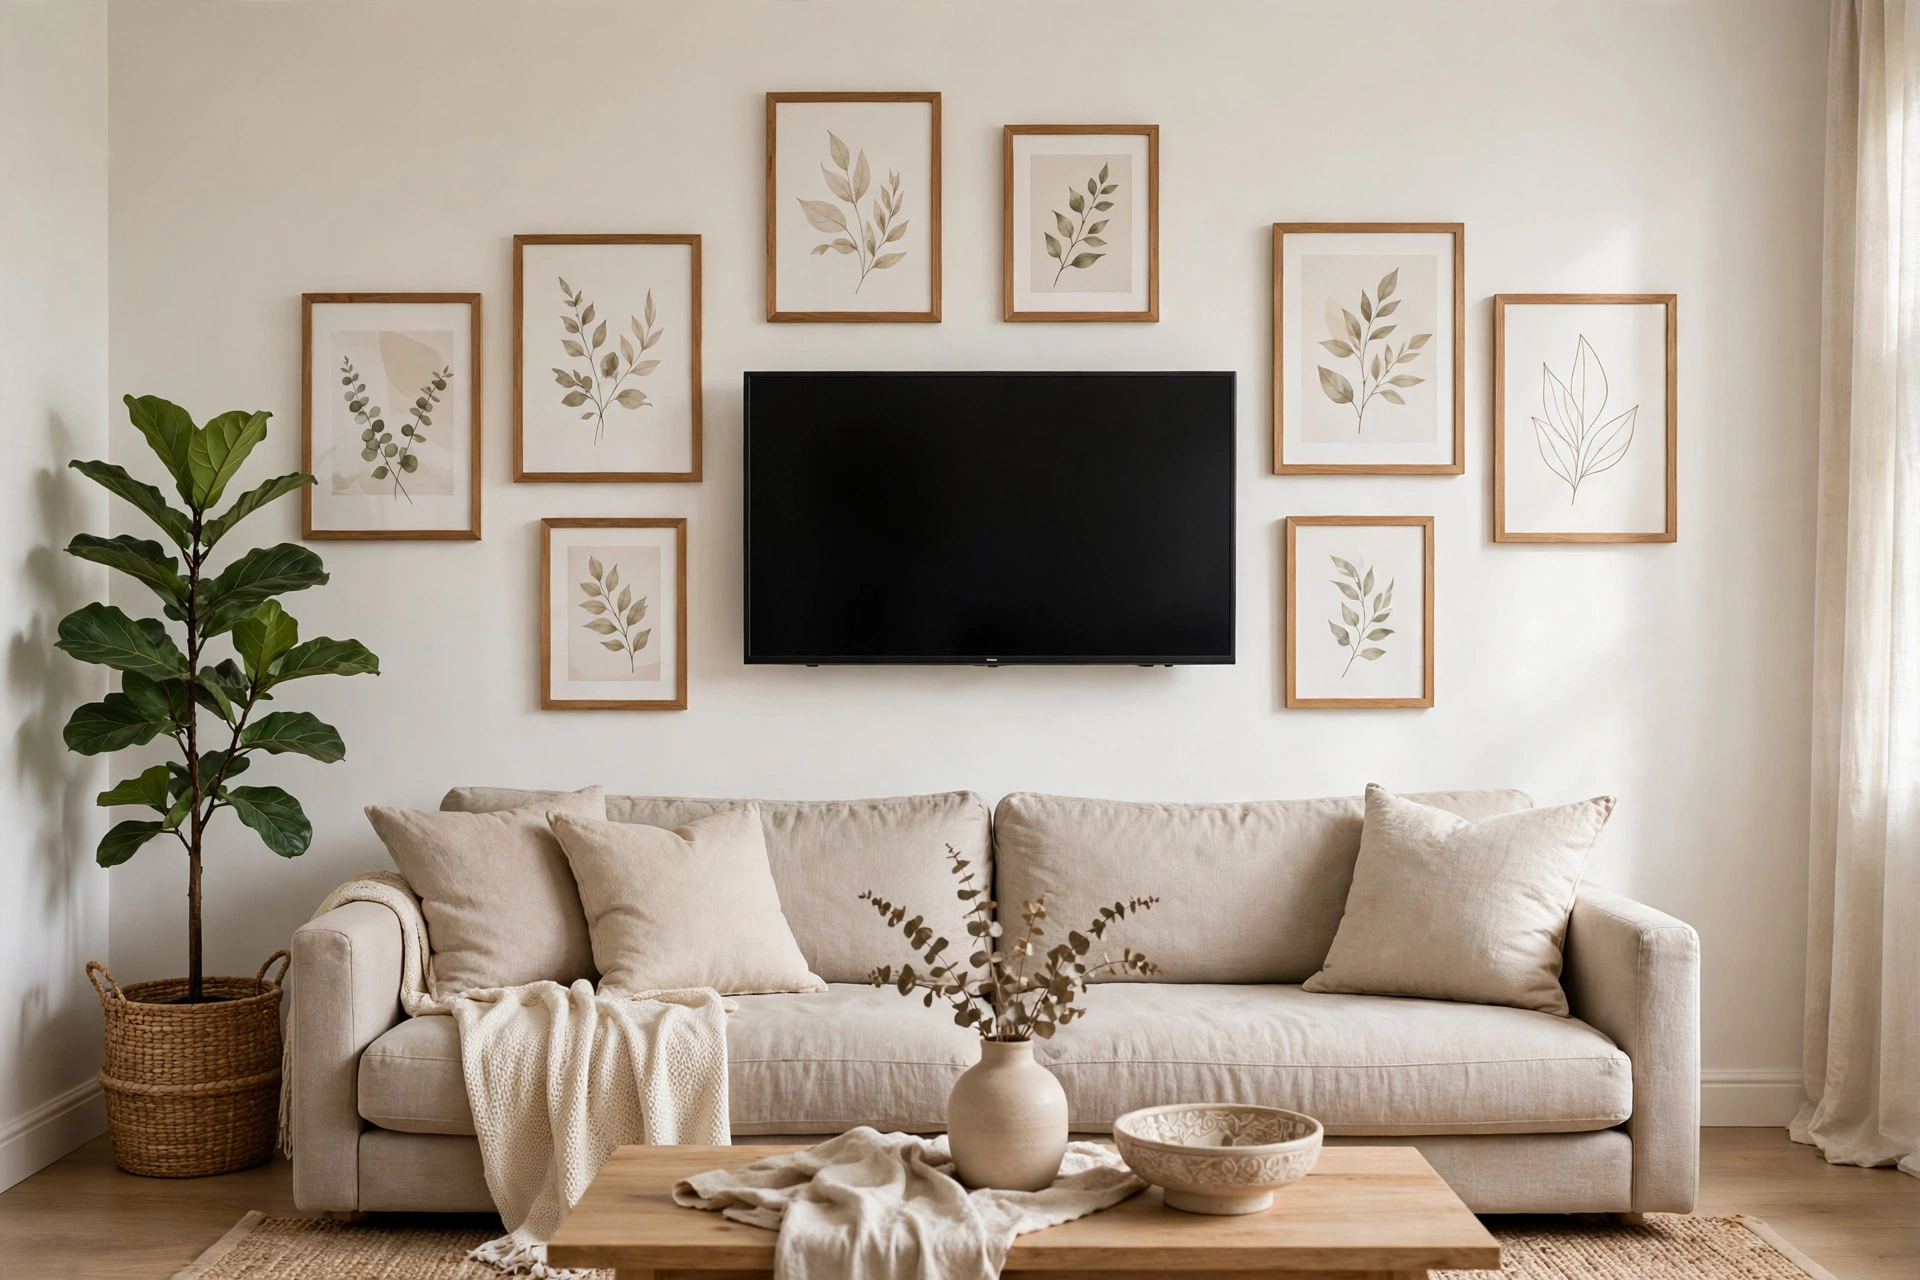
How To Hang A Gallery Wall Around The TV
Made the frames? Now hang them: making the TV part of the picture instead of the thing the pictures avoid.
Read more →