How To Sew Basic Curtain Panels (Straight Lines Only)
 By Lisa Ben
·
October 3, 2026
·
10 min read
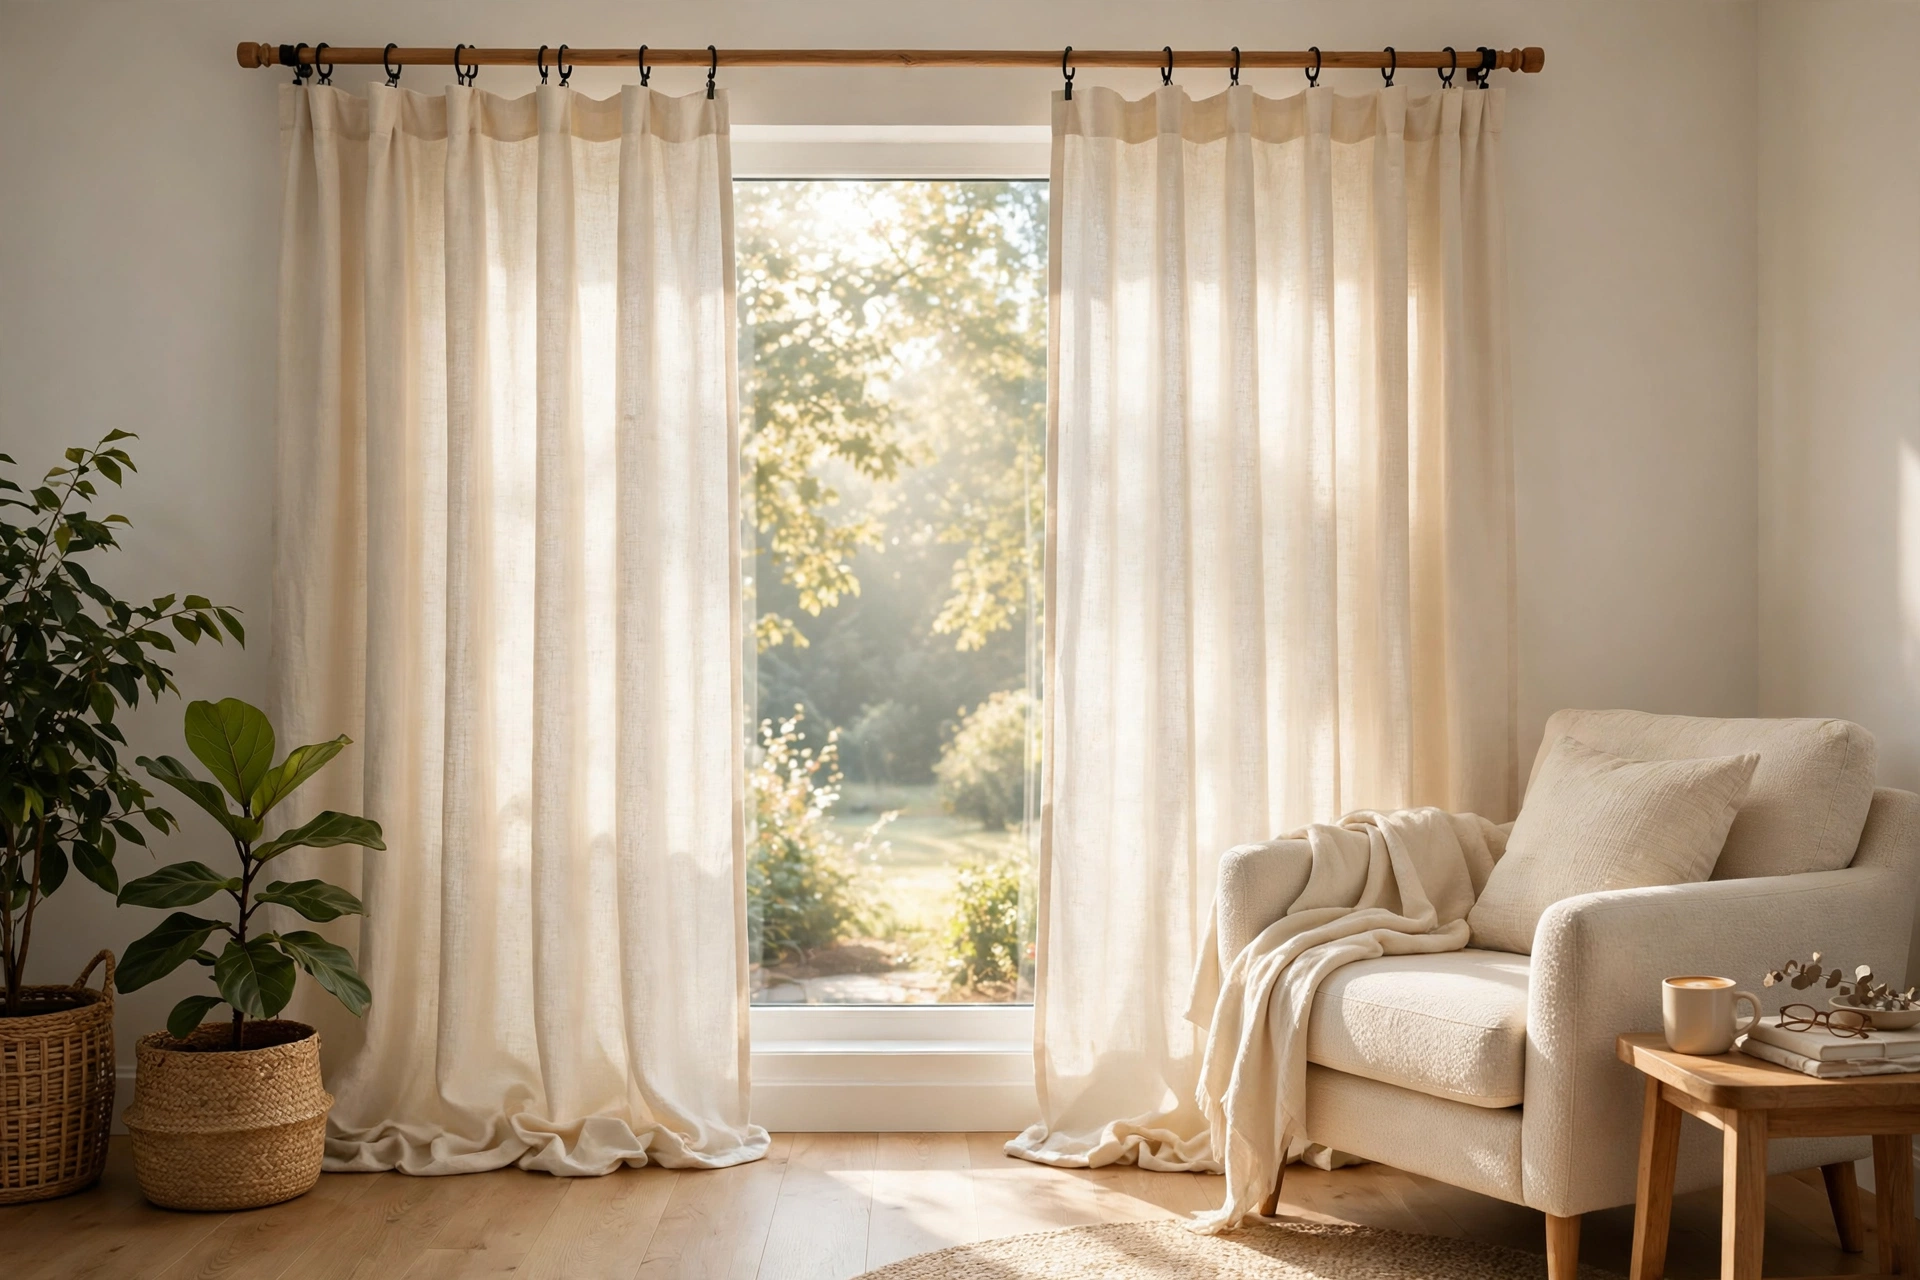
If you own a sewing machine that mostly gathers dust, or you keep meaning to learn and never quite start, curtains are your way in. I say this as someone whose first machine project was exactly this: two plain panels for a bedroom window, sewn slowly, unpicked once, and still hanging years later.
Here is why. A curtain panel is a rectangle. Four edges, four straight seams, and that is the whole job. No zips, no buttonholes, no curves, nothing that has to fit a body. If a seam wanders a little, the folds swallow it. Nobody has ever stood in a living room and inspected a side hem.
So this guide keeps a promise: straight lines only. We will measure, wash, cut, hem the sides, sort out the top, and hem the bottom last, in the order that makes the result look good. One slow afternoon is plenty.
What you need
The list is short, and most of it is probably already in your house.
- A sewing machine that does a straight stitch. That is genuinely the only stitch we use. If yours has twenty decorative options, ignore nineteen of them.
- A universal needle and thread that matches your fabric. Matching thread hides a wobbly line better than anything.
- Fabric scissors that are only used on fabric. Paper dulls them, and dull scissors chew edges instead of cutting them.
- Pins or fabric clips to hold folds before you sew. Clips are kinder to beginners because they do not slide out.
- A tape measure, a long ruler or the edge of a table for marking, and tailor's chalk or a pencil.
- An iron and ironing board. Not optional, and the next paragraph explains why.
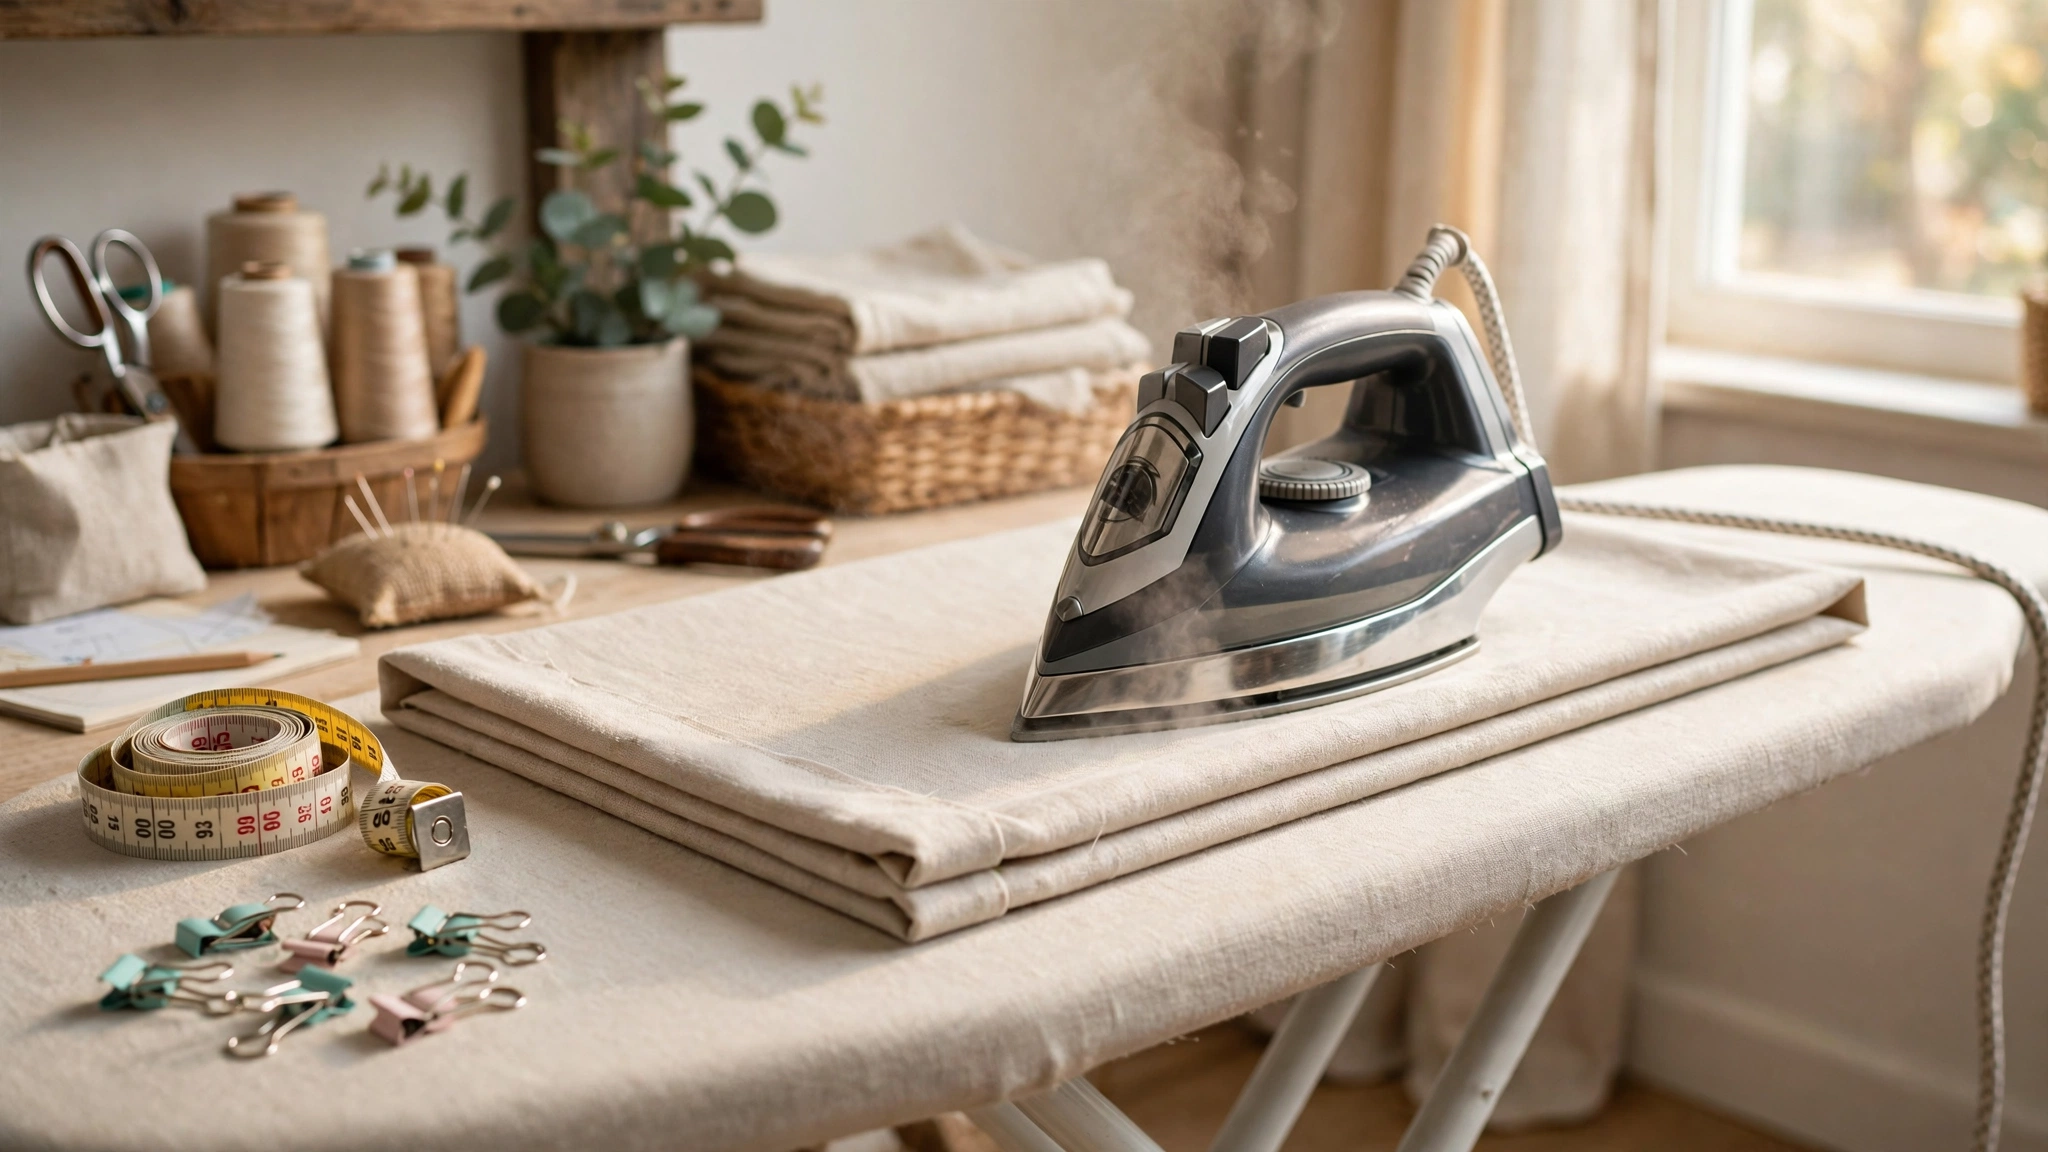
The honest truth about the iron: it does half the work in this project. Every fold in this guide gets pressed before it gets sewn, and a pressed fold practically sews itself. Skipping the iron is the single biggest difference between curtains that look homemade in the good way and curtains that look homemade in the other way.
Fabric: what to buy, what to walk past
For a first pair, you want a fabric that behaves. Medium-weight cotton is the kindest choice: it holds a pressed crease, feeds through the machine evenly, does not stretch while you sew, and forgives being unpicked. Cotton and linen blends are lovely too, and the linen-look fabrics sold for curtains give you that soft, slightly rumpled finish without linen prices or linen creases.
Walk past the slippery and the stretchy for now. Satin and silky fabrics slide away from the needle and show every wobble. Chiffon and voile are fine fabrics and miserable first projects. Jersey and anything with stretch will grow longer as you sew it, so the two panels end up different lengths. Heavy upholstery fabric is simply hard work for a basic machine. There will be other curtains. This pair is about finishing.
Two more things in the shop. First, hold the fabric up to the window or the shop door. Light coming through changes the colour completely, and curtains live with light behind them. Second, plain fabric or a small all-over pattern is the forgiving choice. A big one-way print, stripes that must match across both panels, or flowers that clearly grow upwards all add jobs. They are doable jobs, just not first-curtain jobs. If you fall for a one-way pattern anyway, the mistakes section at the end has the warning that matters.
How much fabric: the maths, done once
Curtains look right when there is more fabric than window, bunched into soft folds. The working rule is to make the total finished width one and a half to two times the span of the rod. One and a half times gives gentle, modern folds. Two times gives full, traditional gathers. Below one and a half, panels hang flat and a bit mean, so do not go under it.
Here is a real window worked through. Say the rod spans 180 cm and you want floor-length panels with a finished drop of 230 cm, at one and a half times fullness. The total finished width needs to be 270 cm, so each of the two panels finishes at 135 cm wide. Add 5 cm per side for the double-fold side hems and you cut each panel 145 cm wide, which fits neatly across a standard 150 cm wide furnishing cotton. For the length, add 10 cm for the bottom hem and 10 cm for the header fold at the top, and the cut length is 250 cm per panel. Two panels means 5 metres, and I would buy 5.5: fabric shrinks a little in the wash, and the leftover makes a cushion cover later.
| Measure | Number | Why |
|---|---|---|
| Rod span | 180 cm | Measure the rod, not the window |
| Finished width, each panel | 135 cm | 180 × 1.5 fullness, split across two panels |
| Add side hems | + 10 cm | Two double folds of 2.5 cm |
| Cut width | 145 cm | Fits one width of 150 cm fabric |
| Finished drop | 230 cm | Top of panel to floor |
| Add bottom hem + header | + 20 cm | 10 cm hem, 10 cm top fold |
| Cut length | 250 cm | Per panel |
| Fabric to buy | 5.5 m | Two panels, plus shrinkage spare |
Before you cut anything: wash it
Wash and dry the fabric the way you will wash the finished curtains, before a single cut. Cotton can shrink several percent, and it does not shrink politely or evenly. If you hem first and wash later, one panel comes up shorter than the other and the hems twist. I know because my first pair did exactly that, and I re-hemmed them on a Sunday when I had other plans.
Then press the whole length. Pressing five metres of fabric is nobody's favourite ten minutes, but this is where straight edges come from. While you press, look at the long edges: those finished edges are the selvedges, and they run perfectly straight along the grain. We are about to use them.
Step 1: Decide the finished size first
Put the rod up before you sew, if it is not up already. The finished size comes from the rod's position, not from the window, and curtains sewn for a rod that moves 10 cm later are curtains the wrong length. Measure from where the top of the panel will sit, the bottom of a clip ring or the rod itself for a pocket, down to where you want the hem to end. Just kissing the floor looks tailored. Ending at the sill suits radiators and kitchens. A slight puddle is romantic and collects dust, so choose it knowingly.
Write the finished width and drop down, and sew both panels to the same numbers even if your window is slightly wonky. Windows often are. The panels should match each other, not the window.
Step 2: Cut it straight
Lay the fabric flat, ideally on the floor for lengths like these, with the selvedge running along one side as your straight reference. For the crosswise cuts, cotton gives you a gift: snip a small nick in the selvedge at your measured length and tear across. Tearing follows the grain, so the torn edge is truly straight in a way a wobbly scissor line rarely is. It feels alarming the first time and satisfying every time after. For fabric that will not tear, draw the line with a long ruler and chalk, and cut slowly.
Check the pattern direction before the second panel. If there is any print with an up and a down, mark the top edge of each panel with a pin or a chalk arrow the moment it is cut. Then cut the second panel using the first as your template, edges matched, so both start life the same size.
Step 3: The side hems
Each long side gets a double fold, which hides the raw edge and gives the curtain a bit of weight at the edges. Fold the side edge over by 2.5 cm and press. Fold it over by 2.5 cm again, press again, and pin or clip along the fold. Then sew one straight line close to the inside edge of the fold, from top to bottom. Backstitch a few stitches at the start and end so the seam cannot unravel.
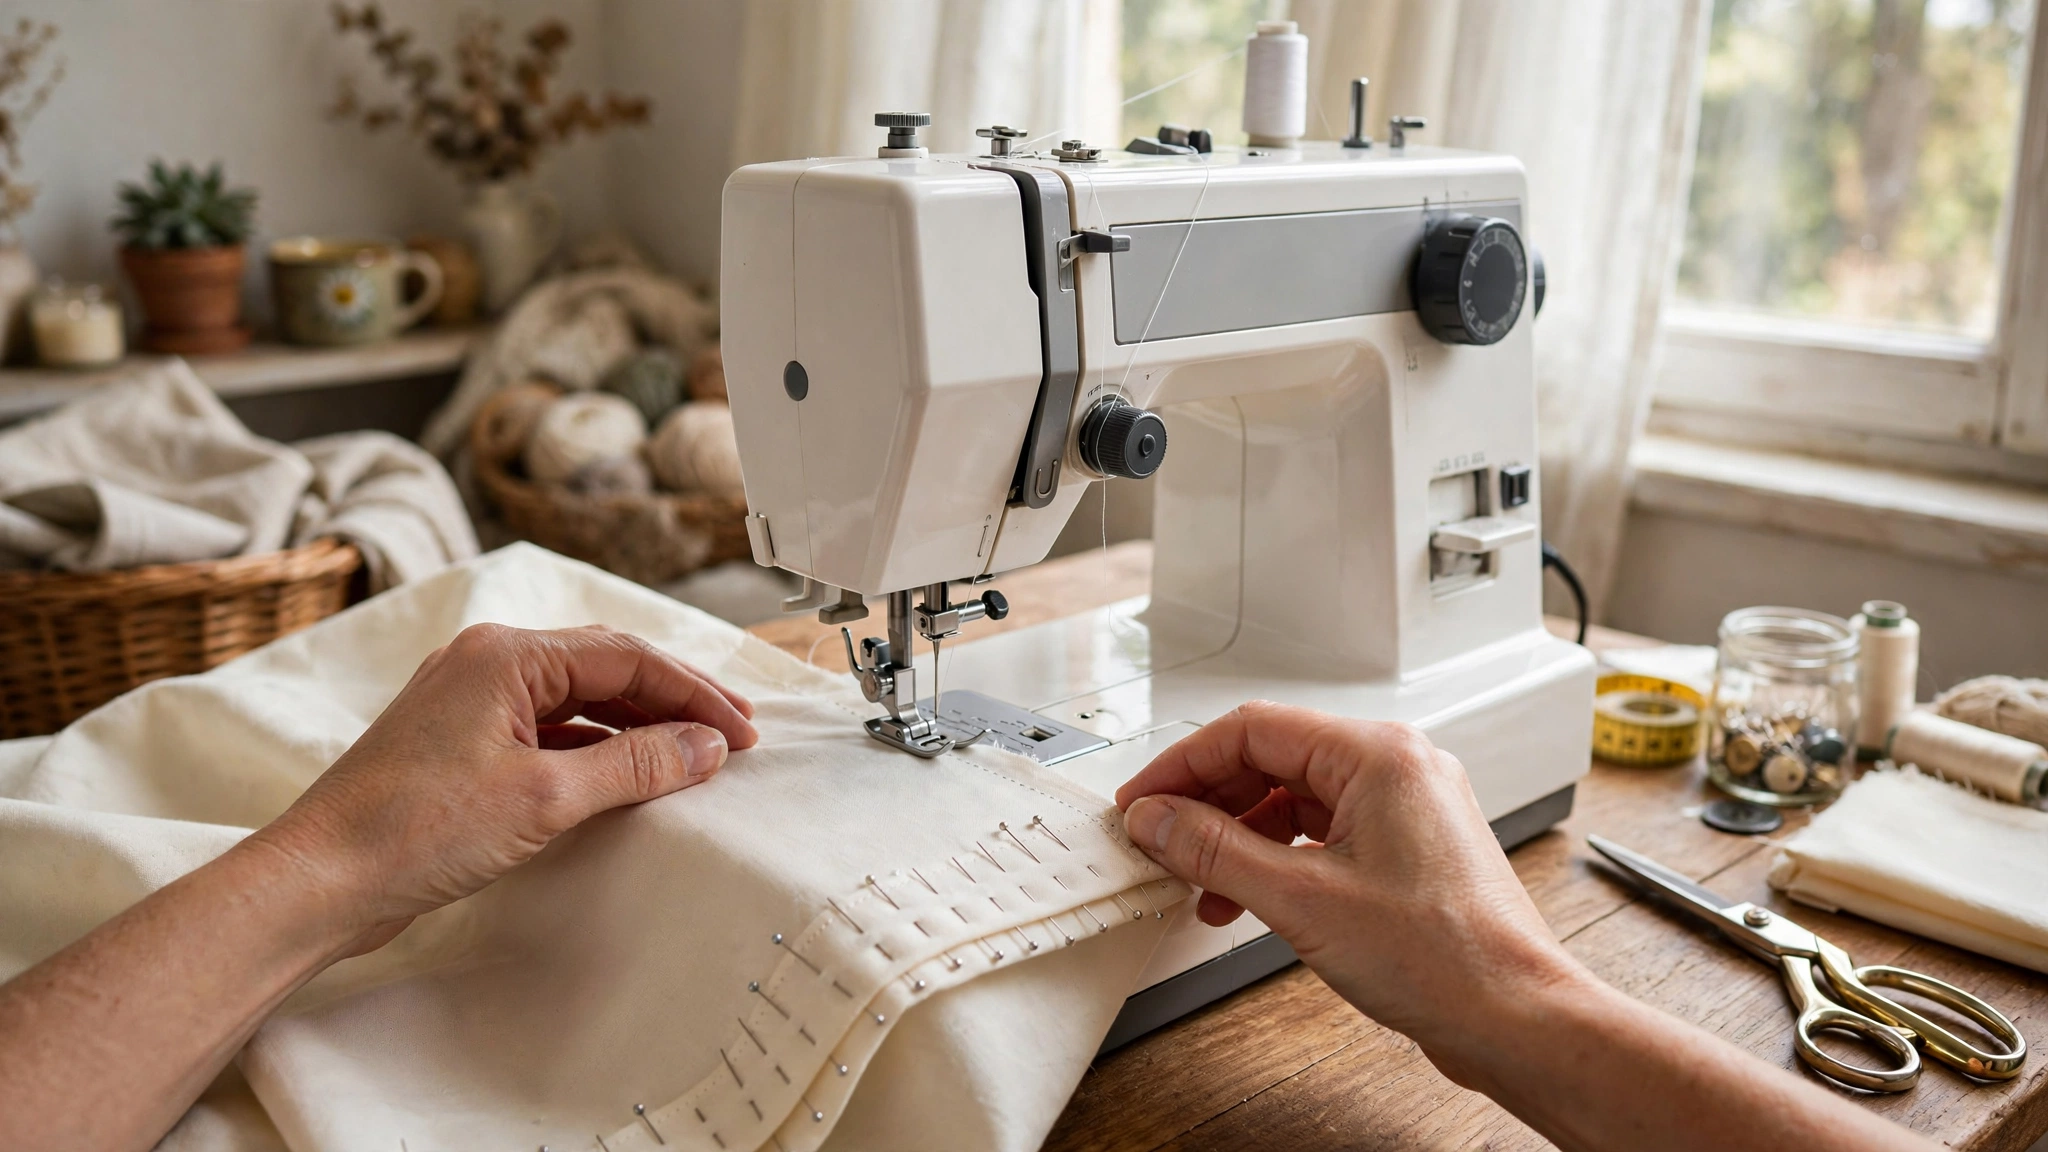
Two habits make this easy. Support the weight of the fabric on the table so it is not dragging off the edge and pulling your line sideways. And watch the edge of the fold, not the needle. The needle only goes up and down; your job is feeding the fold past it at a steady distance. Do both sides of both panels, and you have already sewn four of the longest seams of your life. It gets easier from here.
Step 4: The top, two ways
The traditional finish is a rod pocket: a channel sewn across the top that the rod slides through. Fold the top edge down 2 cm and press, then fold it down again by 8 cm and press. Sew one straight line along the bottom edge of that fold, close to the turned-under edge, and the pocket is made. Make the channel roomy, at least 2 cm deeper than the rod is thick, or the curtain will fight you every time you open it.
Or take the cheat, which I use more often than the pocket these days: skip the channel entirely. Hem the top edge with the same double fold you used on the sides, then clip curtain rings along it, one every 15 to 20 cm, and hang the rings on the rod. The panels slide beautifully, the length can be adjusted by re-folding, and you have saved yourself the only fiddly measuring in the project. The rings cost a little money. They are worth it.
Step 5: Hang them for a day, then hem the bottom
This is the step that separates good curtains from nearly-good ones: the bottom hem goes in last, after the panels have hung for a day. Fabric relaxes and drops slightly under its own weight, especially linen blends, and panels that measured perfectly on the table can hang a centimetre longer by tomorrow. So hang the pair, live with them overnight, then pin the bottom fold while they hang, right at the length you want. A pin every 20 cm or so, checked against the floor on both sides.
Take them down, fold the bottom up 5 cm and press, fold 5 cm again and press, then sew your straight line near the inside edge, the same as the sides. That deep double hem is not just tidy: the weight of it is what makes the panels hang in calm folds instead of swinging. Rehang, and stand back.
Press, hang, and dress the folds
Give each panel one last press, mostly along the hems, and hang them properly. New curtains often stick out at odd angles like they are surprised to be there. Arrange the folds by hand into even waves, then tie each panel loosely with a ribbon or a strip of scrap fabric in two or three places and leave them overnight. It sounds fussy. It trains the folds, and in the morning the panels fall the way curtains in photographs fall.
No machine? The hand-sewing version
Everything above can be done by hand, and people made curtains this way for a very long time. Use a simple running stitch, in and out along the fold, small and as even as you can manage, for the side and bottom hems. The top edge, which carries the panel's weight, deserves a stronger backstitch if you are sewing a pocket, or just the same hem and clip rings, which spare it the strain entirely. A panel hem by hand is an evening in front of the television, not a weekend. Slower, yes. Weaker, no.
Four mistakes I have made, so you do not have to
Cutting before washing. Covered above, and it stays at the top of the list because it ruins the most curtains. Shrinkage is not even, so the damage shows up as mismatched lengths and twisted hems that no iron can argue with.
Skipping the iron. An unpressed fold creeps under the needle, and a 2.5 cm hem quietly becomes a 1.5 cm hem at one end and a 4 cm hem at the other. Pressing takes two minutes per fold and buys you straight seams for free.
Hemming the bottom before hanging. The panels drop, the hem that kissed the floor on the table now puddles or swings short, and your only fix is unpicking the longest seam you own. Hang first, always.
One panel the wrong way up. On a one-way pattern, sewing panel two upside down means flowers growing out of the floor. It happens at the cutting stage, in a hurry, and it is why the top edge gets a pin the moment each panel is cut. Check before the first seam, not at the window.
Questions I get asked about sewing curtains
My seams are not perfectly straight. Does it matter?
Very little, and this is why curtains are the beginner project. Side seams disappear into the folds, and nobody views a curtain from 20 cm away. The one line worth taking slowly is the bottom hem, because it runs level with the floor and your eye compares the two. Pin it carefully while the panels hang, and even that one behaves.
Can I use iron-on hem tape instead of sewing?
For a starter pair in a light fabric, yes, and it is a fair way to find out whether you like the look before committing. Be honest about its limits, though: tape can soften and let go after repeated washing or in a hot, sunny window, and it adds no weight to the hem. Stitched hems survive years of washing. Try tape on the spare-room window, sew the pair you look at every day.
How do I keep the two panels exactly the same length?
Three habits. Cut the second panel using the first as the template, so they start identical. Hang both before finishing the bottom hems, never just one. Then pin the bottom folds while the pair hangs side by side, checking each against the floor and against its partner. Any small difference gets absorbed at the pinning stage, which is the whole reason the bottom hem goes last.
My fabric is not 150 cm wide. Can I still do this?
Yes, the maths just shifts. Narrower fabric means either less fullness, which looks flat below one and a half times the rod span, or joining two widths per panel with one extra straight seam down the middle, which disappears into the folds on most fabrics. Wider fabric is pure luxury: one generous panel per side, or extra fullness. Rework the table with your width before you buy, not after.
That is the whole skill set: wash, press, fold, sew straight. Your leftover half metre is the right size for a cushion cover, which is the same four seams in miniature, whenever you are ready. Tell me in the comments what fabric you picked, and whether you went pocket or clip rings. I am firmly team clip rings, but I can be argued with.
Lisa Ben
Lisa paints, builds, thrifts and rearranges her way through one very patient house, then writes down everything she learns here on Wazala. If it can be made with straight lines and a hot iron, she has probably tried it. New projects land every Tuesday, Thursday and Saturday, and the Sunday Letter rounds them up once a week.
You might also like
How To Hang A Gallery Wall Around The TV
Paper templates, honest spacing, and the order that keeps a gallery wall calm.
Read more →
17 DIY Shelf Ideas For Every Room
From picture ledges to pipe shelves, grouped by room and difficulty.
Read more →
A Dated Wooden Chair, Made Over In One Afternoon
Sand, prime, paint: the small furniture rescue that starts most makeovers.
Read more →