Refinishing Hardwood Floors: The Beginner's Walkthrough
 By Lisa Ben
·
October 10, 2026
·
12 min read
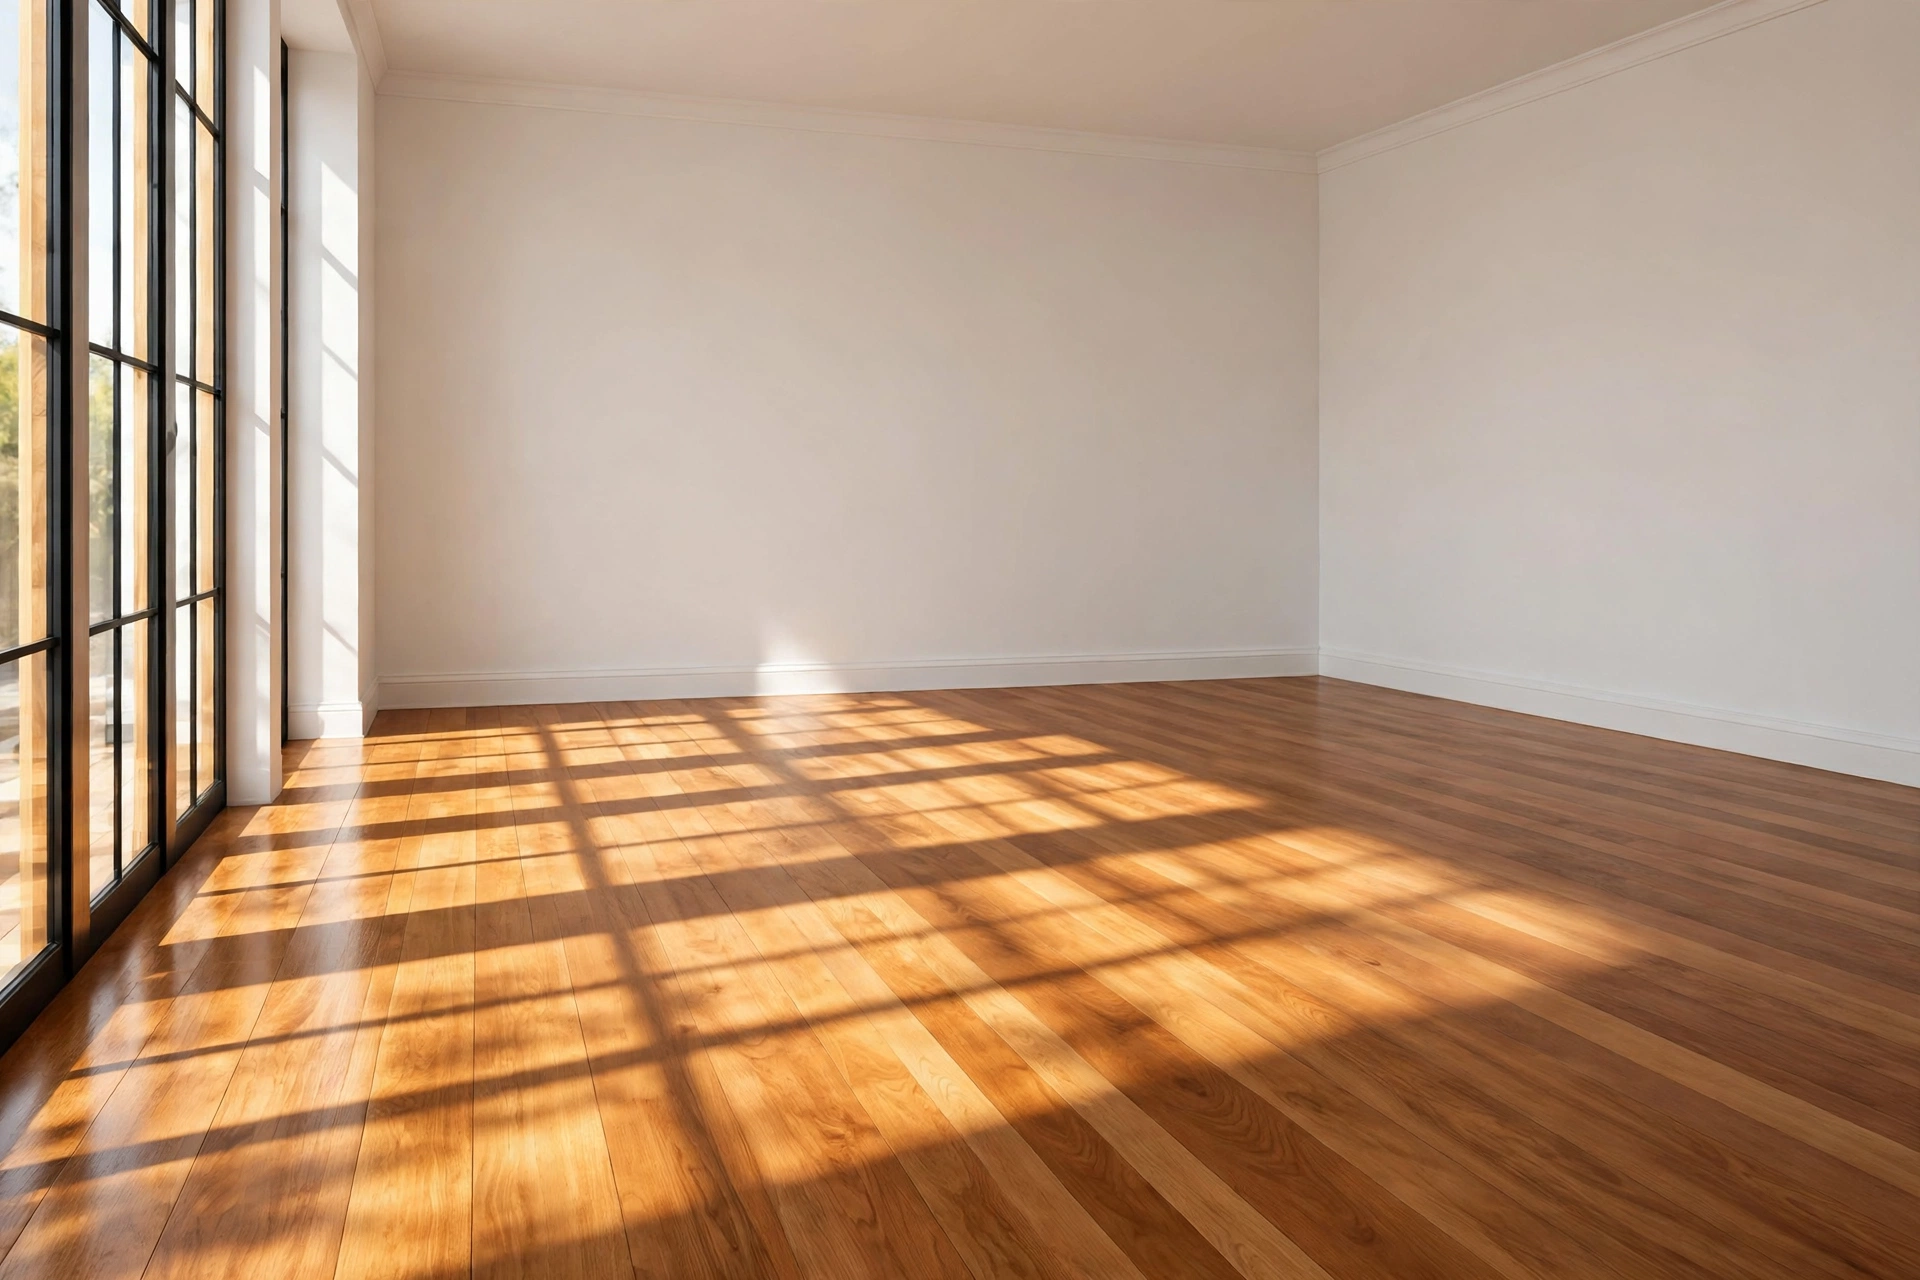
Let me be straight with you before we start, because nobody at the hire shop will be. Refinishing a floor is a proper job. It takes a long weekend per room, it involves two hired machines that weigh more than you expect, and the dust gets everywhere no matter how careful you are. The first hour with the big sander is genuinely steep: the machine pulls, the noise is serious, and you will wonder what you have done.
And then it clicks. By the second pass you are steering it like you have done it for years, and by Sunday evening you are standing in socks on wood that looks twenty years younger. A beginner who works one room at a time, follows the passes in order and keeps the machine moving can do this well. I know, because the first room I ever sanded is the one in the photo above, divot and all. We will talk about the divot.
First, check your floor can take it
Sanding removes wood. Not much, a fraction of a millimetre per pass, but your floor only has so much to give, so before you hire anything, find out what you are working with. Pull up a threshold strip or look where a radiator pipe comes through the floor, anywhere you can see the edge of a board.
On solid boards, look at the wood above the tongue, the little ridge that slots into the next board. That thickness is your sanding budget. A healthy solid board has plenty above the tongue and can be sanded several times in its life. If a previous owner has already sanded down close to the tongue, your budget is spent, and one more round could split board edges and show nail heads. Engineered boards are different: they are a layer of real wood bonded to a base, and that wear layer is only a few millimetres thick. It gives you one careful sand, maybe two, in the floor's whole life. If an engineered floor has been done before, it is done.
When this is not a DIY job
Some floors belong to a professional, and paying for one is not defeat, it is the correct repair. Hand it over if your boards are cupped, each one curled up at the edges like a shallow gutter, or springy underfoot, which points to trouble underneath. Hand it over if parquet blocks are lifting or rocking, because they need re-bedding before any sander goes near them. And hand it over if the floor is engineered, thin and already sanded once. A pro has seen hundreds of floors and owns machines with better dust control than the hire fleet. Your job is knowing which floor you have.
Decide the finish before you start
This sounds backwards, but the finish changes how you work. If you want the pale, Scandinavian look, you are finishing with a water-based floor varnish, which dries almost clear and keeps freshly sanded wood roughly the colour it is when bare. Oil-based finishes and most oils deepen the colour and amber slowly over the years, so the floor you love in October is warmer and darker by the following one. Neither is wrong. Just pick now, buy everything in one trip, and test your chosen finish on an offcut or a hidden corner of sanded floor before it goes anywhere near the middle of the room.
Prep: the unglamorous hour that saves the weekend
Empty the room completely. Not mostly, completely. Every piece of furniture you leave in there is something you will be sanding around, moving mid-pass, and cursing by name. Take the door off its hinges if you can, and either lift the skirting boards carefully or accept that you will be masking and hand-finishing up to them. Then walk the whole floor slowly, on your knees, with a nail punch and a hammer. Every nail head and screw sitting even slightly proud of the surface needs punching below it. A proud nail tears a sanding belt in a second, and belts are the part of this job where the money leaks out.
Gaps between boards: decide now and stop worrying. In an old house, dark gaps are part of the floor's face, and many people leave them alone. If you want them filled, the neat trick is to wait until after your first coat of finish, then mix the fine dust from your last sanding pass with a little of the finish to make a paste, and trowel it into the gaps. Filling before that first coat often pops out, because the boards move and the filler has nothing to grip.
Seal the doorway with plastic sheeting taped right around the frame, mask on, ear defenders on. Then go and hire the machines: a belt or drum sander for the field of the room, and a smaller edging sander for the perimeter. Tell the hire shop it is your first floor. The good ones will walk you through the controls, show you how the drum lowers, and sell you belts in the right grits. Ask. That five minutes is worth more than any video.
The sanding passes that actually matter
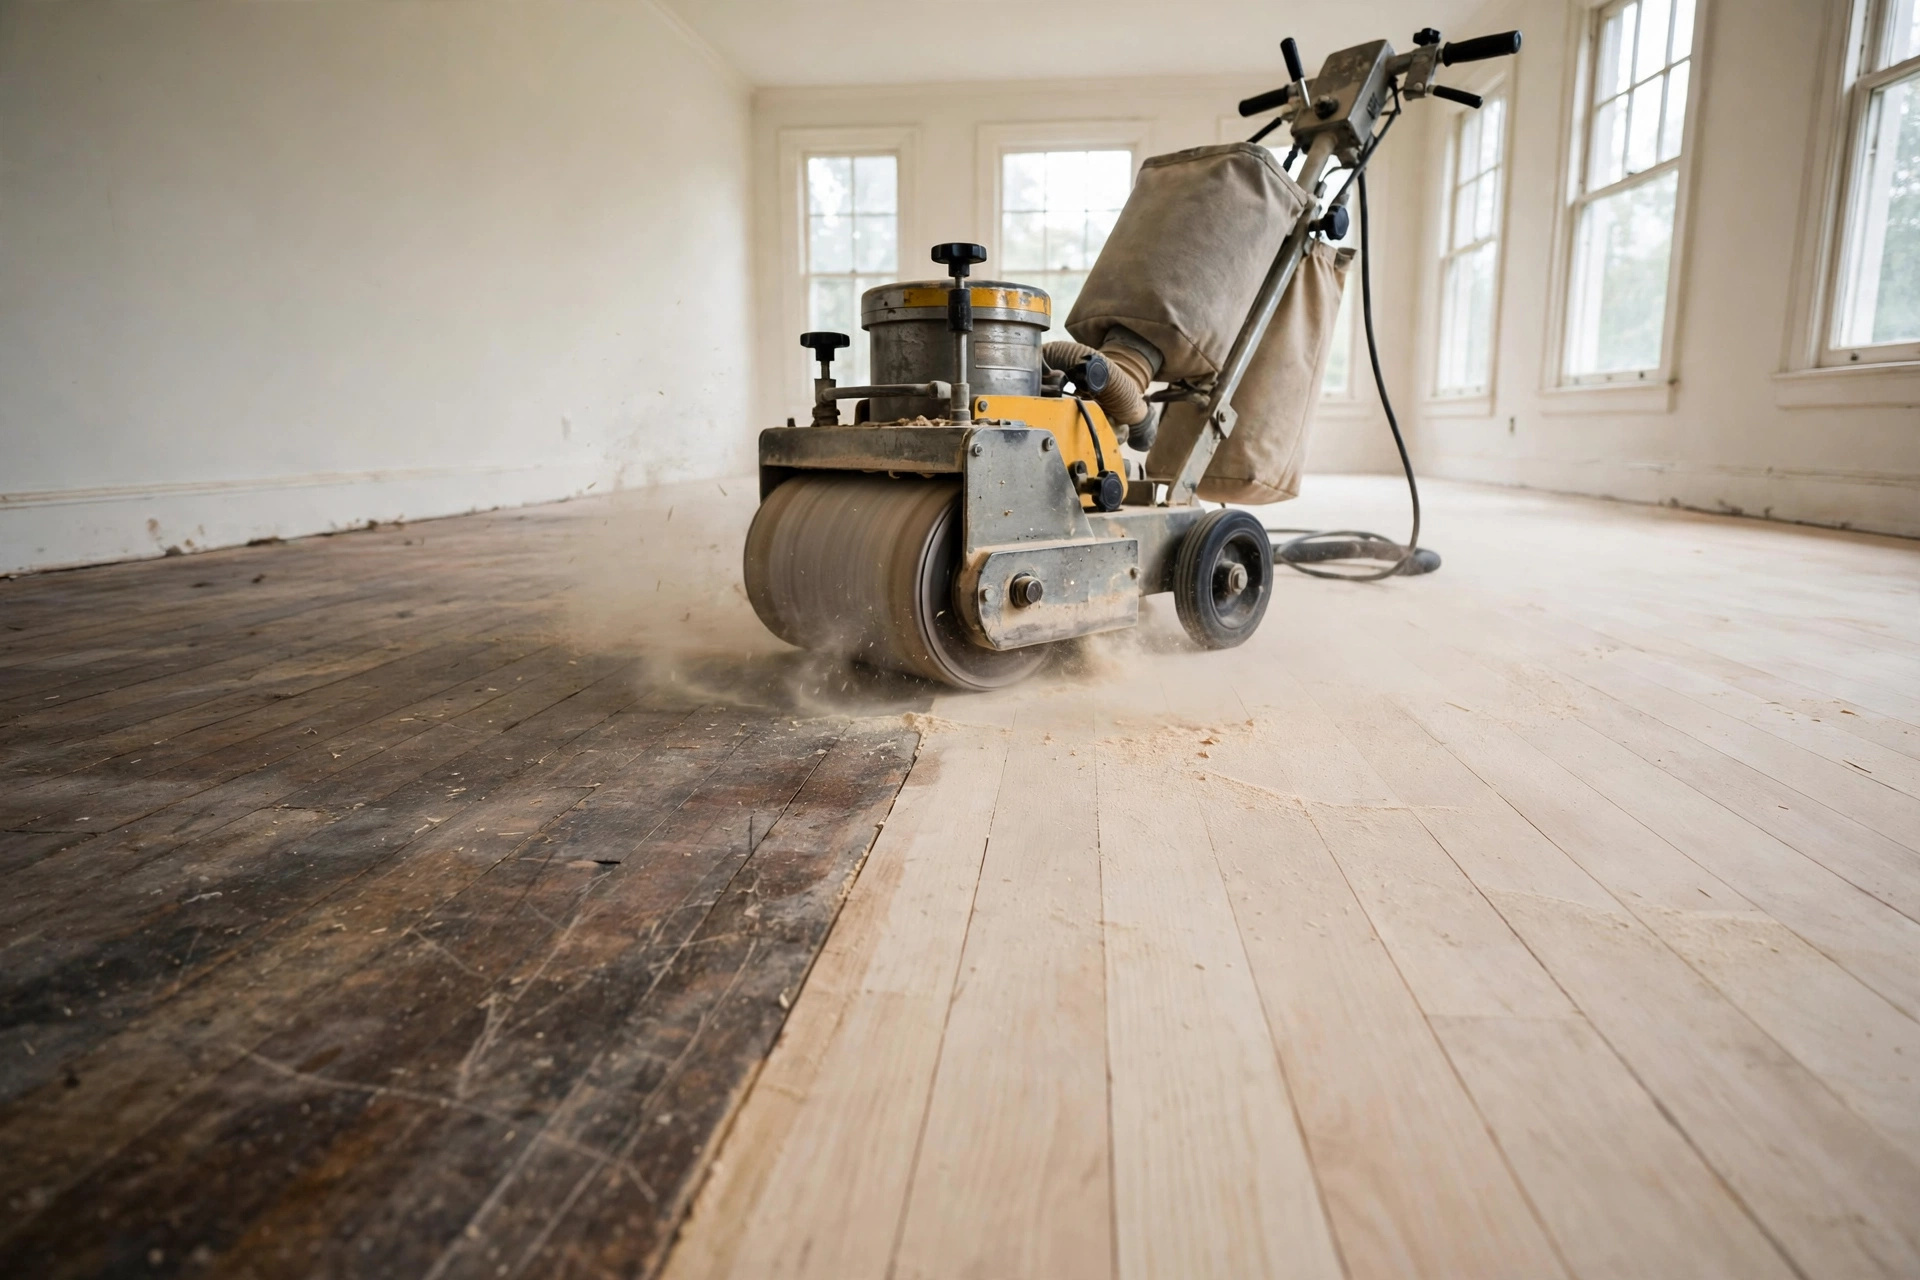
Here is the whole secret, and it is not really a secret: a floor is sanded in a sequence of passes, each one finer than the last, and each pass exists to remove the scratches of the one before it. Skip a step and the scratches stay, hiding until the varnish hits them and lights them up.
Pass one: coarse, around 36 to 40 grit
This pass does the heavy work: old varnish off, stains and grey weathered wood gone, boards levelled. Only run it diagonally across the boards if the floor is genuinely uneven or the old finish is thick and stubborn; a diagonal pass levels fast but leaves deep marks you then have to remove. On a floor that is merely tired, go straight to working with the grain, along the boards, from the start. Either way, this is the pass where you learn the machine, so begin in the least visible corner.
Pass two: medium, around 60 to 80 grit
Always with the grain. This pass is not about dirt, it is about erasing pass one. Work the whole room methodically, strip by strip, and resist the urge to rush it because the floor already looks clean. It looks clean. The coarse scratches are still in there, invisible in bare wood, waiting.
Pass three: fine, around 100 to 120 grit
Also with the grain. This is the pass that makes the floor feel like furniture under your hand. When you finish it, run your palm flat across the boards. It should feel even and silky, with no ridges where your passes met and no rough patches hiding in the corners. Save a bag of this fine dust if you are filling gaps later; it is the perfect colour match, because it is the floor.
The rule that outranks all the others: keep the machine moving. Start walking before the drum touches the floor, and lift or tilt the drum off the wood before you stop. A drum sander standing still for one second digs a crescent-shaped divot, and a divot cannot be un-dug. You sand it out by lowering the whole surrounding floor to meet it, or you live with it. Prevention is the only cure, so move first, lower second, lift first, stop second.
Edges and corners
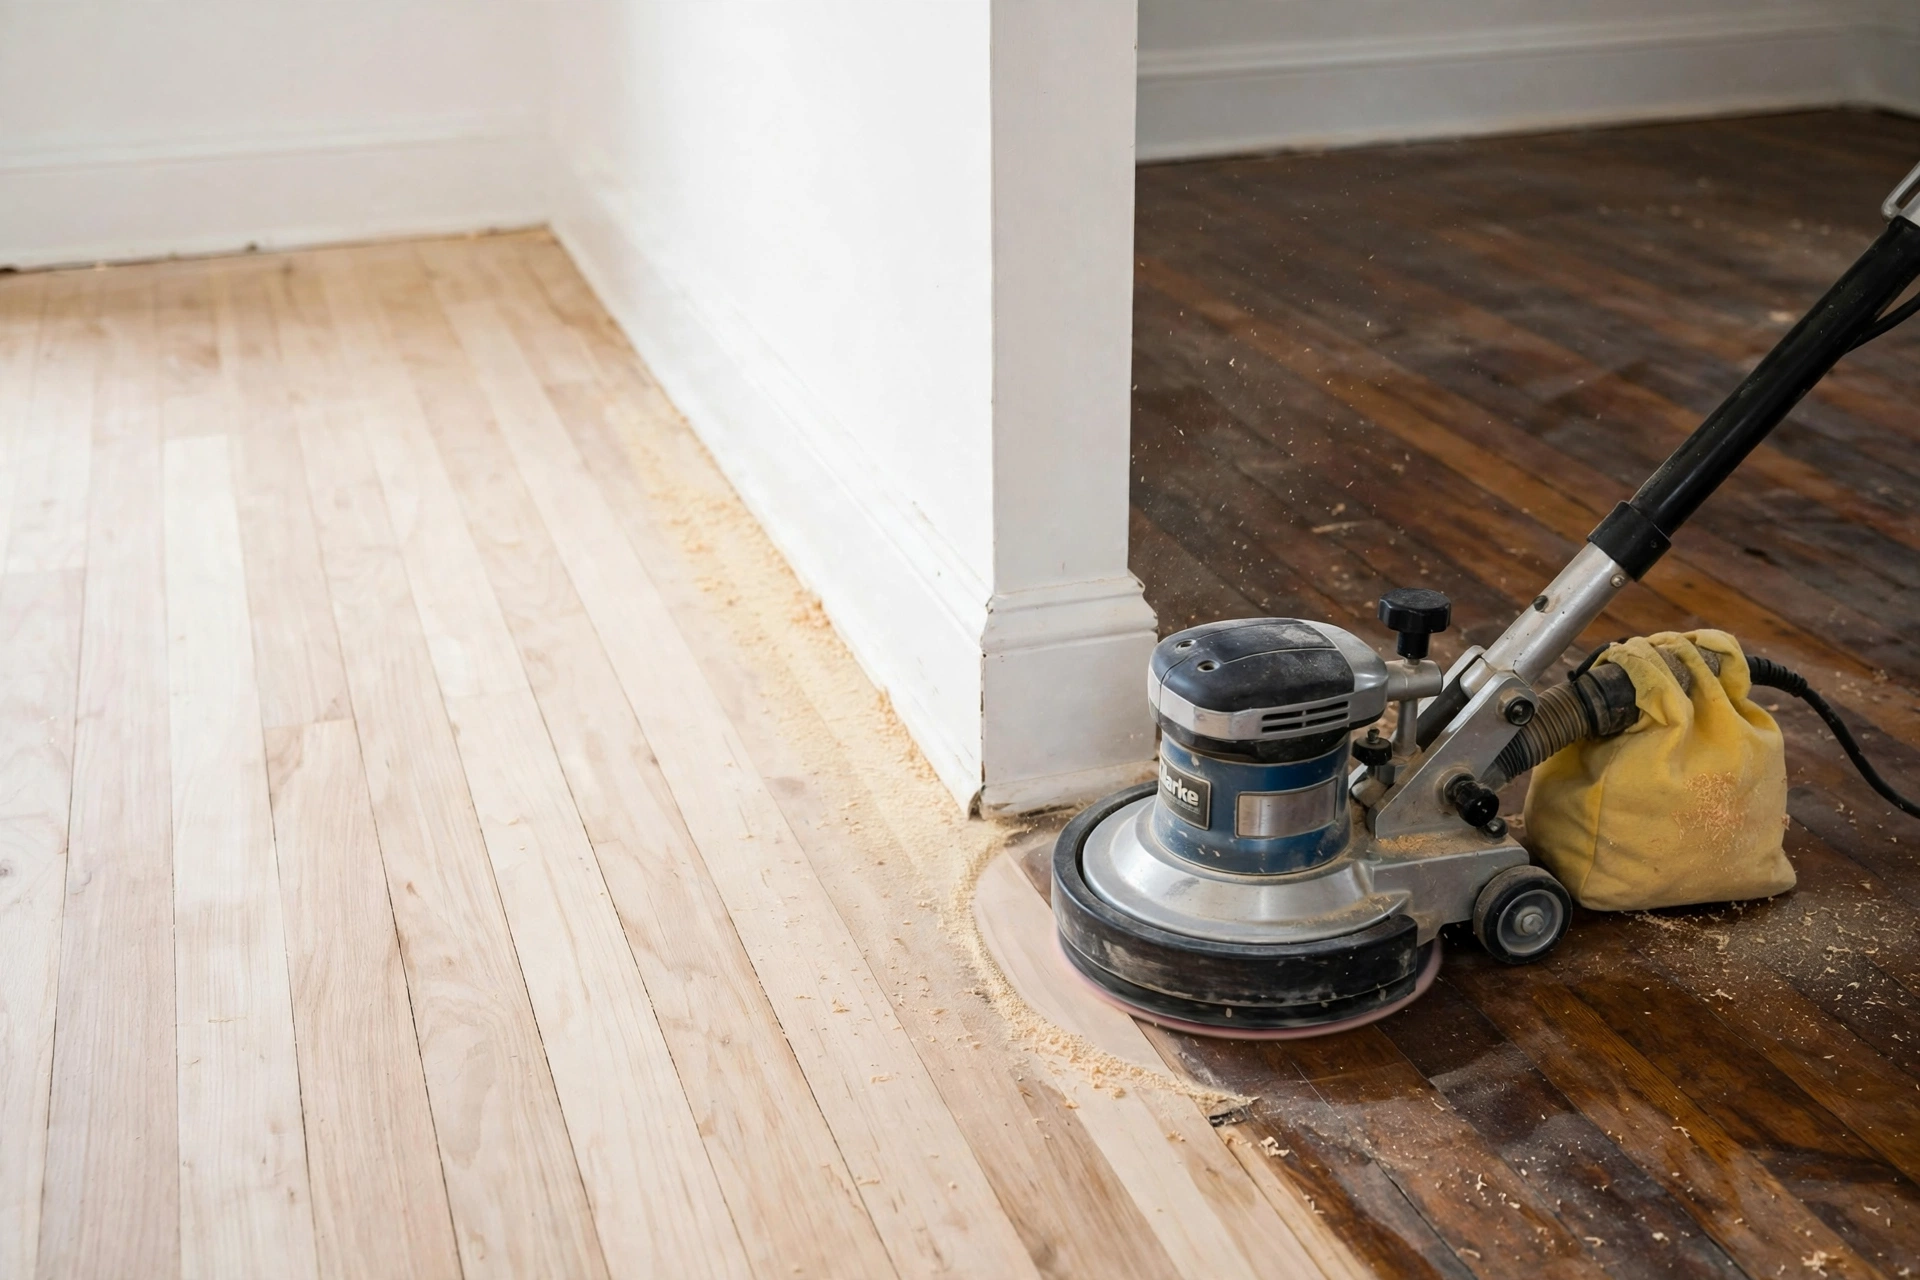
The big sander cannot reach the last few centimetres, and that is the edger's whole job. Run it in the same grit order as the main floor, coarse if the edges need it, then medium, then fine, working in small circles and keeping it flat so it does not dish the wood. Where the two machines meet, feather the passes together so there is no visible line between edged and field. Corners defeat both machines. Those you do by hand, with a sharp scraper and a sanding block, and yes, it is slow, and yes, it shows if you skip it.
Dust discipline
Sanding makes a startling amount of dust, and dust is the enemy of a good finish. Empty or change the dust bag well before it is full, because a choked bag stops collecting and starts broadcasting. Between every pass, vacuum the whole floor with a soft brush attachment, slowly, including the edges. Right before your first coat of finish, go over the boards with a tack cloth, the slightly sticky cloth sold for exactly this, and pick up the film a vacuum leaves behind. If you can see dust on the floor, it will be in your varnish.
Putting the finish on
Two honest routes. The first is water-based floor varnish, three coats, applied along the boards with a pad or a short-pile roller made for floors. Lightly sand with fine paper between the first and second coat, vacuum and tack again, then leave the last coat alone. It is hard-wearing, low-smell, and the finish I would point any beginner at. The second is hardwax oil, two thin coats worked into the wood and buffed. It gives a softer, more natural feel, and its real superpower is repair: a worn patch in front of the sofa can be re-oiled on its own in an hour, where a varnished floor has to be recoated whole. It is less armour, more skin, and some of us prefer that trade.
Whichever you choose, work in board-length runs and keep a wet edge. Stopping halfway along a board to answer the door leaves a lap mark, a visible line where the two applications overlap, and it will catch the light forever. Plan your exit before the first coat: work towards the door, and be sure everything you need is on the other side of it.
Drying is not curing
A floor finish dries on the surface long before it is hard all the way through, and confusing the two wrecks more floors than sanders do. Follow the tin, but as a shape: walk on the finished floor in socks once it is dry to the stated time, usually the next day. Put furniture back after a few days, and lift it into place rather than dragging it. Keep rugs off for a week or two, because a rug traps the finish's last hardness from forming evenly and can leave a shadow of itself behind. One room, honestly paced, is a long weekend of work plus a few quiet days of waiting. The waiting is part of the job, not a delay in it.
The lighter alternative nobody mentions
Before you commit to the full sand, know this: a lot of floors that look exhausted are not worn through at all. The wood is fine; only the top of the finish is grey and scratched. Those floors need a deep clean and what the trade calls a screen and recoat: the existing finish is lightly abraded all over with a fine mesh screen on a polishing machine, just enough to give new finish something to grip, then one or two fresh coats go on top. No bare wood, no coarse passes, a day instead of a weekend, and a fraction of the dust. It cannot fix deep stains, pet marks that have gone through into the wood, or boards worn down to grey. But if your floor's problem is a tired surface rather than damaged wood, it is the honest first answer.
Mistakes I have made or watched happen
- Stopping the drum. One pause to wave at a neighbour, one crescent gouge. Move first, always.
- Skipping the medium pass. The floor looks fine bare, then the varnish goes on and the coarse scratches show through in long corduroy lines. Every pass removes the last pass's marks; there are no shortcuts, only redos.
- Finishing over dust. A rushed vacuum, a gritty first coat, and a floor that feels like sandpaper forever. The tack cloth is not optional.
- Dark stain on a first attempt. Stain magnifies every flaw, every lap, every missed scratch, and it cannot be lightened without sanding again. Natural wood under a clear finish is the forgiving beginner choice, and it is beautiful.
- Hiring for one day and rushing. Hire over a long weekend and give the machines back late rather than hurrying a pass. The hire fee is the main cost of this job; the finish and belts are the rest, in that order. Do not let the smallest saving drive the biggest job.
That is the whole walkthrough. Check the floor, respect the passes, keep moving, keep it clean, and let the finish cure. Tell me in the comments what you found when you lifted your threshold strip: solid gold, or engineered and already sanded once?
Questions I get asked about refinishing floors
Can I live in the house while I do this?
Yes, if you work one room at a time and keep the dust discipline: door sealed, machines bagged, hallway vacuumed at the end of each day. You will lose the use of that room for the weekend and walk around it for a few days after. Doing the whole ground floor at once means moving out to a friend's sofa, and I would not plan a first floor that way.
How do I know if my floor only needs a screen and recoat?
Look for the difference between a tired surface and damaged wood. If the colour is still there under the grey, the scratches sit on top, and there are no black water stains or boards worn pale in the traffic lanes, a clean, screen and recoat will likely bring it back. If stains have gone dark into the wood itself, only sanding past them fixes it, so test an inconspicuous corner and look honestly at what you find.
How many times can a floor be sanded in its life?
It depends entirely on the wood above the tongue. A thick solid board might take four or five careful sands across a century of owners; a thin one, or an engineered wear layer, might have one in it, total. That is why the edge check comes first: you are not counting your floor's age, you are measuring its remaining budget.
Can I sand just the worn traffic lane instead of the whole room?
You can, and the patch will look clean and new, which is exactly the problem: it will read as a pale stripe across a mellow floor, and the new finish will not blend at its edges. Floors are done room by room, wall to wall, because light crosses the whole surface and finds every seam. Corners of a room forgive; the middle never does.
Lisa Ben
Lisa paints, builds, thrifts and rearranges her way through one very patient house, then writes down everything she learns here on Wazala. White paint is her favourite argument. New projects land every Tuesday, Thursday and Saturday, and the Sunday Letter rounds them up once a week.
You might also like

How To Fix A Squeaky Floor (Without Lifting The Boards)
Find the joist, fix the board, silence the squeak, all from above.
Read more →
Is That Crack In The Wall Serious? A Calm Guide
Which cracks are just plaster being plaster, and which ones earn a phone call.
Read more →
How To Stop A Door From Slamming In The Wind
The closer adjustment, the latch check and the cheap pads that end the bang.
Read more →