How To Hang A Door: Shims, Hinges And Getting The Reveal Even
 By Lisa Ben
·
October 13, 2026
·
10 min read
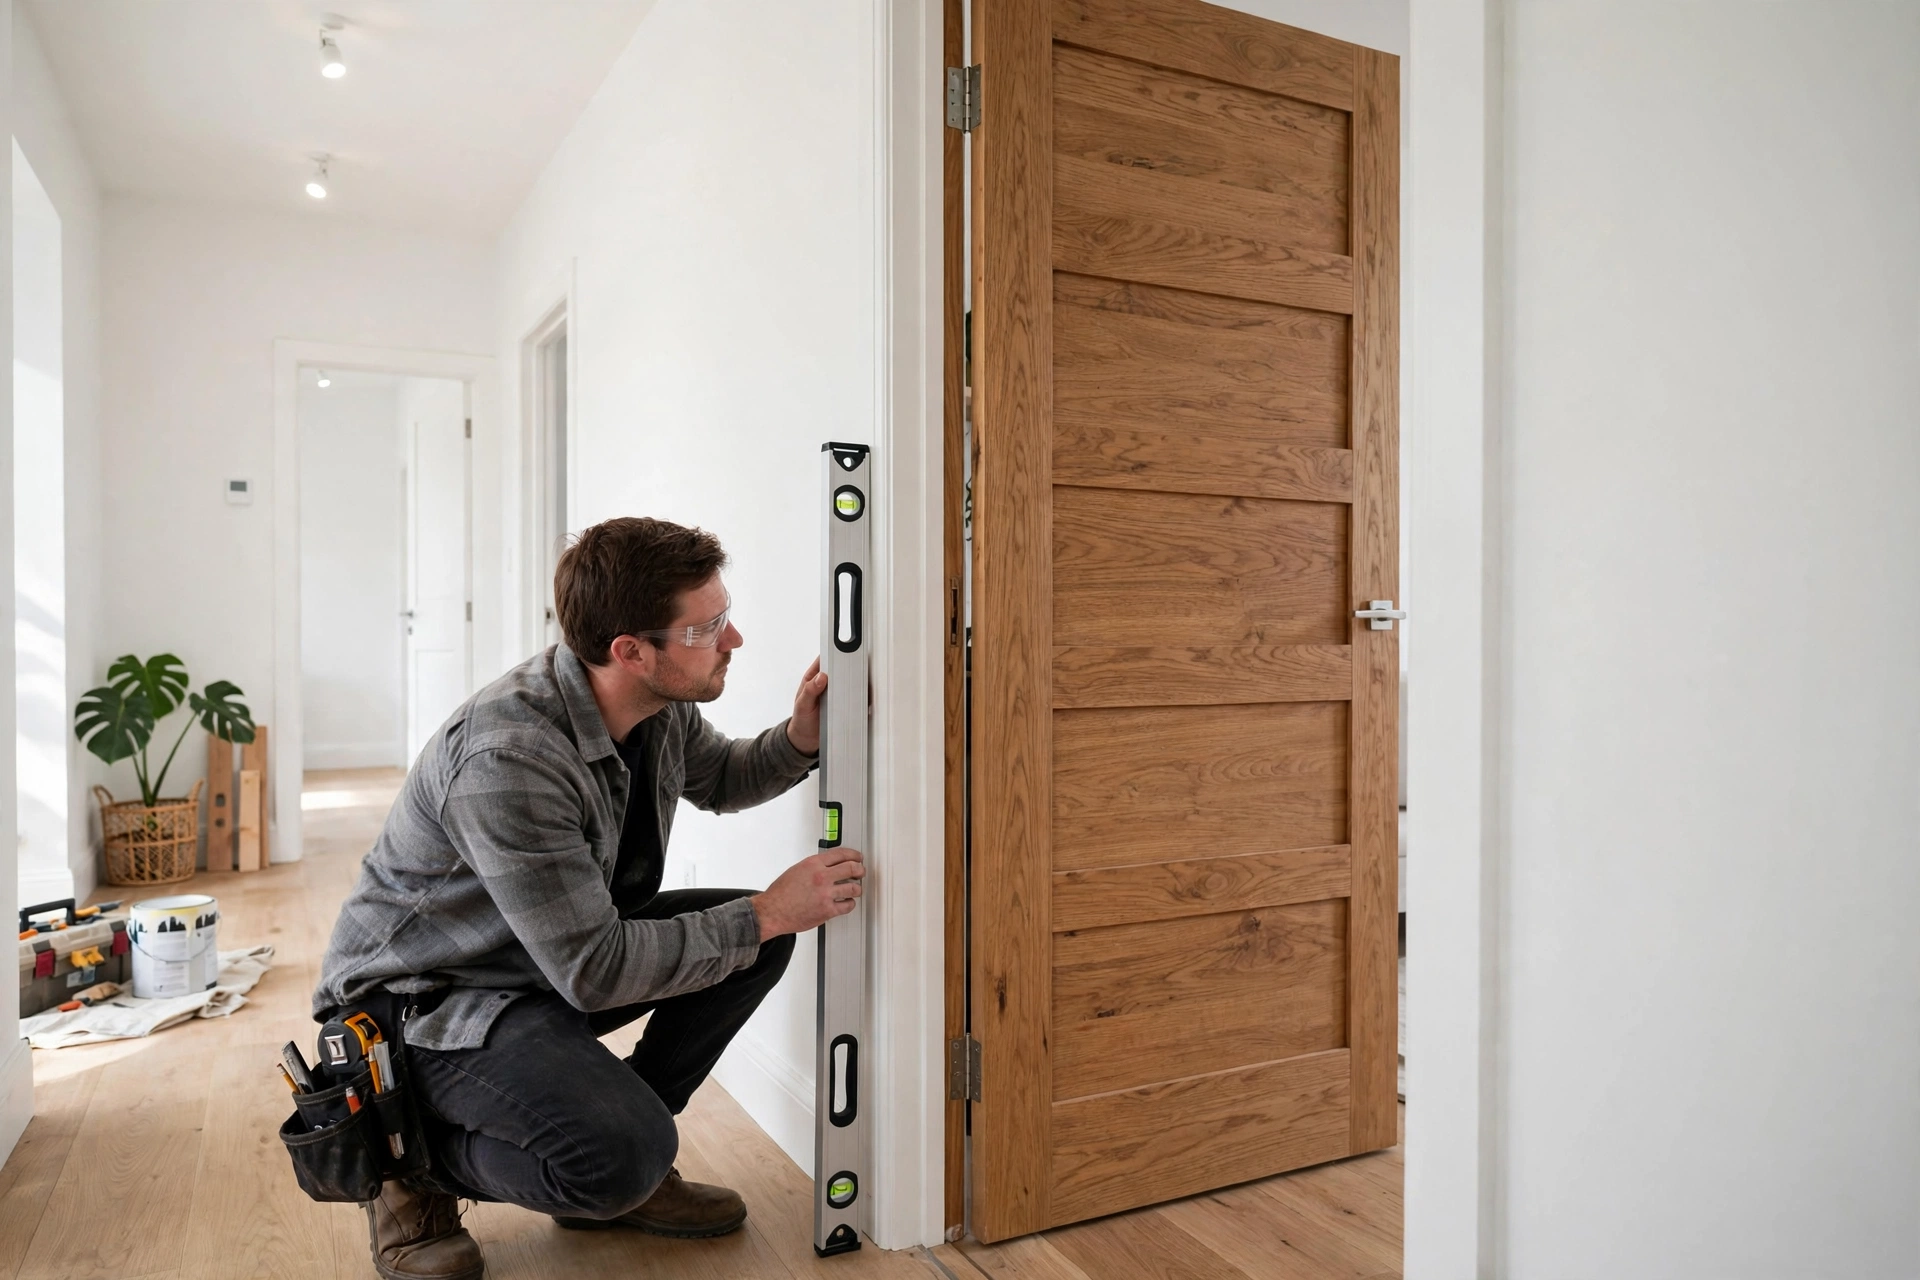
If there is one job in this house that has taught me patience, it is hanging a door. On paper it sounds simple: a rectangle of wood, an opening, three hinges. In real life you are fitting a perfectly square rectangle into an opening that is almost certainly not square, in a house that has had decades to lean, settle and shrug. The door is rarely the problem. The opening is.
That is the honest framing for everything below. You are not forcing the door to fit. You are persuading it, a millimetre at a time, until the gap runs even and it swings the way a door should: smoothly, quietly, and staying where you leave it.
One more piece of honesty before we start. This is a two-person job. A solid internal door is heavy and awkward, and a fire door is heavier still. A door lifter helps once the door is in position, but getting it there, holding it steady while you mark it, and catching it when it tips takes a second pair of hands. Borrow a helper and pay them in tea. And keep fingers well out of the hinge side while the door is being moved: a closing hinge gap takes no prisoners.
Measure everything, then measure it again
Old openings taper. That is the first thing to accept. Measure the width of the opening at the top, in the middle and at the bottom, and the height on both sides. In my hall those three width measurements differed by nearly a centimetre, and that was on a good day.
The door gets bought, or trimmed, to fit the smallest of those measurements. Size it to the widest point and it will jam at the narrow one. If you are buying new, check the label before you fall in love: every door has a trim allowance, the amount the maker says you can safely take off the edges, printed on the packaging or the edge of the door itself. Hollow-core doors have very little meat on them, sometimes only a narrow strip of timber around a cardboard honeycomb. Read the allowance off the label rather than trusting a number from the internet, this page included.
The reveal: the gap that tells you everything
The reveal is the gap between the door and the frame, the thin shadow line you see when the door is closed. It is the whole game. A typical target is around 2 to 3 millimetres along the top and both sides, even all the way round, with a bigger gap at the bottom to clear carpet or flooring. Doors and frames vary, so treat that as a starting point rather than a law, but the principle holds: even matters more than exact. A gap that runs from 1mm at the top to 6mm at the bottom looks wrong from across the room, and usually means the door binds, rattles or swings on its own.
Keep that picture in mind: every adjustment below is just you evening up the reveal.
What you need
- Tape measure and a pencil (pencil, not pen: you will change your mind)
- A long spirit level, long enough to span most of the door's height
- Shims or wooden wedges, a handful more than you think
- Drill and screwdriver bits
- A sharp chisel, around 20mm, for the hinge recesses
- A plane, for trimming edges a shaving at a time
- A door lifter, or a flat pry bar and a helper with a steady foot
- Hinges: three for a heavy or solid door; two is fine for a light hollow one
- Screws, plus one long screw for the top-hinge trick in step 3
Step 1: Offer it up and trim the right edges
Stand the door in the opening, resting on wedges so the bottom gap is roughly right, and see where it touches. It will touch. Mark the tight spots in pencil, take the door down, plane a little off, then offer it up again. Little is the word: you can always take more off, and nobody has yet invented a way to plane wood back on.
Trim the leading edge, the side that closes into the frame, and the bottom. Once the hinge positions are marked, leave the hinge edge alone: every millimetre off that side shifts the door across the opening and ruins the recesses you are about to chop. If a tapering opening means one side needs a lot off, take it all from the leading edge and accept a look nobody but you will ever notice.
Step 2: Mark and chop the hinge recesses
Lay the door on its edge, hinge side up, and mark the hinge positions: one near the top, one near the bottom, and one in the middle if you are using three. Use the hinge itself as the template and score around it. Then chop the recess with the chisel, shallow cuts across the grain first, then pare down to depth. The recess should be exactly the thickness of the hinge leaf, so the hinge sits flush with the door's edge. Too shallow and the door binds on the hinge side. Too deep and the reveal gets pulled closed on that side, and the door springs back at you when you try to shut it.
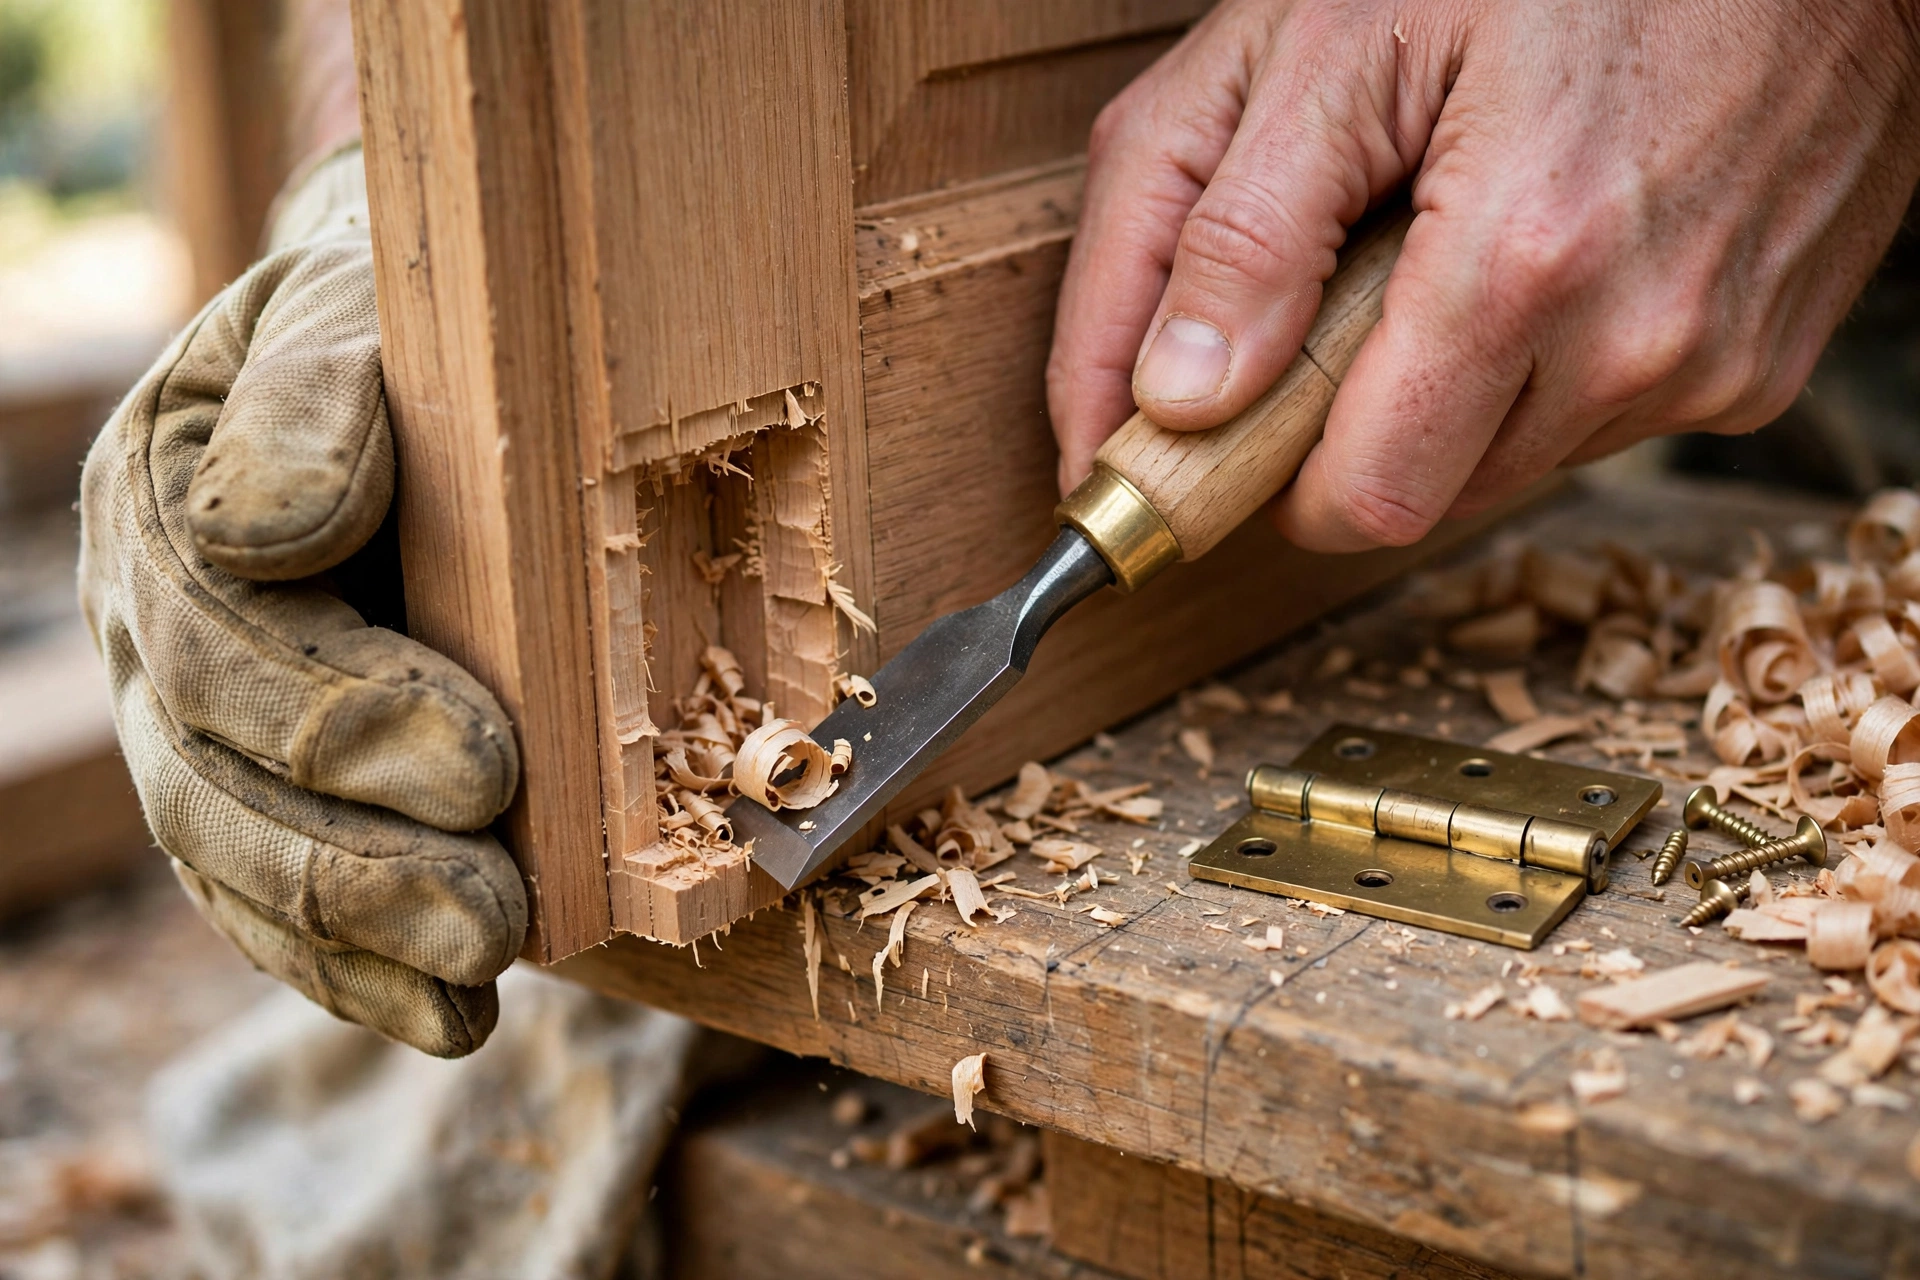
Screw the hinges to the door first. Then mark the frame, using the door itself, wedged at the right height with the bottom gap set, to show you where the frame recesses belong. This is where the helper earns the tea.
Step 3: Hang it, and use the long screw trick
With the door wedged at the right height, screw the hinges to the frame. Put one screw in each hinge first, not all of them, so you can still adjust. Close the door gently, study the reveal, and only drive the remaining screws home when the gap behaves.
Here is the trick every joiner I have ever met swears by. In the top hinge, replace one short screw with a long screw, long enough to pass through the frame and bite into the stud or timber behind it. The top hinge carries most of the door's weight and does most of the sagging over the years. That one screw anchors it to the structure of the house, and it is the best defence against a door that drops and starts catching the frame by Christmas.
Step 4: Shims, if the frame is going in too
If you are swapping a door into an existing frame, skip this step and count your blessings. If you are fitting a new frame or lining as well, shims are how you make it true. The frame gets fixed through pairs of shims, slipped in from opposite sides so the pair sits flat, placed behind each hinge point and behind where the latch will land, because those spots take the force.
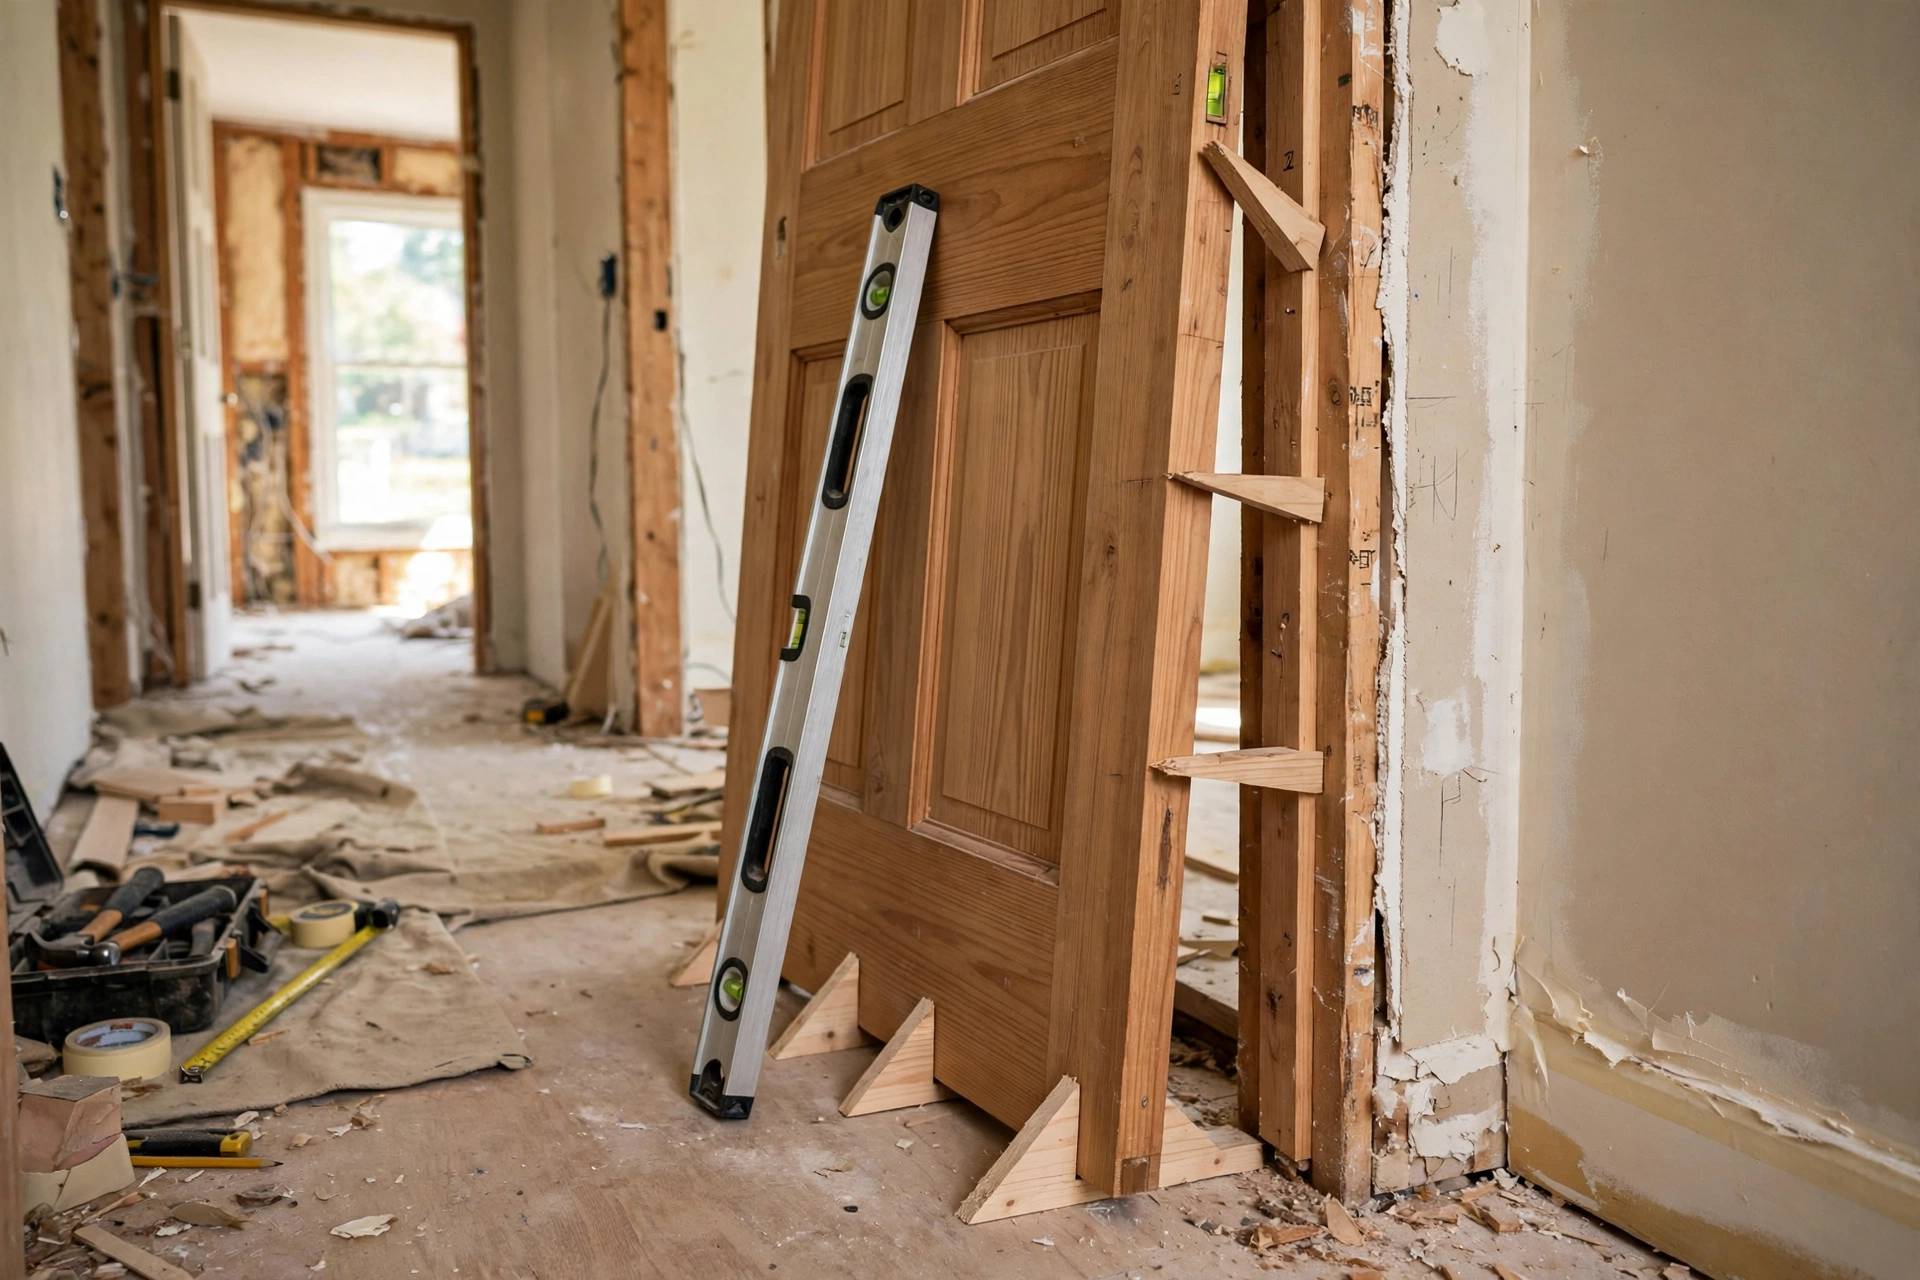
Check the frame for plumb on both sides and level across the head, and then check for twist, the sneaky one. Hold a long level or a string line against the face of the frame at the top and the bottom. If the top leans one way and the bottom the other, the door will never sit flat, and no amount of planing fixes a twisted frame. Get the frame true first, then hang the door.
Step 5: Adjust until it stays where you leave it
Now the fiddly, satisfying part. Close the door and walk the reveal with your eyes, then with a coin as a feeler gauge. Tight at the top on the latch side? The door has dropped a fraction: check the top-hinge screws, especially that long one. Binding on the hinge side? A recess is a touch shallow, or a screw head sits proud of the hinge leaf. Scraping at the bottom corner? Plane a whisker off it.
Then do the ghost-door test. Open the door halfway, let go, and watch. A well-hung door stays put. If it drifts slowly shut, or creaks open on its own like something from a horror film, the hinges are hung out of plumb and gravity is doing the rest. Small adjustments, a shim behind a hinge or a recess eased by a shaving, bring it back. This test matters more than any measurement, because it is how the door will behave every day of its life.
Step 6: Latch and handle, last of all
Only fit the latch and handle when the door hangs right, because the latch has to meet a door that has finished moving. Mark the latch position from the closed door onto the frame, fit the strike plate, and adjust it so the door closes with a soft click. If it rattles when shut, the little tab on the strike plate needs bending in a touch. If you have to slam it, the plate needs to come out a touch, or the latch meets it off-centre. A door you have to slam is a door that was finished in a hurry.
Paint all six edges, including the ones nobody sees
A door has six edges, and the two everyone skips, the top and the bottom, are the two that drink in moisture. Left unsealed, the bottom edge swells slowly in the damp air just above the floor, which is a big part of why doors that were fine in August start sticking in January. It is not the house moving. It is the door drinking. Seal all six edges when you decorate, and if you plane the bottom to fit, seal the fresh wood before the door goes back on.
Mistakes I have made, or watched happen
- Trimming the hinge edge. It feels like the obvious place to gain a few millimetres. It is a trap. The door shifts across the opening, the recesses land in the wrong place, and the reveal on the latch side doubles. Leading edge and bottom only.
- The spinning screw. A hinge screw that turns forever sits in a stripped hole, and it will let go eventually. Glue in a golf tee or a short length of dowel, trim it flush when dry, and drill a fresh pilot hole. Ten minutes now, or a dropped door later.
- Hanging alone. I have done this. The door tipped, the corner hit the floor, and I spent the next hour filling the dent I had just made in a brand-new door. Two people. Every time.
- Forgetting the bottom gap. The door is hung beautifully in October. The new carpet arrives in November, thicker than the old one, and the door now ploughs a neat furrow through the pile. Judge the gap against the finished floor, not the floorboards.
Questions I get asked about hanging doors
How long does it honestly take a first-timer?
Most of a day, and I would plan for that rather than fight it. A practised joiner might do it in an hour. Your first door involves offering it up and taking it down half a dozen times, and each round makes it better. Put the kettle on and do not book anything for the evening.
Can I hang a door on my own?
A light hollow-core door, possibly, with a door lifter and patience. A solid door or a fire door, no: they are heavy, they tip without warning, and you cannot hold one steady and mark it at the same time. This is the one job where I always round up a second person.
Why does my door swing shut by itself?
Because it was hung slightly out of plumb, usually because the frame leans or one hinge sits a fraction deeper than the others. Gravity finds the slope and the door follows it. Shim behind a hinge or ease a recess by a shaving until the door stays where you leave it. That is the ghost-door test in step 5.
How much can I trim off a new door?
Only what the maker allows. Every door carries a stated trim allowance on its label, and it differs a lot: solid doors usually allow a reasonable amount per edge, while hollow-core doors may allow very little before you cut into the hollow middle. If the opening needs more off than the allowance gives, the honest fix is a different door or work on the frame, not one brave pass with the plane.
Hang one door slowly and well, and every door after it gets easier, because the reveal stops being a mystery and becomes a checklist: even gap, flush hinges, one long screw, and a door that stays where you leave it. Tell me in the comments which door in your house swings, sticks or rattles, and I will tell you which step I would look at first.
Lisa Ben
Lisa paints, builds, thrifts and rearranges her way through one very patient house, then writes down everything she learns here on Wazala. White paint is her favourite argument. New projects land every Tuesday, Thursday and Saturday, and the Sunday Letter rounds them up once a week.
You might also like
How To Stop A Door From Slamming In The Wind
Once it hangs straight, stop it banging: closers, felt pads and the draught checks that calm a slammy door down.
Read more →
How To Fix A Squeaky Floor (Without Lifting The Boards)
The other noise in the hallway: track down the squeak and silence it from above, no floorboards harmed.
Read more →
Is That Crack In The Wall Serious? A Calm Guide
While you are looking at the frame, look at the wall too: which cracks are cosmetic and which ones deserve a second opinion.
Read more →