How To Clean A Stainless Steel Sink Until It Shines
 By Lisa Ben
·
October 18, 2026
·
9 min read
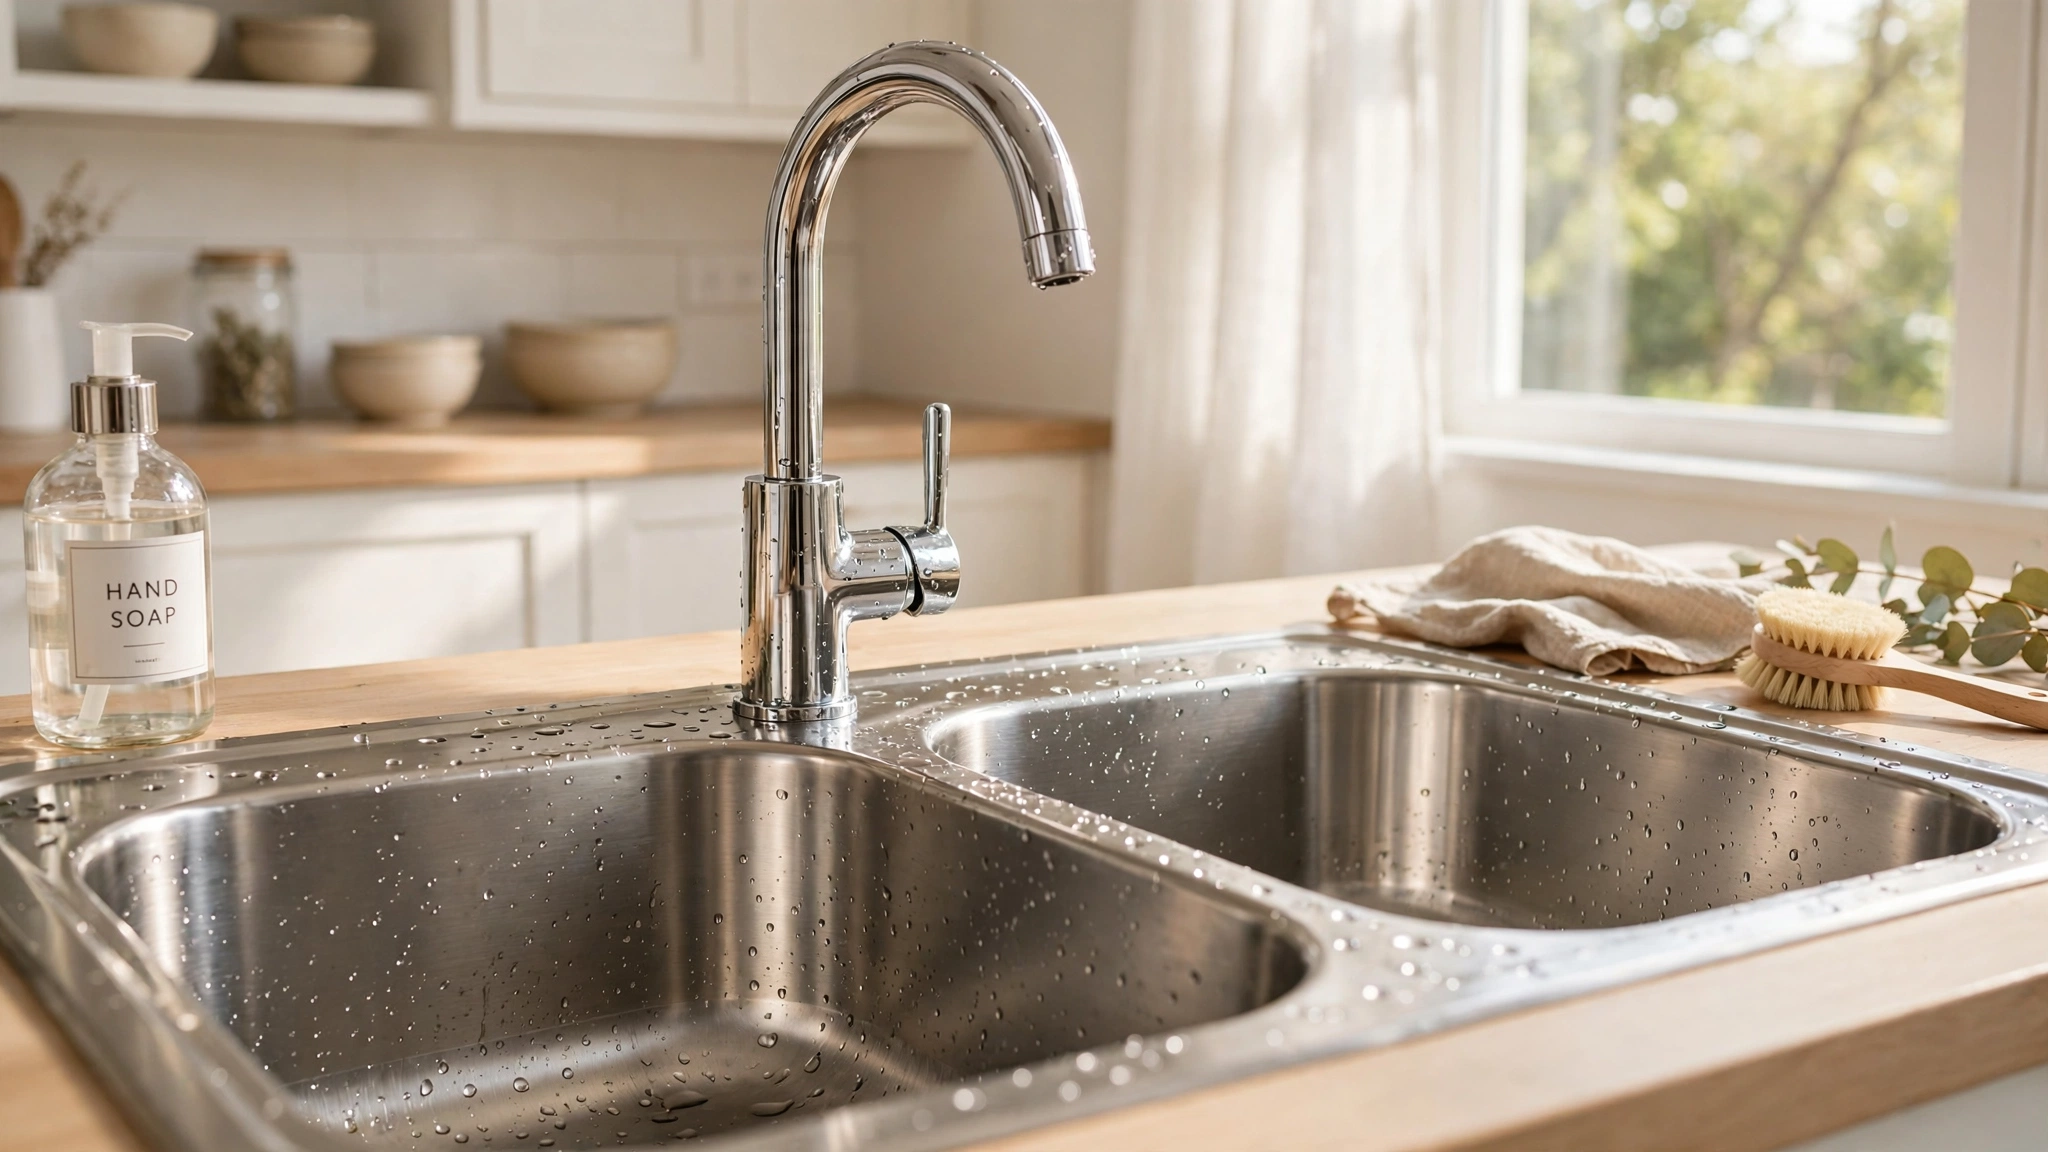
There is a particular kind of irritation reserved for a stainless steel sink that refuses to look clean. You have washed it. You have wiped it. And still it sits there, cloudy and spotty, like it is keeping secrets. Mine looked like that for the first year we lived here, and I spent that year blaming the sink, the water and every spray in the cleaning aisle.
The sink was fine. I was cleaning it the wrong way, scrubbing in circles and leaving it wet. Once I understood two things, what water spots actually are and which direction the steel runs, the whole job changed. It now takes about ten minutes once a week, plus one tiny daily habit. Here is the full routine, in the order I do it.
Why stainless steel goes dull in the first place
Most of what you are seeing is not dirt. Those white and grey spots are mineral deposits, mostly calcium and magnesium from your tap water. Every droplet that lands on the steel evaporates eventually, and when the water goes, the minerals stay behind. One droplet leaves nothing you can see. A month of droplets leaves a film, and the film dulls the shine and gives actual dirt something to cling to. This is why a sink in a hard-water area can look tired two days after a proper clean. It is also good news, because mineral deposits are easy to shift once you know what dissolves them.
There is a second film working against you too, and it is the opposite kind of dirt: grease and soap. Cooking splashes, washing-up liquid residue and the general mist of a working kitchen settle on the steel in a thin layer that grabs hold of the mineral deposits and spreads them into smears. This is why a sink can look streaky rather than spotty, and why plain water alone never fixes it. You need something to shift the grease and something to dissolve the minerals, and they are two different jobs. The routine below does them in that order, grease first with the paste, minerals second with the acid. Swap the order and each one gets in the other's way.
The second thing is the grain. Stainless steel is not smooth like glass. It is brushed, which means the surface is covered in very fine parallel lines. Look at your sink in low light and you will see them running one way. Those lines decide everything. Clean across the grain and you push grit sideways into the lines, where it stays, and over time you can add fine cross-scratches that catch the light badly. Clean along the grain and the cloth travels with the lines, lifting deposits out and blending small marks instead of highlighting them. Every step below follows that one rule.
The 60-second habit that does most of the work
Before the weekly routine, this. After the washing up is done, rinse the loose bits down the drain, give the bowl a quick wipe with the dish cloth, and then dry the sink with a clean tea towel or a dry microfibre cloth. Sixty seconds, if that.
The drying is the actual secret, and it took me an embarrassingly long time to accept it. Spots form while water evaporates, so a sink that is put away dry simply does not collect them. The weekly clean below still matters, for the tap base and the drain and the film you cannot see yet. But the daily dry is what keeps the shine between cleans. Skip the drying and no product on earth will keep the sink bright. Do the drying and you can be fairly relaxed about the rest.
What you need
Nothing exotic, and nothing bought specially. It is probably all in the cupboard already:
- Bicarbonate of soda (baking soda) for the scrub
- White vinegar in a spray bottle, for limescale
- A drop of ordinary washing-up liquid
- Two soft cloths: one for scrubbing, one kept dry for buffing
- An old soft toothbrush for the fiddly edges
- A drop of olive oil, optional, for the final shine
The weekly clean, step by step
Step 1: Clear it out and rinse
Take everything out: the washing-up bowl, the brush, the soggy sponge, all of it. Rinse the whole sink down with warm water so the surface is wet. Cleaning a dry sink with paste just drags grit around. Wet steel, then start.
Step 2: Scrub with a bicarbonate of soda paste
Sprinkle bicarbonate of soda over the bowl and the draining board, roughly a tablespoon or two, then add a splash of warm water and work it into a soft paste with your cloth. You want the texture of toothpaste, not soup. Now scrub along the grain, in straight strokes that follow the brushed lines, with light pressure. Bicarbonate is a mild abrasive, much softer than the steel, so it shifts deposits and grease without scratching, as long as the cloth is soft and you let the paste do the work instead of your elbow.
Work the toothbrush, loaded with paste, around the base of the tap, along the back edge where the sink meets the worktop, and around the rim of the drain. These are the spots a cloth skates over, and they are where the grey ring lives. Give the draining board grooves the same treatment, following their direction.
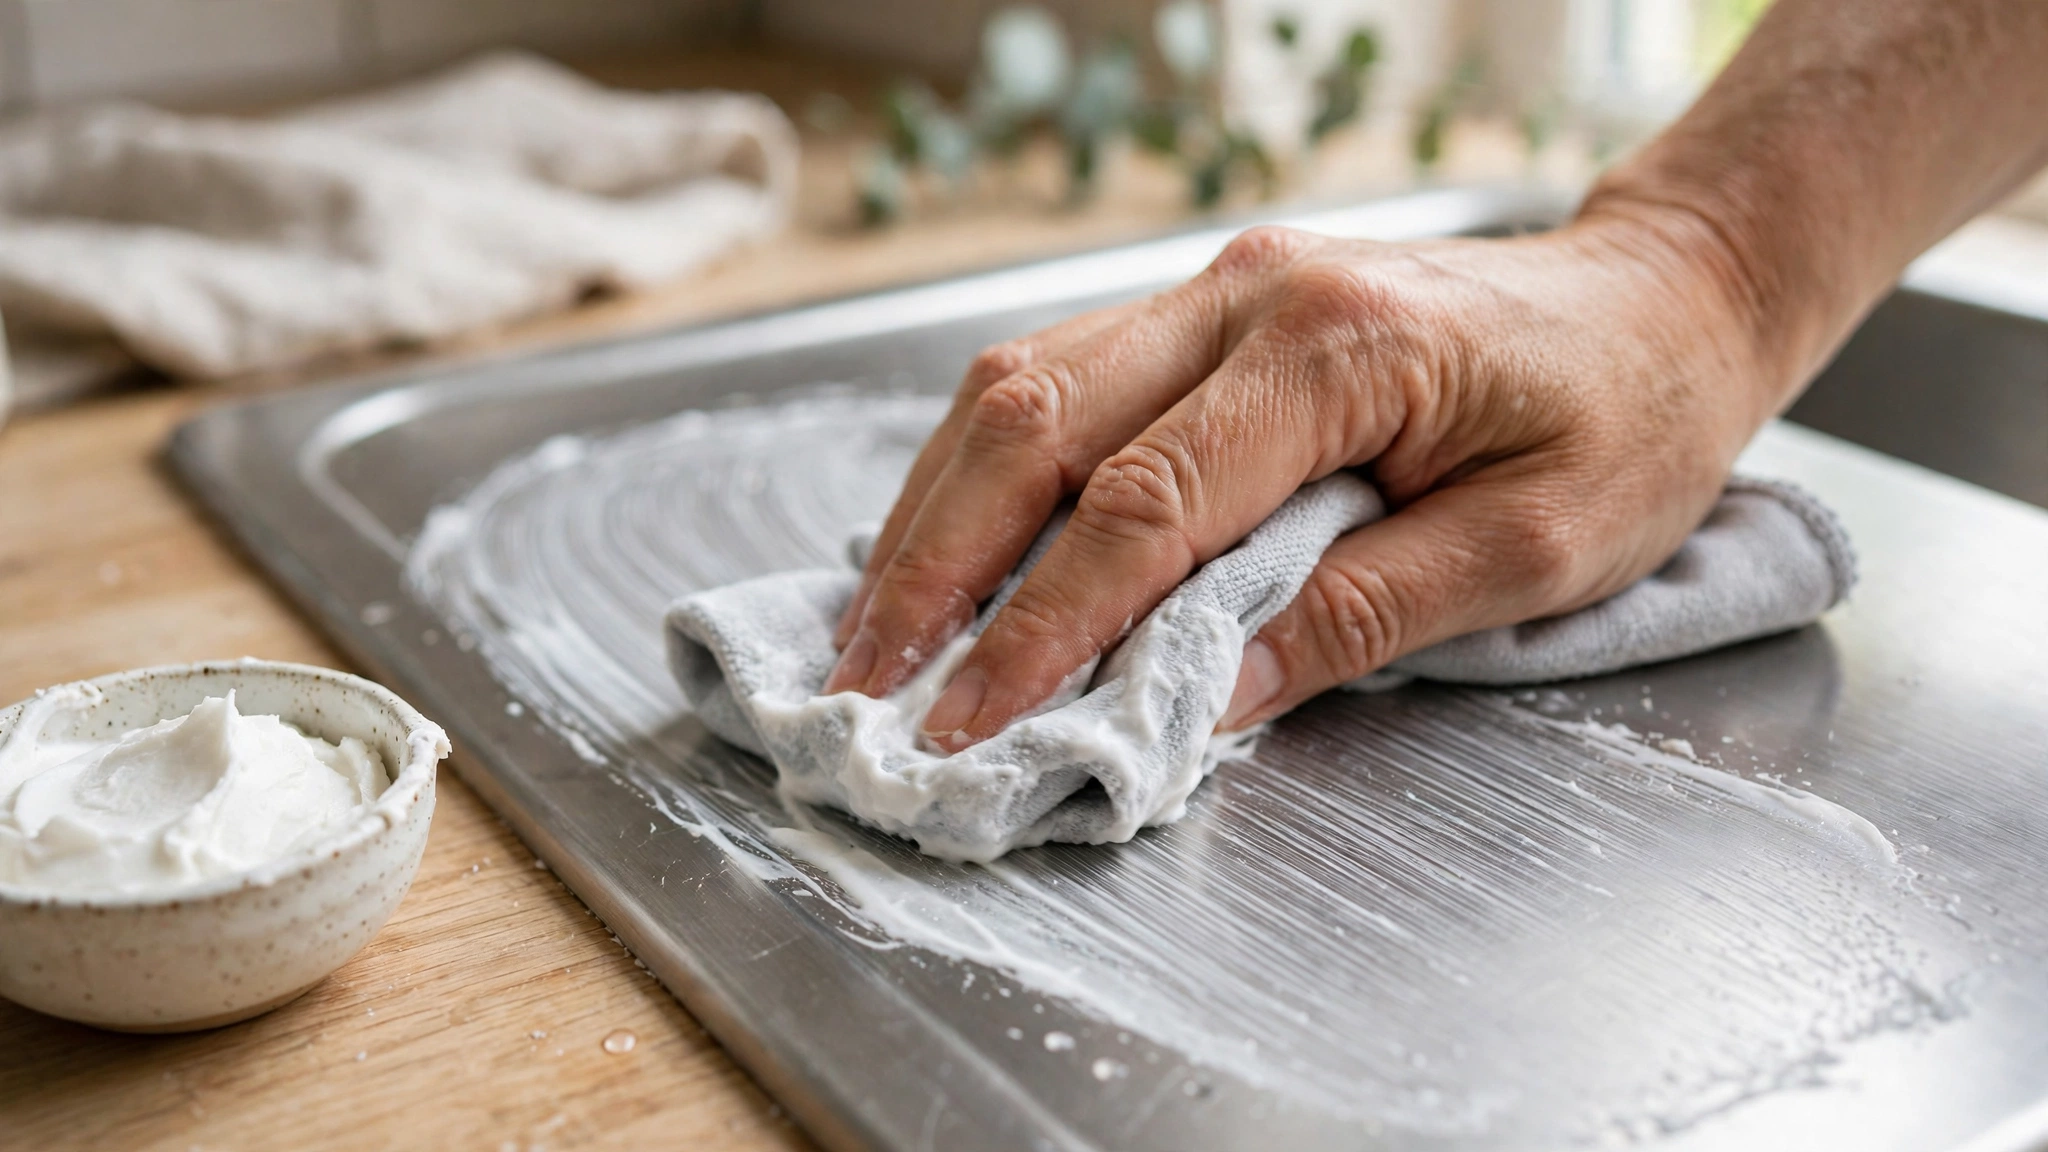
Step 3: Rinse the paste away properly
Rinse everything down with warm water and check with your fingers. The steel should feel smooth, not gritty. This rinse matters more than it looks, because of the next step: vinegar and bicarbonate cancel each other out. Leave paste behind and your vinegar spray will spend itself fizzing on leftover bicarb instead of dissolving limescale.
Step 4: Vinegar for the limescale
Now spray white vinegar onto the taps, the waterline marks and any chalky patches, and leave it for a minute or two. Vinegar is a mild acid, and acid is what dissolves mineral scale, so this is the step that melts the white crust around the tap base and the streaks under the spout. Wipe, rinse with water, and repeat on any stubborn patch rather than scrubbing harder.
One safety rule that is not optional: never mix vinegar with bleach, or use one straight after the other without rinsing in between. Acid plus bleach makes chlorine gas, which is genuinely dangerous. It is one of the reasons I keep bleach products nowhere near my sink routine at all. Rinse the sink with plain water between any two products, always.
Step 5: Dry it, then buff
Take the dry cloth and dry the whole sink, bowl, draining board and taps, again following the grain. Then keep going for another twenty seconds once it looks dry. That extra buffing is the difference between clean and shining, because it removes the last faint smears while the surface is still warm from the rinse. Stand back and check it in the light. The steel should throw the light back at you in one direction, along the brushing.
Step 6: The olive oil finish (optional)
This is the trick I resisted because it sounds like a rumour, and it works. Put a drop of olive oil, and I mean a drop, not a glug, on a clean dry cloth and buff it over the steel along the grain. The film left behind is so thin you cannot feel it, but it fills the microscopic lines just enough to deepen the shine, and water beads on it for a few days instead of sitting flat and spotting. Too much oil goes the other way: it turns tacky and grabs dust and fingerprints. If you would rather have no film at all on a surface you prep food near, skip this step without guilt. A well-dried sink already looks ninety percent as good.
The edges and fiddly bits everyone skips
While the cloth is out, run it along the raised rim where the sink sits into the worktop. That lip collects a grey line of trapped water and crumbs, and it is the first place that starts to smell stale. The toothbrush and paste deal with it in seconds. Wipe under the tap lever as well, and around the overflow slot inside the bowl, which quietly grows its own film. None of this adds two minutes to the job, and it is the difference between a sink that looks cleaned and a sink that looks cared for. If the sealant line around your sink has gone black in a spot, that is a sealant problem, not a cleaning one. No scrubbing fixes it, and picking at it makes it worse. Score that as a small weekend job of its own rather than a reason to attack this one harder.
Finding the grain: if you cannot see the lines, run a fingertip lightly over the dry steel. It feels smoother in one direction than the other. Smooth direction is your grain. On most sinks the bowl brushes front to back and the draining board side to side, so change direction when you change surface.
Problem solvers for the marks that stay behind
Rust-coloured spots
Small rusty freckles on stainless steel cause real panic, and they are almost never the sink rusting. They usually come from something else made of iron that sat wet in the bowl: a tin left to soak, a cast-iron pan, a stray steel-wool strand. Iron particles transfer onto the surface and then rust there, on top of the steel. Cover the spot with bicarbonate paste, leave it ten minutes, and rub gently along the grain. Repeat rather than pressing harder. Nine times out of ten it lifts completely, and the lesson is simply not to store wet iron in the sink overnight.
Tea and coffee stains
The brown shadow in the bowl, and the drip mark under the teapot spot on the draining board, are tannins. The weekly paste shifts most of it. For a stain that has built up over months, make the paste slightly wetter, spread it over the mark and leave it for fifteen minutes before scrubbing. It comes away in layers, so two patient rounds beat one violent one.
Hard-water film
Sometimes the whole sink looks veiled, a cloudy grey sheet over everything. That is scale spread thin and wide. Lay a cloth soaked in white vinegar over the worst area for ten to fifteen minutes, like a compress, then wash with warm water and a drop of washing-up liquid, rinse and dry. The acid needs contact time on film like this. Spraying and wiping straight away is too quick to do it.
Light scratches
Here is the honest part: you can blend scratches, you cannot erase them. A deep score from a dragged pan is in the metal for good. But the pale web of fine scratches that builds up over years can be softened a lot, because most of what your eye catches is scratches running across the grain, flashing at the wrong angle. Gentle paste work along the grain, plus the buffing step, evens out how the surface reflects light and those fine lines stop shouting. The rest is patina. Sinks earn it, the same way wooden tables do, and a lived-in shine beats a showroom one in a working kitchen anyway.
What never to use on stainless steel
Three things do permanent damage, and the damage is always worse than the stain you were chasing. Steel wool and metal scourers scratch the brushed finish and shed tiny iron fragments that rust later, which is how people create the very spots they were trying to remove. Scouring powders that contain bleach, and chlorinated cleaners generally, attack the surface. And bleach or oven cleaner left sitting in the bowl is the worst of the lot: the chlorides pit stainless steel, leaving tiny permanent holes that hold dirt forever. A splash of a bleach-based spray wiped off promptly is one thing. A bowl left soaking in it while you answer the door is how sinks get ruined. If it is on the never list in this house, it is anything that needs to sit on the steel to work.
Do not forget the taps and the drain
A gleaming bowl under a crusty tap still looks half done. While the vinegar is out, unscrew the little mesh cap at the tip of the spout, the aerator, and drop it in a cup of vinegar for an hour. It collects grit and scale, and cleaning it out evens the water flow back up. Rinse it, screw it back on hand-tight, done.
For the drain, lift out the strainer or plug, scrub it with paste on both sides, and run the toothbrush around the rim of the waste where the dark ring forms. Polish the metal drain cover last, with the dry buffing cloth. It is the centre of the bowl, and a bright drain cover makes the whole sink read as clean from across the room.
The mistakes I made so you do not have to
- Scrubbing in circles. It feels thorough and does the opposite, working across the grain in every direction at once.
- Cleaning well, then leaving it wet. Half the shine is decided after the scrubbing stops. Dry it.
- Mixing products for extra power. Vinegar after bicarb without a rinse just fizzes. Vinegar anywhere near bleach is dangerous. One product, a rinse, then the next.
- Using the scratchy side of the sponge. That green scouring layer is fine for a burnt roasting tin. It is a scratch machine on brushed steel.
- Chasing a perfect finish every day. The daily job is sixty seconds with a tea towel. Save the full routine for once a week and it stops feeling like a chore.
Questions I get asked about sink cleaning
How often does a stainless steel sink actually need this?
The full routine once a week is plenty for most kitchens, with the dry-after-washing habit on the days between. If your water is soft, stretch the deep clean to every two weeks. If it is hard enough to fur a kettle in a month, weekly is right, and the vinegar step matters most for you.
Can I spray vinegar on the sink every day?
I would not. Vinegar is an acid, and daily acid is hard on the finish over time and rougher still on the sealant around the sink edge. Use it weekly on the taps and limescale spots, rinse it off, and let plain water and a dry cloth handle the daily job.
Why does my sink look worse right after I clean it?
Usually one of two reasons. Either it was left damp, so fresh droplets dried into a new set of spots across your clean steel, or it was scrubbed across the grain, which leaves a smeary cross-hatch that catches the light. Buff it dry, along the grain, with a clean cloth, and most of the damage undoes itself.
Is bicarbonate of soda really safe on stainless steel?
Yes. It is a mild abrasive, softer than the steel itself, which is exactly why it lifts mineral deposits without cutting the surface, provided you pair it with a soft cloth and light pressure. The danger to stainless steel was never the gentle powder. It is metal scourers, chlorinated cleaners and bleach left sitting.
That is the whole system: dry it daily, paste and grain weekly, vinegar where the scale lives, and nothing harsh enough to sit on the steel. Try it twice and watch how the light changes on the draining board. Then tell me in the comments how hard your water is, because the kettle-furring households among us should probably compare notes.
Lisa Ben
Lisa paints, builds, thrifts and rearranges her way through one very patient house, then writes down everything she learns here on Wazala. She has strong opinions about drying the sink. New projects land every Tuesday, Thursday and Saturday, and the Sunday Letter rounds them up once a week.
You might also like
How To Organize A Small Pantry When The Shelves Are Too Deep
Deep shelves swallow tins whole. Bins, risers and a front-row rule bring them back.
Read more →
How To Paint Kitchen Cabinets And Have The Finish Last
The full cabinet process: degreasing, priming, and the drying times nobody tells you.
Read more →
Small Closet, Sorted: The Two-Hour Edit
One rail, too many clothes. The two-hour sort that makes a tiny closet behave.
Read more →